Fitting the Fuselage Canopy - Installing Fuel Lines - Trimming and fitting Windshield and Windows
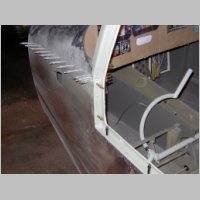
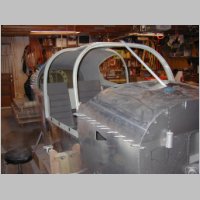
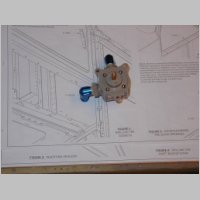
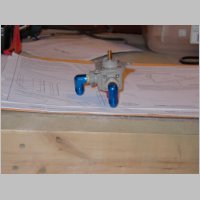
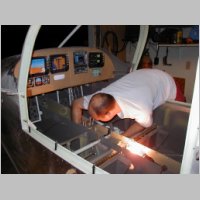
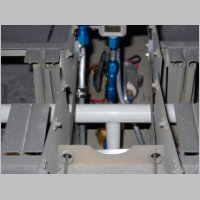
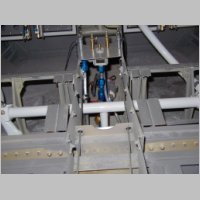
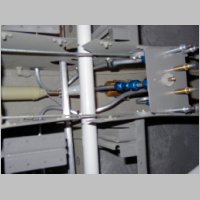
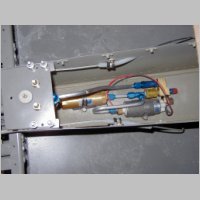
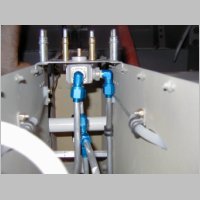
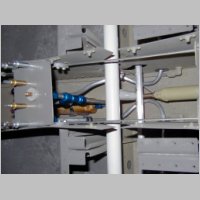
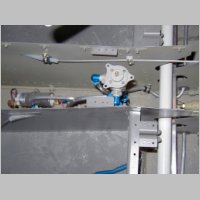
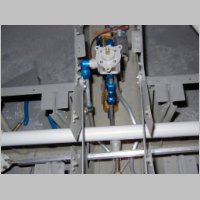
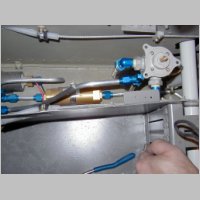
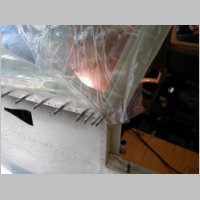
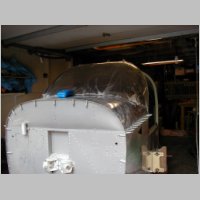
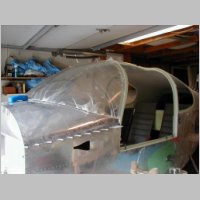
Added 7/1/2005 - 725 total hours (670.7 by Me)These pics were actually only thru 7/1/2005. I'll add more after this weekend. These photos show some more canopy fitting, where the door sills are drilled and clecoed. Then, I got my new Andair valve (the 2nd one) and installed my fittings into it. I did end up cutting the fittings down by about 1/8" and tapping the fittings a tad deeper on the andair valve, just trying to get a little added clearance on that left side.
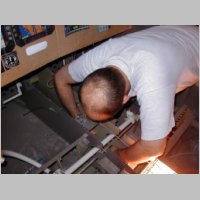
Didn't know my hair was getting that sparse until these shots. :)
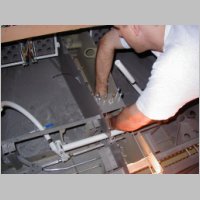
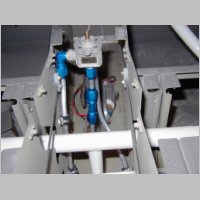
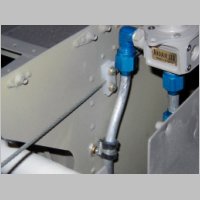
As for the fuel line routing, these photos were my first shot. Big bit of advice....do these lines before you do the controls. It's not impossible to do after (I did) but it's not nearly as easy. Also, I re-worked the right line after this set of photos. I took more time and only went into the under-seat area with about 4" of tubing this time around, to make it easier to bend and then stuff in place. I also reworked the center fuel line a bit to make it more perfect. Those photos I'll try to add later. I took plenty of photos here so you can get a good idea of how the lines are run on this valve. Notice that the left side fitting is plenty close to the side of the tunnel, and that rudder cable. There should be no issue with the rudder cable though, as not only is it held by the nylon blocks, but the tension on it will be holding it outward as well. The photos show very little clearance. There's not much, but there's more than the photos indicate. It should work just fine.
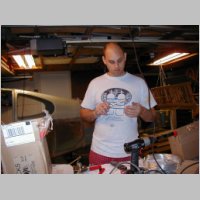
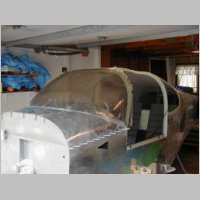
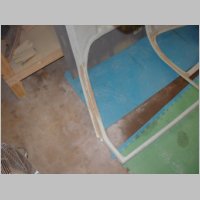
The windshield trimming was not fun. Try to have 2 people for some of that job, so you can hold things and mark and trim. I rough trimmed mine with the provided blades, then brought it down further with an 80 grit belt sander. Then as I got closer I switched to a 120 grit belt, and after I had it made, I hand sanded it with 180 and 220 until the edes were rounded a bit and smooth. Just don't trim too much. People are telling me a gap of 1/8" isn't a big deal around the windows and windshield. You'll be filling the gap, and
painting over the outer 3/4" anyway.
UPDATE 8/16/05: Please jump ahead to THIS PAGE before trimming the windows...you'll be happy you did!
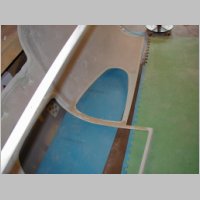
These photos also show a couple of the photos from sanding my canopy. I'm mainly only filling and sanding the areas around the doorposts and gutters, as I bought a nice headliner to cover most of the large areas. More on that later.
|

|
|
|
|
|
|

|
|
|

|
|
|

|
|
|
|
|
|
|
|
|
|
|
|
|
|
|
|