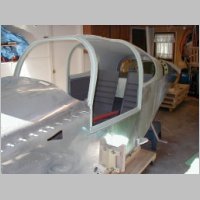
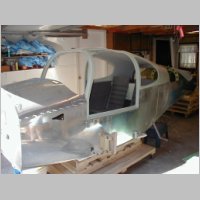
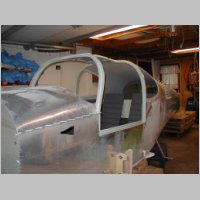
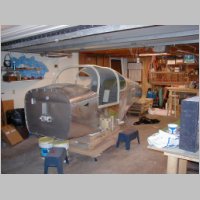
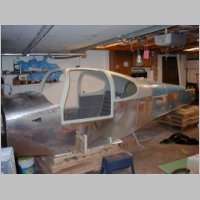
Fitting and Trimming the Fuselage Canopy
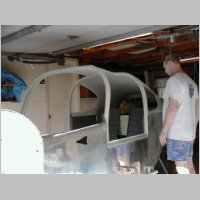
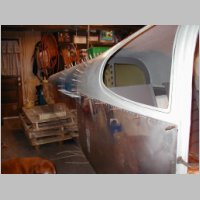
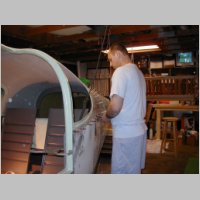
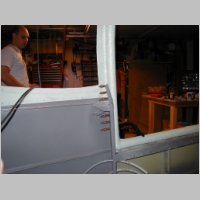
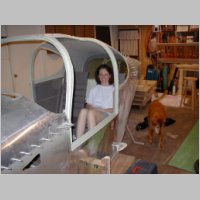
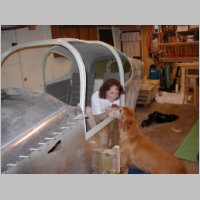
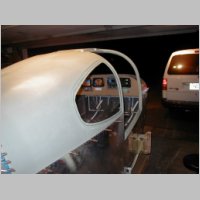
Added 6/22/2005 - 696.6 total hours (646.1 by Me)Tonight my wife helped me do a good share of the canopy trimming and fitting. Last night I had it rough trimmed, and we had the initial fitting done. We were close, but not at all to where it would slide fully in place. This is ABSOLUTELY a job for 2 people. I can see possibly rigging up a hanging system so one person could do it, but even then I think the job would REALLY be tough.
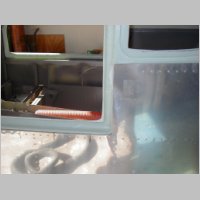
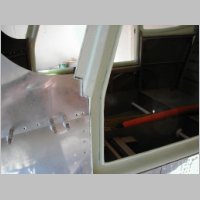
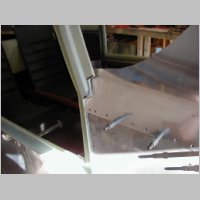
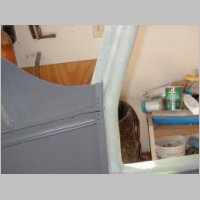
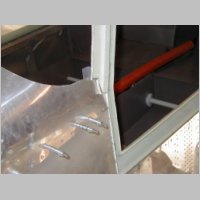
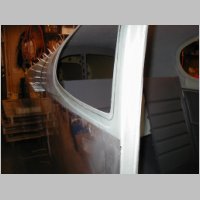
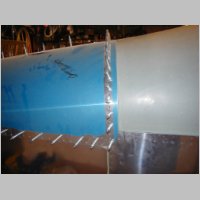
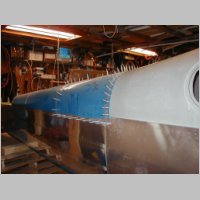
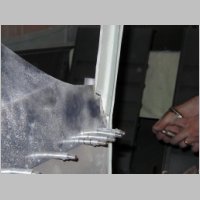
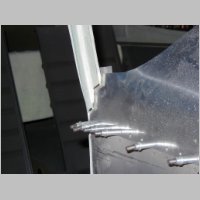
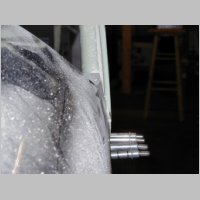
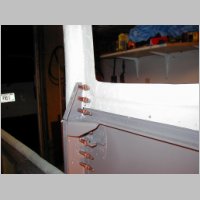
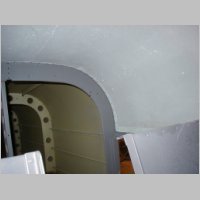
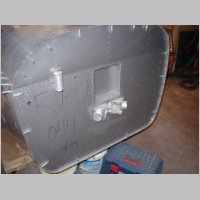
After doing the trimming, here's a bit of stuff I can pass on. First, Randy advised me tonight as to how to bevel that front corner by the lower windscreen corner to make it lay against the panel upper deck. The photos of that jagged cut don't really tell the story well. The plans help, but photos and words are worth more. You basically taper the inner edge of that down to lay and just touch that panel area, so it doesn't push it in much when in place. The door area is a bit tricky. You really remove a LOT of material over your trimming from the scribe lines. When you're done, you really won't have any "lip" left (flange, whatever you call it), where it lays on the door edge. By the time my door sat low enough on the fuselage, and fit in at all on the front and rear uprights, that whole flange was not a lot more than 1/8" thick...maybe 3/16" or so. I used a belt sander to take down the fiberglass. Randy thought that would be pretty aggressive, but I used medium grit paper, and went slowly. The nice thing about it was that with a belt sander, it was easier to make it all fairly flat and straight. Mine came out spectacular on one of the trim downs, and almost as good on the final one when I got it down as low as I wanted to try. I used a die grinder with a sanding wheel on the tight areas. With that, you have to be a bit more careful to make things straight and smooth. It was going good for a while, but I do have a couple of dings in the glass that I'll have to fill around the doors that I caused with that tool.
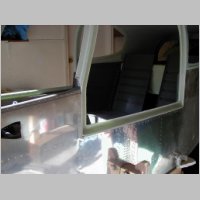
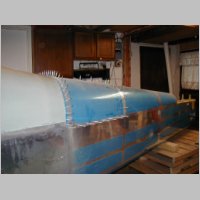
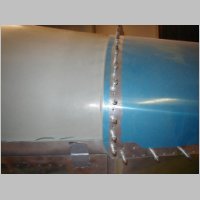
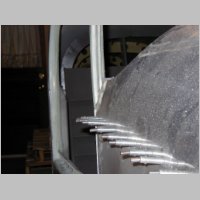
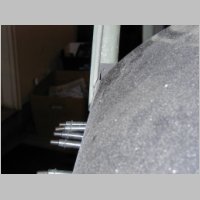
You trim that area around the doors down so that it sets on the ledge, and the skin above the rear vents goes up very close to the top of the ridge in the canopy flange below the window. I say close because both Randy and I found that you can't get it to fit up exact very easily. We both had about 1/8" gap from skin to top of flange step above the vents...but, it tapered down to almost nothing for a gap by the rear of that skin to canopy area above the baggage door. The fiberglass around the door should also just come out flush to the side skins.
So cutting it down to fit it around the doors takes a lot of material removal. On the previous day's page I gave the tip to measure the width between the front and rear door uppers, then transfer that measurement onto the outer edges of the door area on the canopy. That way you can mentally prepare for how much material you'll be removing. If you understand that you will need to remove quite a bit up front, you can probably save youself a trial-fitting or two. Also, make sure you have NO MORE than the 3/4" flange remaining around the rear and side skin junctions....too much and it hits the longerons there, or the rear bulkhead. My advice is to oversize it with the initial cutting, then use something like that sander to take it down to about 3/4" exact, or maybe even 1/16" under, before you even try to fit the canopy. Do this at your own risk though....in case your fuselage or canopy has some wacko different than normal measurement....unlikely at best.
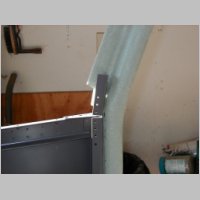
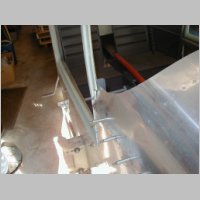
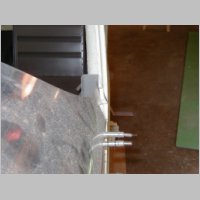
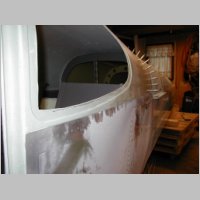
The front metal tab on the top of the front door frame upper needs to be tipped backwards into the canopy slot for the canopy to fit at all good in that area.
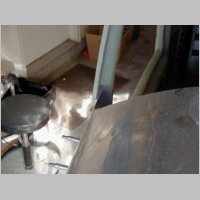
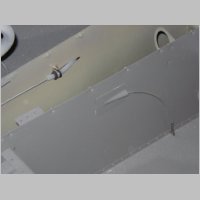
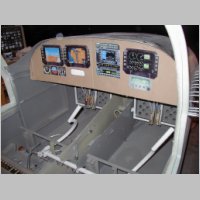
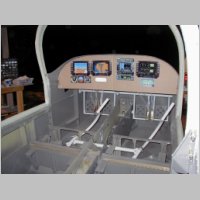
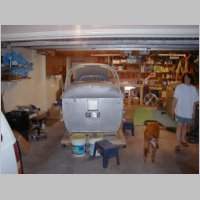
Nothing else outstanding. Best just to view the photos to see the progression.
One nice note was that Jesse Saint's RV-10 was the 10th one flying today on it's first flight. He had a note that said to make sure you seal the cabin heat boxes on the firewall before you mount the engine mount. As you can see (maybe) in the photo way below, I actually did this at the time of mounting the box, when I prosealed the firewall!! I can't believe something worked out great for me like that. Nice surpise. Hey, good job Jesse, glad you're plane's in the air, even if you're stuck watching it from the ground.

|
|
|
|
|
|
|
|
|
|
|
|
|
|
|
|
|
|
|
|
|
|
|
|
|
|

|
|
|
|
|
|

|
|
|
|
|
|
|
|
|
|
|