Cabin Cover Prep and Painting - Headliner - AP Pitch Servo - Doors
Added 7/6/2005 - 745.2 total hours (687.1 by Me)Cabin Cover Prep
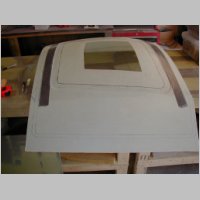
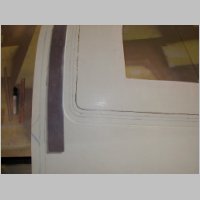
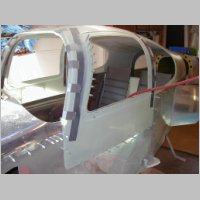
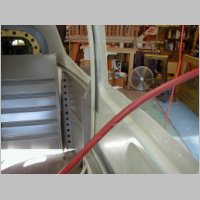
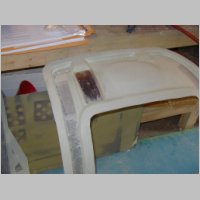
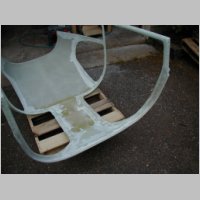
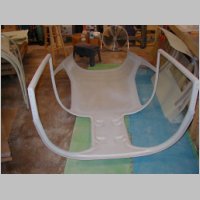
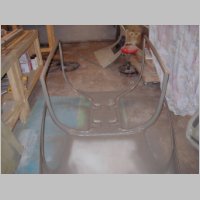
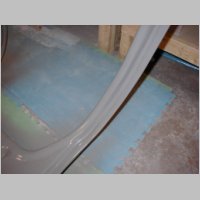
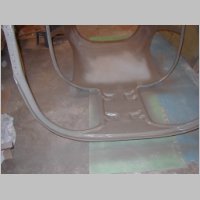
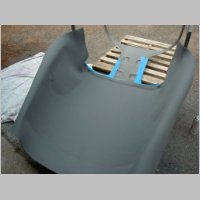
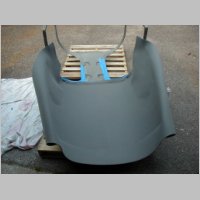
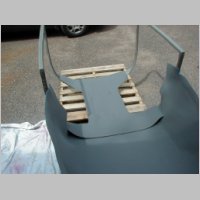
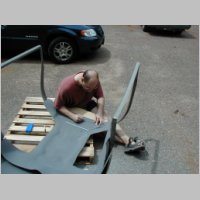
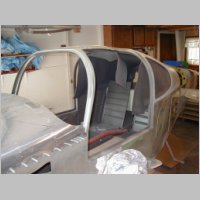
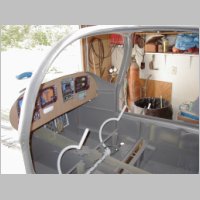
This set of photos continues the cabin cover process. I spent a lot of time preparing the inner doorposts for paint by first sanding, then filling, then more sanding, and repeat. I wanted to not have it get that bumpy appearance once it got the increased shine of the paint surface (although I used the paint flattner on this, as the rest of the fuselage, to decrease the gloss) I used 100-120 grit for the initial sanding, then up to 220/240 for the finish sanding. Before I primed, I also used "UV SmoothPrime", that I got from Aircraft Spruce. Here's a link to PolyFiber's site. I'm not much for sanding and filling, but I think this product is pretty good for the task. It's basically a roll-on heavy primer, that you can squeeze into pinholes, and has a hard and high build. Once you roll it on, and it dries, (takes a couple hours), you can sand this stuff down just like fairing material and make things real smooth. It doesn't seem to go too far, being very thick, but I might have put it on too thick. Avoid putting it places that you don't want to have to sand, as I found out it sticks tenaciously and will just require you to sand it off if you spill it or put it on too thick. I got 1 qt. for around $45. They say 3 qts can do a whole plane *I think* so one qt should be plenty for an RV-10 project.
After all that prep, I primed with PPG K36 primer, which I mixed with it's harder and a few drops of reducer for easier spraying. I don't know how much of this stuff to buy just yet, but at present I purchased 2 qts. My unused qt. is returnable if I don't need it. It sparyed very nicely and adhered well. After the primer dried, I sprayed my coat of PPG Concept paint on the inside and after 2 coats it looked very nice.
Headliner
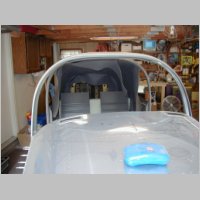
***WARNING*** - Update 8/16/05: After seeing the RV-10's from Colorado at OSH 2005, I realized that my headliner as described below was going to really stink. My edges were going to be very hard to finish. I had ordered 1/4" foam, whereas Randy used 1/8" foam...much easier to roll and edge to finish it. So, for the below info, use it for info only....but I will be finishing mine differently. I tore my entire headliner out, and will be buying a stiff fabric with which to cover the cabin top. You'll see more about this in future sections.
Next was the Headliner. Surprise for me, the Headliner thing wasn't a big, nasty deal afterall. Randy had gone to McDonald Inc. to get his headliner. "Perfect Fit" http://www.perfectfit.com/products/shopexd.asp?id=920 Lots of great colors available. I wanted to get mine ordered a.s.a.p. but was worried that it would be hard to find a sample book. Because looking at that web page doesn't really give you a great way to match colors.
Today I called our local auto-interior refinisher/upholsterer called "Auto Top Shop", and they said they do sell headliner material. To top it off (pun intended), it was even cheaper than the cost that Randy had listed in his approximation. I think they told me $12-12.50 / linear yard. Some colors come in 60" wide, some only in 54" wide. As it turns out, this stuff is sold under many names. The stuff that I viewed a sample card from (the samples looked EXACTLY like perfectfit.com's web page) are shown here: http://autoheadliner.us/Headliner%20Colors.htm
It was the exact same stuff, just under the "SunBrite" name, from the "Glen Raven" mill. Funny thing was, the color I chose was SB-1853 Smoke, and if you look at the PefectFit.com page, they also call PH-1000 1853 Smoke.
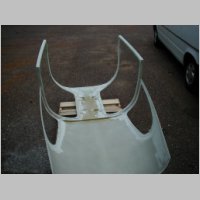
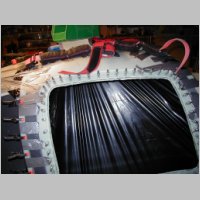
So anyway, I encourage you to use your yellow pages for auto refinishers, muscle-car restoration, and auto upholsterers and I'm guessing you'll easily find a local source for very similar stuff. After Anh's note about 6 yards being way too much I ordered 5.5 yards, not caring if I bought an extra yard. As it turned out, if you want a more exact figure, you can count on 11 feet being enough to finish an RV-10 if you lay it horizontally in 2 sections. 7' for the rear half, and 3.5-4' for the front half. (Refer to the photos)
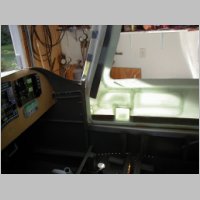
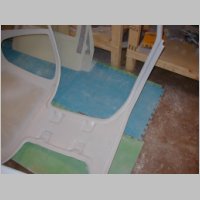
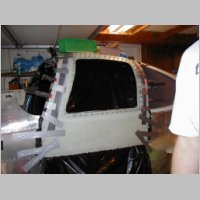
Laying the headliner wasn't as easy to do right as I assumed, and I tore my foam backing off in a couple places. #1. If you mask off areas with tape, don't spray the glue on the tape!! The headliner sticks to ANYTHING with the glue on it. (I used a 3M High-temp adhesive that I got from the headliner supplier...it was $10.95/can and 1 can will do the RV-10 if you use it right) I tried to mask around the windows, not knowing if I wanted my headliner to go all the way to the plexiglass. As it turns out, if you don't put it all the way to the glass, you're going to have to get creative. You probably won't want to cover the upright posts by the doors, and there's not much left to glue it to between the rear posts and rear windows. Besides that, this headliner doesn't have any edge finish to it the way it is. So, I left mine a little long for now until I figure out what to do next.
Door Trimming
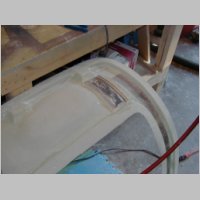
I can give you some tips here that can save you some time. When drawing those lines around the outside of the foor, and around the inner ring of the window, you don't have to be too precise. The goal is: On the outside, cut back the outside, leaving about 3/4" excess where you can both drill holes and place clecos, and as a little added border so when you trim down towards the line you have some extra and don't over trim. It's also a little wider glue surface for bonding and clamping. But, 3/4" +/- 1/8" isn't going to kill anything. Around the inside window area, that middle of 3 lines is only used as a marked line drilling holes for clecos, with 1.25" spacing. So, not only can the very inner ring be a very rough estimate, but the cleco spacing can be eyeballed too. So, don't waste too much time with precision measurements there. Only the 3/4" line around the window lip should be fairly accurate, because that's got to be trimmed nice and smooth for looks.
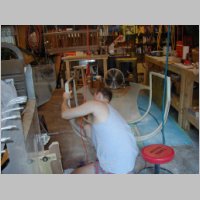
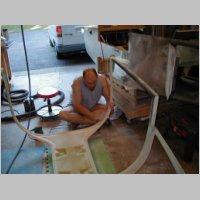
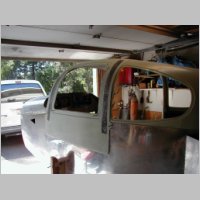
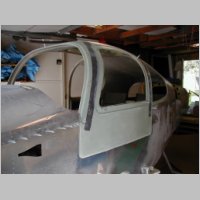
Door Gluing
Gluing the doors should be much easier than you may expect. Here are some tips for that as well, along with some fairly good estimates on glue quantities that are hard to come by. First, you use do NOT use Cab-o-sil (structural thickner) for the initial wetting of the fiberglass halves, or in the area where you use the Parabeam glass cloth. You DO use Cab-o-sil, (or if you're using WestSystem Epoxy like I am, you fill with #406 Colloidal Silica), after the touching areas are wetted. I had purchased a 105A Resin (smallest 1qt size) and 205A (Fast) Hardner before I started the project. I then found out that the plans specify using epoxy with a minimum pot life of 30 minutes. Randy's great tip was to chill the epoxy to 55 degrees and it will last longer. I chose to take a quick drive to one of their nearest distributors to buy some 206A (slow) Hardner. Anh had told me that for him, working alone, that 30 minute epoxy was just doing it. Randy had told me you have to work real fast. For me, it turned out that 30 minute was perfect, and I had my wife helping. Total time to glue and install one door was 45 minutes. Here's a step-by-step for help:
(Do one door at a time)
1. Mix batch of epoxy - 6 pumps - use for wetting surfaces (the wife did that)
2. Immediately mix batch of epoxy - 6 pumps - use for wetting Parabeam Cloth (I did that)
3. After parabeam is wetted, apply immediately to the raised area on inner shell
4. Add 8 more pumps of epoxy to batch 2 (above) and begin mixing with 406 Colloidal Silica 'til it won't pour
5. Add remaining epoxy from batch 1 and make sure it still doesn't pour.
6. Split epoxy into 2 batches again (this is to keep it from heating up too much in one cup)
7. Both people immediatly spread clumps all around the raised areas (again to prevent heating)
8. Both people spread the filled epoxy to a 1/32 to 1/16" thickness
9. Add 2 clecos to bottom of doors
10. Lay outer shell down on inner shell while person #2 keeps top areas from hitting
11. Install 2 clecos on upper window area
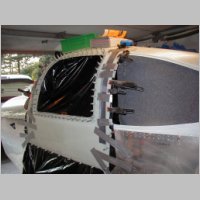
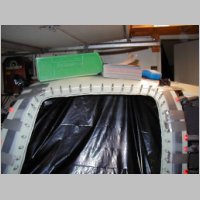
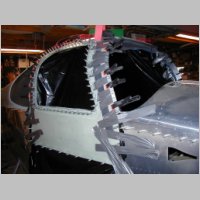
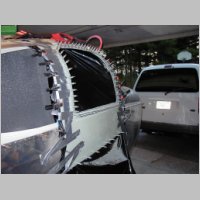
12. Continue installing doors onto plane per directions...taping, clamping, and clecoing.
Epoxy Quantity Info: Starting with a FULL can of 206A (small size) hardner, and a slightly used can of 105A Resin, both doors too approximately 80-85% of the epoxy in the cans. So plan ahead and buy a hole resin/hardner set of 105A/206A for the doors and you should be good. Total cost should be about $45-50 for the material including colloidal silica for just the doors. You may also need a mini-300 pump set which is about $10 too.
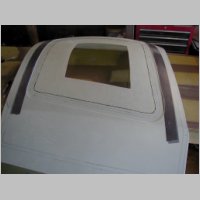
We used some lead shot weights and other stuff to hold the shell halves together on the top of the canopy. We took a very thin plastic liner made of a cut and expanded garbage bag and used that to cover each door hole before we started to prevent epoxy from dripping inside. (also had a drip cloth inside too).
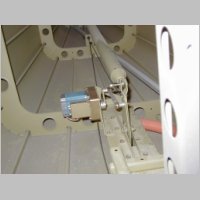
Autopilot Pitch Servo
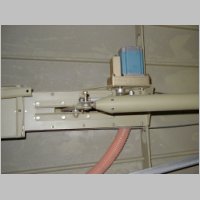
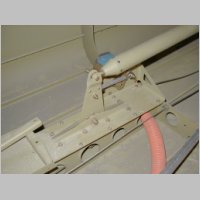
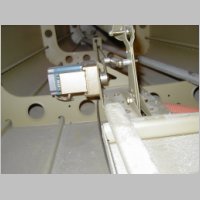
The Autopilot Pitch servo took almost no work. It was a breeze. I think the bolts I used were 1.25" or maybe it was 1.5"
in length, fully threaded. They thread all the way thru the AP servo, and have locknuts on the back side. I don't have the final bolts in all areas of that section for the control tubes yet, and I may add large flat washers on the outside of the AP linkage turnbuckles (don't know WHY though ;) ) but I'm mostly done except for the wiring, and it'll work great.
In the past month, with help, I've managed almost exactly 100 hours. It sure feels nice to have this project moving faster. Now if I can bump that to 125 or 150, I'll be flying in the time I'd like.
|
|
|
|
|
|
|
|
|
|
|
|
|
|
|

|
|
|
|
|
|
|
|
|
|
|
|
|
|
|
|
|
|
|
|
|
|
|