Fitting Doors - Attaching the Canopy
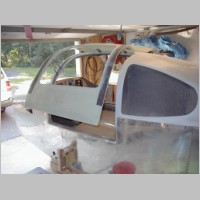
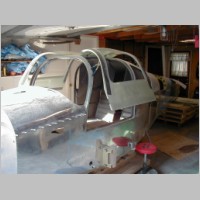
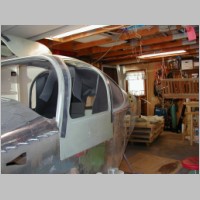
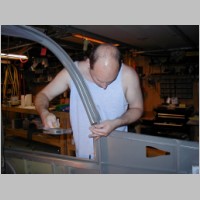
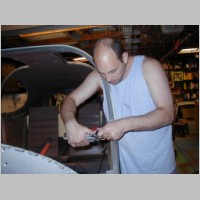
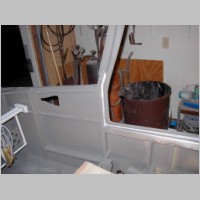
Added 8/17/2005 - 772 approx. total hoursAs I write this, these photos are kind of old, so I can't explain as good as I'd like to. Anyway, I'm just fitting the doors after putting hinges in. I did end up having to shim under the hinges of the left door, to raise the door a tad. With enough filing and sanding, they fit OK. I tried not to leave too much gap anywhere. I have more than I wanted on the right side, but I think that during body sanding and filling, it'll all work out.
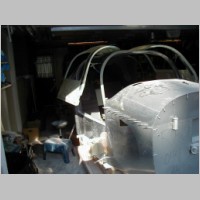
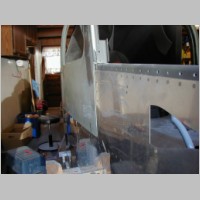
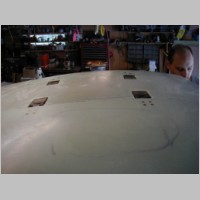
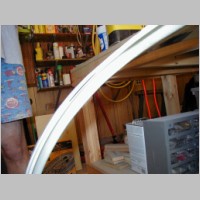
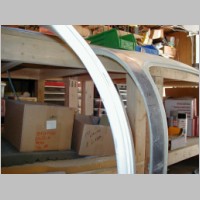
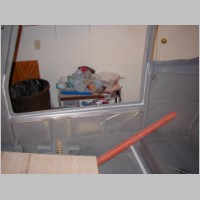
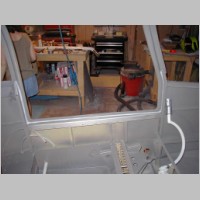
The 2 bright pictures that look meaningless are actually of the doors, from the side, showing that I had small voids where the cab-o-sil mix didn't fill all the way. I used fresh expoxy and filler with a syringe to inject these few gaps so that I ended up with having them great.
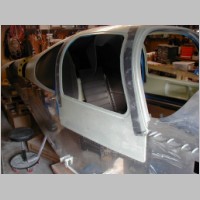
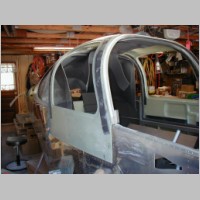
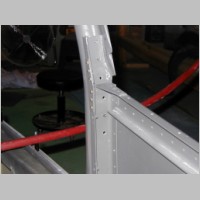
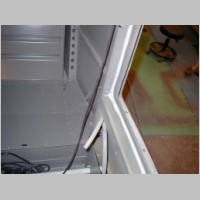
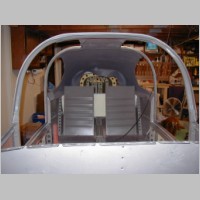
Bolting on the canopy was staightforward. I did one small change over the factory -10's. On the screws around the outer door sil area, I countersunk them just a hair extra, and filled them over with filler and epoxy. Unless you total your plane, you'll never need access to those srews, so I figured I'd fill them in nice and make it smooth. It looks very nice today.
Then lower, you'll see the cab-o-sil filled epoxy around the inner door area. That's the bead you're supposed to try to fillet. I haven't seen another -10 yet that had a fantastic, smoothed area there....so I made it a mission to do mine nice. In my next set of photos, you can see how it turned out after I filled and sanded a bunch. The only real problem was it cause me to repaint more, but I would have had to paint this epoxy bead anyway.

|
|
|
|

|
|

|
|

|
|
|
|
|
|
|
|
|
|

|
|
|
|
|