Misc. Items
Accomplished
Added 11/27/2005
- 1368.1 approx. Total hours (1170.0 By Me)
Today's
pages added (this one and an engine section) are making up for a lack
of new stuff for over a week. Over the past days, I've worked
hard to finish as many items as I could, so that I could get most of
the parts out of the garage. I've now succeeded in getting
everything out except the fuselage, some hardware, and a few
miscellaneous antennas and other items that still need install.
See below for more details on the recent accomplishments. Also, go to today's Engine section page to see those items too.
Now, on to the sections...
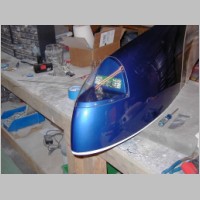
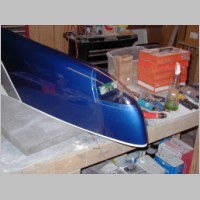
LED Nav Lights
After having previously completed the assembly of the
CreativAir/KillaCycle NAV lights, I finally installed them into my
wingtips. I also installed the strobe heads from the CreativAir
Strobe kit. I have to say, it was an easy install, and they look
nicer when under the lens cover than I thought they would . They
seem to perform ok too, but I'll not really give it a good critique
until I have the plane outside at night with them on....after I fly.
I use stiff plastic tubing pieces as standoffs to keep the back
of the board from hitting the wingtip.
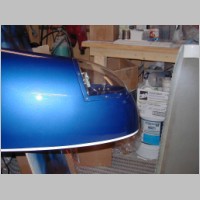
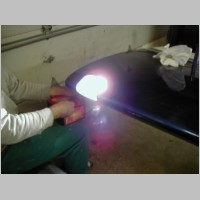
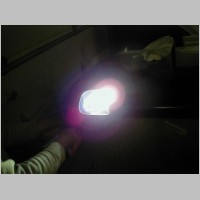
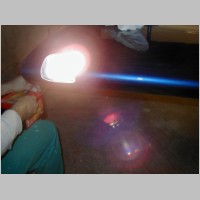
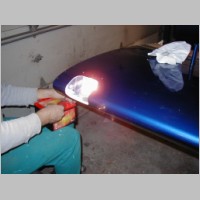
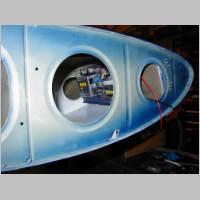
HID Light Install
You've probably already seen my Duckworks HID kit install page,
but this is just the final step. I waited until I had the wing
painted before I installed the bulb, lens, and ballast. It went
really well. The lens is a bit hard to install, but once I got it
close and had it clecoed, it went just fine. I powered one
up...it was pretty darn bright, and a nice white color.
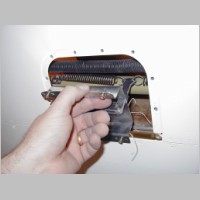
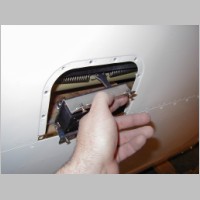
Aileron Trim Install
I was dragging my feet a bit on the aileron trim installation,
but it turned out to be a breeze, even with the wing finished.
About the only thing that would make it easier is if you had the
wingtip off so you could pull out the aileron pushrod. Note to
future builders: Don't bother to torque-seal your aileron pushrod
nuts in place until you've done the trim install, since you'll be
pulling the pushrod out anyway. You just build the unit, then
attach it to the access cover plate, and then you drill the spring
anchors and rivet them in place on the pushrod. All done!
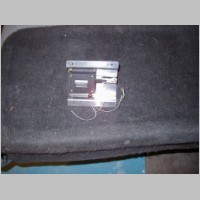
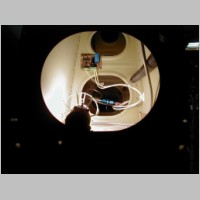
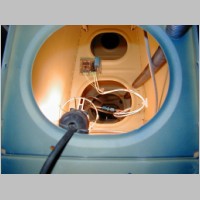
Pitot Tube Install
Another item I had previously done much of the work with was the
pitot tube. I didn't have the controller or pitot itself stuck in
the wing yet though. The controller, depending on where you
mount it, might be easier done before the bottom skins are on, but
since I installed it on the 2nd rib, it wasn't un-doable. I still
have to connect the power and indicator wires, but I'll pull those with
all the rest of the wing wires later.
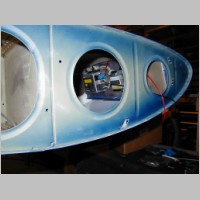
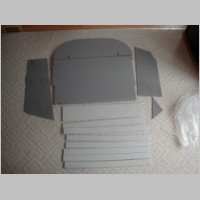
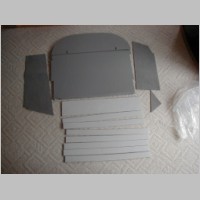
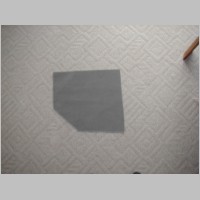
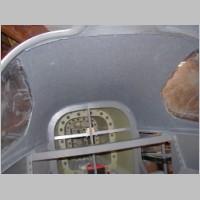
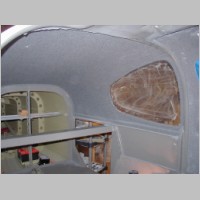
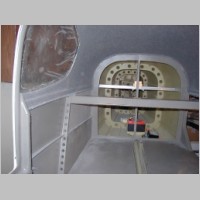
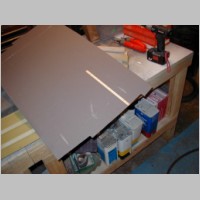
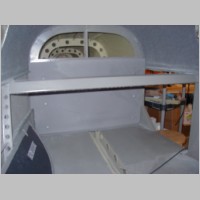
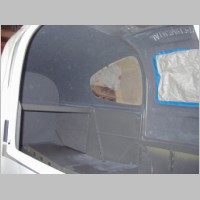
Interior Panel Install
I also took some time to work on the interior for a short time.
The headliner had been put up with 3M Super 77, and it sagged in
the very upper areas, so I resprayed that with the good stuff instead.
77 is great for repositioning during install, but for lasting
grip on heavy or overhead items, use 3M General Purpose Adhesive.
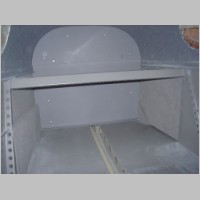
Another surprise is that Abby from Flightline Interiors
has been working on a great interior package with the goal being to
cover all interior surfaces so that there is very little bare aluminum
showing. She created this rear bulkhead cover, which looked very
nice. The foam strips can be glued either to the aluminum
bulkhead cover, or to the trim panel. I glued mine to the trim so
that they come off with the panel, in case I want to haul bulky items
without my nice trim. You put nutplates on the aluminum panel,
and then screws and velcro hold the trim in place, with very nice
matching screwcaps covering the screws. There is much more to
come when I get time with all the interior panels. Right now
though, I'm focused on items needed to fly.