Section 22 - Flaps
Added 12/14/2004 - 446.9 Me Hours, 486.4 Total HoursFlaps approx. 40 hours total
The Flaps were very straightforward in construction, after doing all of the tail surfaces. The only things that started out confusing were the initial assembly of flap bracket parts. You start to question if you're doing it right or not on the Right wing, being a mirror of the left, and when the plans tell you to drill the "Left Brackets", you automatically wonder if you should be doing the Right ones for the Right Wing. The answer is, NO. Just do exactly as the plans say and you'll be fine.
There were 2 areas in the plans that things went a little haywire for me. One was when riveting on the bottom skins. I automatically went too fast reading the plans after having riveted the top skins, so I actually had the bottoms riveted before I prosealed the trailing edge....a little ahead of schedule on the plans. But, for that matter, I didn't really see that I ended up with any straightness issues, which would be the only reason for doing the riveting after the trailing edge....other than that it's easier to insert the trailing edge wedge if the skin isn't riveted tight.
The 2nd place in the plans that I kind of wish things were done differently was in how the large flap brackets get drilled for the hinge pin, and the 4 double-flush rivets. You have to drill the hing bolt holes before the brackets are assembled, so you can deburr. But, if you aren't really careful in using the hardware to keep those 2 holes aligned when it comes time to rivet, your pin isn't going to go through straight. I had to drill a couple of rivets due to shift in the parts, to make sure those hinge bolts would be pretty straight. Not a problem with the plans, just the builder I guess.
One other note....The plans seem to show nose skin's overlapping eachother. Mine did not do this. I don't know if that was an old plans note or what, but mine butted right up with eachother.
So, now I'm on to Aileron Actuation. Included in the hours above, I also put the threaded end cones on my aileron actuation tubes, and did my flap and aileron gap fairings that I skipped doing previously. But, I had done my parts deburring on all small parts, before I got to this step....so it's a wash.
(All pics are clickable)
|
|
|
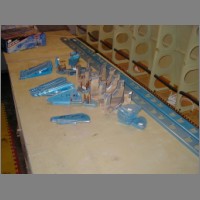
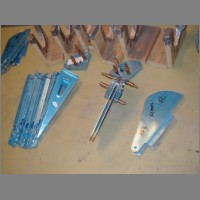
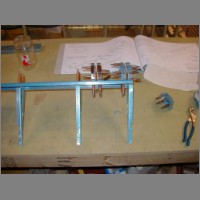
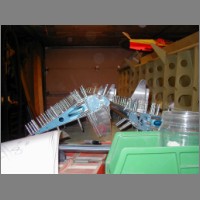
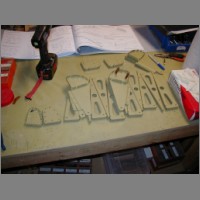
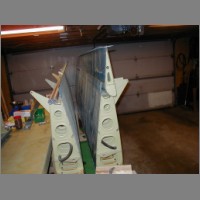
| Initial
Assembly of brackets |
||
|
|
|
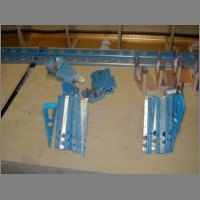
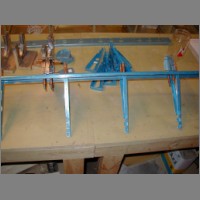
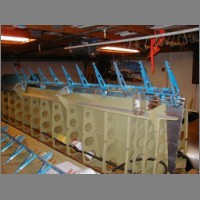
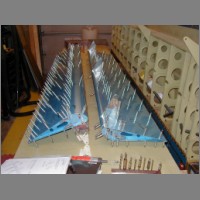
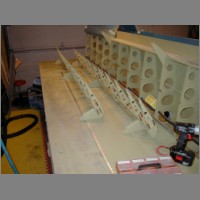
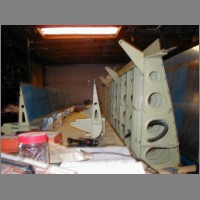
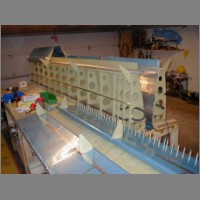
| Building
the Skeleton |
||
|
|
|
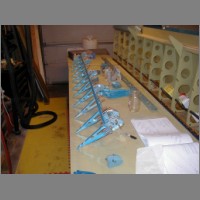
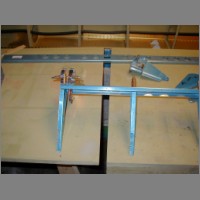
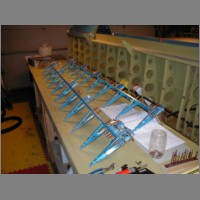
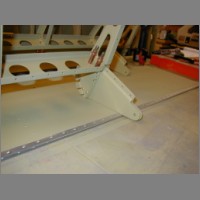
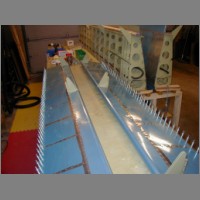
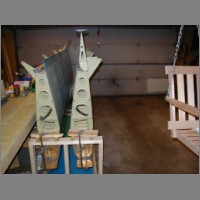
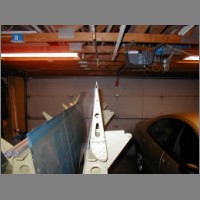
| Checking
the skeleton for fit to the brackets on the wing |
||
|
|
|
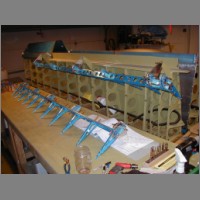
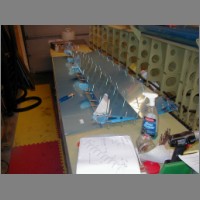
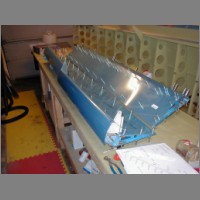
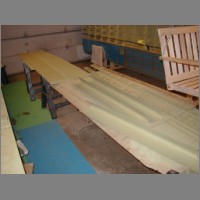
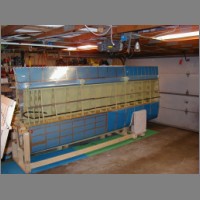
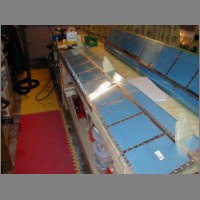
| Skinning
the Skeleton |
||
|
|
|
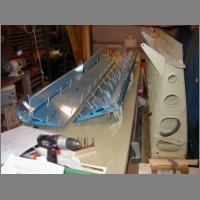
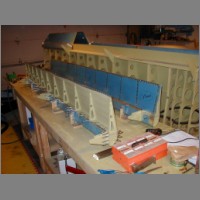
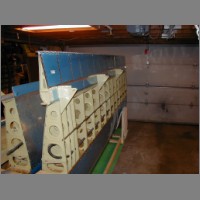
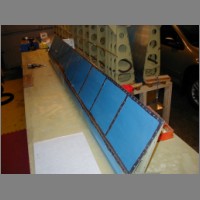
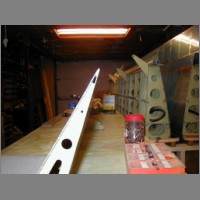
| Skinned
Flaps to be Final Drilled |
||
|
|
|
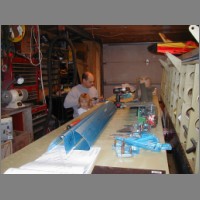
| My Helper |
||
|
|
|
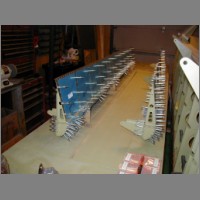
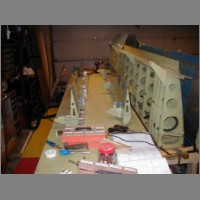
| Time to
Prime - Then Assembling the Skeleton |
||
|
|
|
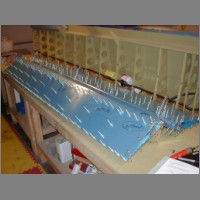
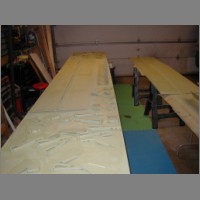
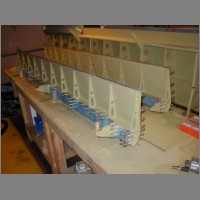
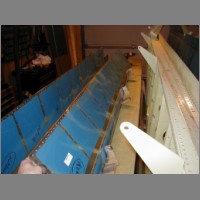
| Skinning
the Flaps |
||
|
|
|
|
|
|
| Riveting
Flap skins, top and bottom |
||
|
|
|
| Test-Fit
Flap to Wing for Fun |
||
|
|
|
| Above
and Below - Rivet trailing edge. Pretty darn straight. |
||
|
|
|