Section 18 - Fuel Tank Attachment and Testing (Part 3)
Section 19 - Stall Warning Completion
Section 21 - Ailerons
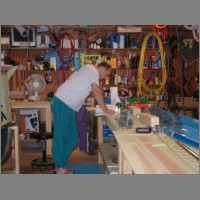
Added 11/7/2004 - 409.3 Me Hours, 446.6 Total HoursThis set of photos would have just been the Ailerons, except I had to finish up the testing of my fuel tanks, attaching them, and before I mounted the tanks I needed to finish attaching the stall warning vane that I built previously.
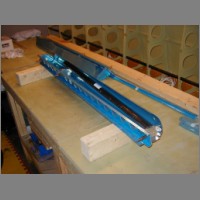
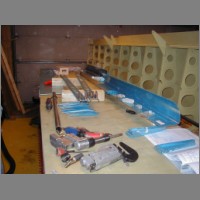
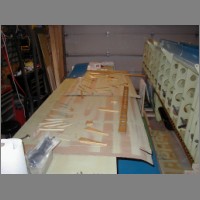
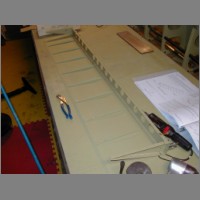
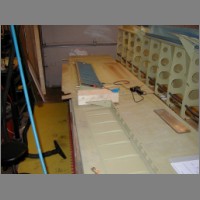
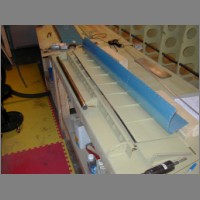
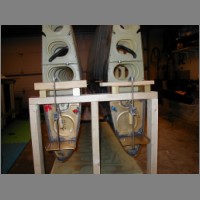
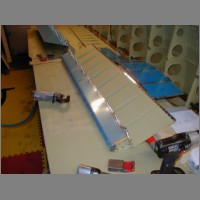
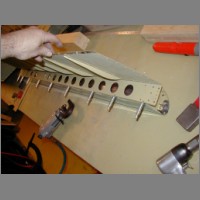
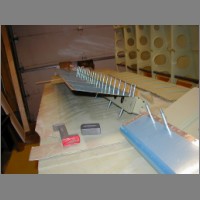
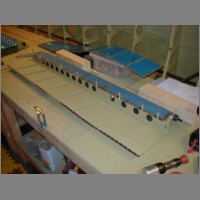
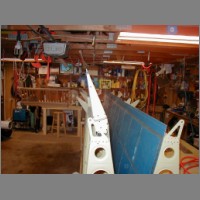
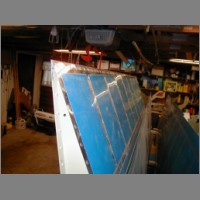
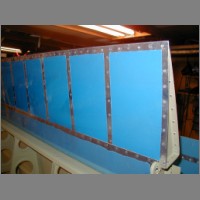
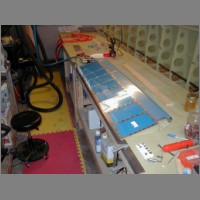
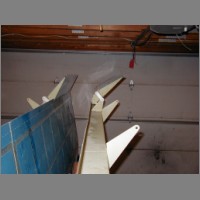
The stall-warning vane was a piece of cake. A no brainer. The Ailerons were nothing too complicated, given that they're real similar in construction to both the elevators and the rudder. They are a bit different in the way they are counterbalanced, but other than that, it's S.S.D.D. (same stuff different day). I did use proseal when doing the trailing edges of the Ailerons, and I let them sit over Thanksgiving for 3 days or so, so they were nice and firm before riveting. This time around, I just used my back-rivet set and mushed them down flush with the skin, rather than the mushroom set. I really didn't see a difference, and this way my hammerblows were more concentrated on the rivet area, not spread out to the extruded wedge. After completing the Ailerons, I just used some screws I had around the house to hing them to the wing for storage. I don't think I'll do a full attach with the proper hardware until I have to hook up the controls. It's probably easier to paint them separate from the wing. I think what I'll have to do is to buy duplicates of lots of the hardwrare that attaches things like this, so when I do final assembly I can use fresh bolts. One other thing I think I may swap out is my tank attach screws. I'm not sure, but I may order stainless for those, and leave them unpainted. If I paint the leading edge something other than white, I'll probably go stainless. If the whole wing is white, I'll probably just paint the screws white.
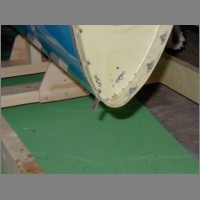
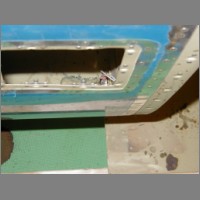
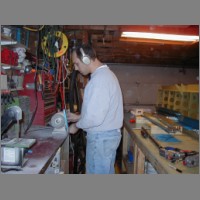
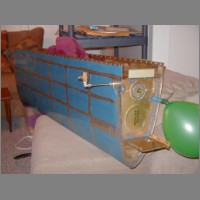
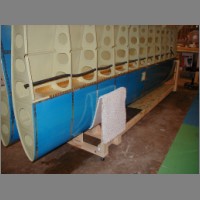
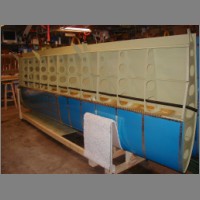
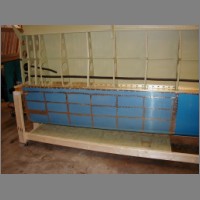
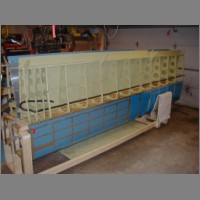
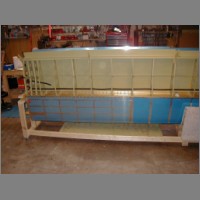
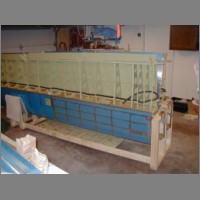
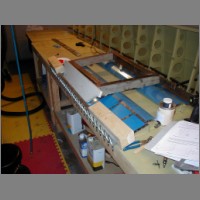
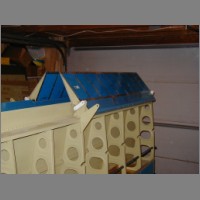
Testing the tanks was pretty simple. I didn't end up getting my hands on Van's test kit, because I figured out an alternate first. I had some plugs around the house for the fuel pickup are where the screen goes, and I had some valves and 1/8" NPT adapters to blow air and shut off into the fuel sump area. Then I just used a piece of air hose pushed over the fuel vent connector, and a balloon cable-tied to the tube. This allowed me to blow into the tank, fill it with pressure that would expand the balloon, and then seal it. One tank even had a tight fitting fuel cap, so it stayed full of air all night long. I sprayed soapy water all over the rivets and seams, looking for growing bubbles. Didn't find any except by the fuel cap, and given that the balloon wasn't going down fast, I left it at that. I didn't find anything even remotely suspicious. Besides that, I knew I had done a good job sealing the tanks.
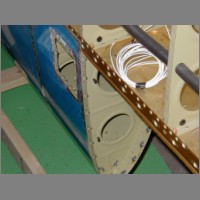
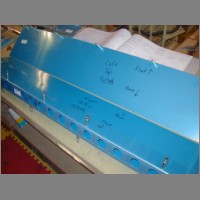
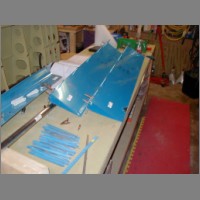
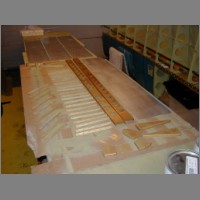
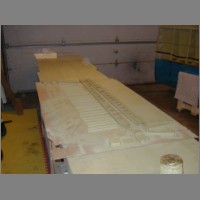
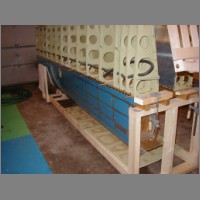
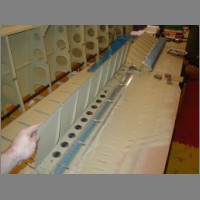
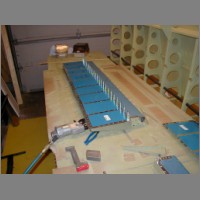
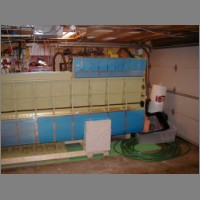
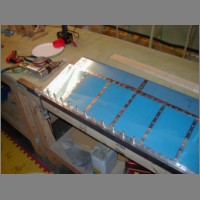
Attaching the tanks to the rest of the wing was pretty easy. My Z-Attach brackets lined up well, and just needed a little prodding with a pick to get the holes aligned perfectly to get the bolts in. One tip: Make sure before you put the tanks on the wings that you have scraped off the excess proseal from both the area just behind the rear baffle, and just outboard of the outboard rib flanges. If you don't, the skins will overlap the proseal and it won't align well. I scraped my rear baffle right after sealing, but left the outboard rib area and ended up removing a tank to scrape it off there so that it would fit and align nicely.
That's about it for this section....now on to those flaps!
(All pics are clickable)
|
|
|
|
|
|
|
|

|
|
|
|
|
|
|
|
|
|
|
|
|
|
|
|
|
|
|
|
|
|
|
|
|
|
|
|
|
|
|
|