Section 16 - Top
Skin
(second part)
and
Section 17 - Wing Outboard Leading Edge
Added
10/19/2004 - 325 Me Hours, 354 Total HoursThis period actually seemed to go
pretty quick, there were again far
more
days that I did NOT work on the project, than that I did work on it.
The days I got to work were usually pretty short, too.
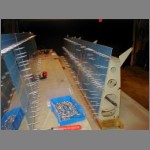
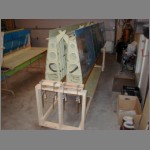
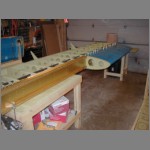
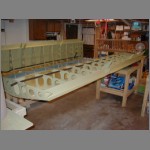
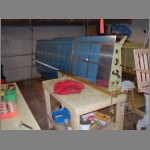
Also included in this is the building of the wing-cradle cart. Many people
built carts with more engineering and time involved than I did, but
mine went together in well under an hour, and does the job quite
nicely. Plenty sturdy, and the double 2x4 10' long bottom rails will also protect
the wing from other things rolling into it, whereas a single center beam may not.
As mentioned above, I used 2 10' 2x4's for the bottom. 12' could be just fine
too, but I didn't see a need to make it any more expensive or large than necessary.
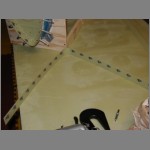
Strange things and complications this section: Unless I measured wrong 5 or 6 times,
the notches that you have to cut in the ribs to go around the thick spar doubler
steps are not called out to be tall enough slots. Also, LP4-3's seem to be
a little on the short side to attach the leading edge ribs to the spar on the inboard
3 ribs that get LP4-3's.
days that I did NOT work on the project, than that I did work on it.
The days I got to work were usually pretty short, too.
Also included in this is the building of the wing-cradle cart. Many people
built carts with more engineering and time involved than I did, but
mine went together in well under an hour, and does the job quite
nicely. Plenty sturdy, and the double 2x4 10' long bottom rails will also protect
the wing from other things rolling into it, whereas a single center beam may not.
As mentioned above, I used 2 10' 2x4's for the bottom. 12' could be just fine
too, but I didn't see a need to make it any more expensive or large than necessary.
Strange things and complications this section: Unless I measured wrong 5 or 6 times,
the notches that you have to cut in the ribs to go around the thick spar doubler
steps are not called out to be tall enough slots. Also, LP4-3's seem to be
a little on the short side to attach the leading edge ribs to the spar on the inboard
3 ribs that get LP4-3's.
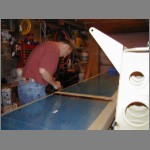
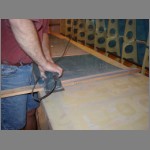
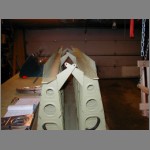
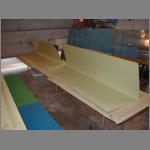
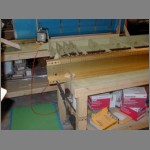
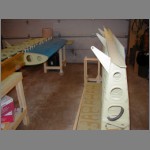
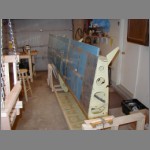
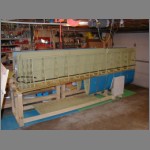
Tip Time: Clamping the inboard end of the spar to the bench worked great to
support the wing for riveting the leading edge. (use 2 clamps)
My first wing, I clamped it down with the top skin down, and shot all rivets. This
took far more time than the 2nd wing. The 2nd wing I clamped leading edge down,
and shot the top side rivets, but squeezed the bottom skin rivets. That went
EXTREMELY fast. Make sure you're equipped with a variety of
offset, and angled rivet sets of various lengths for your gun for 1/8" universal
rivets.
Now, onto the photo tour...
(All pics are clickable)
|
|
|
|
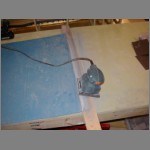
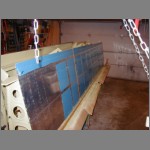
| Sanding
the overlap between inner and outer skins |
|||
 |
 |
 |
 |
| Sanding
overlap, dimpling skins, alodined J-stiffners |
|||
 |
 |
 |
 |
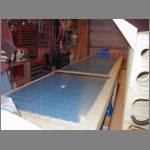
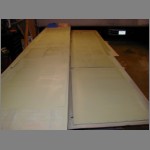
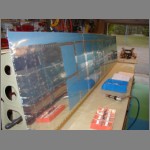
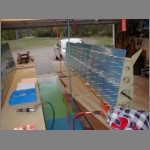
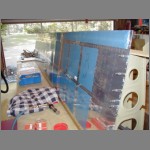
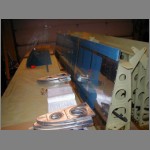
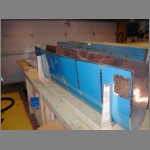
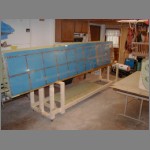
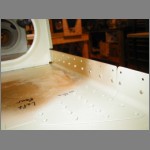
| Preparing
for attaching skins, scuffing skins for priming, primed parts |
|||
 |
 |
 |
 |
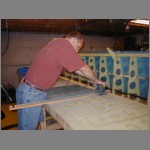
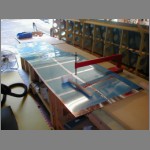
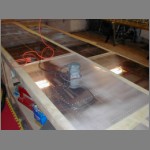
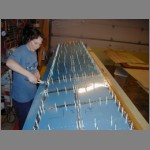
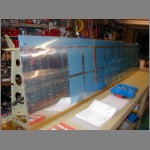
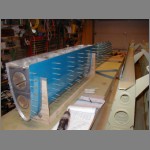
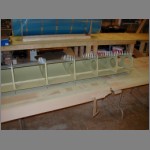
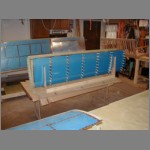
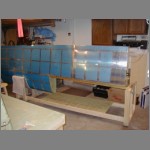
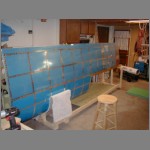
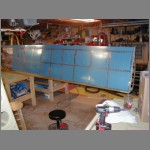
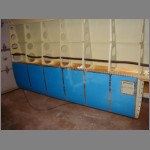
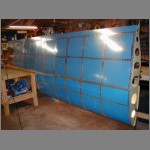
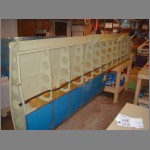
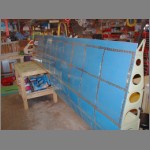
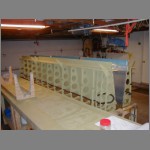
| Riveting skins |
|||
 |
 |
 |
 |
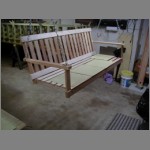
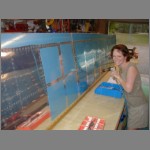
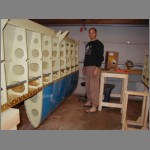
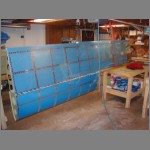
| Wife's new
plates |
|||
 |
 |
 |
 |
| Lots
more of riveting skins |
|||
 |
 |
 |
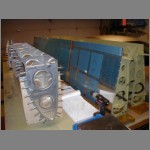 |
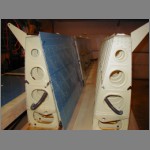
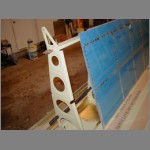
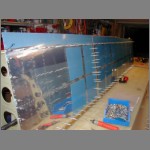
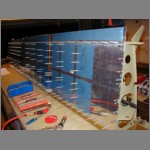
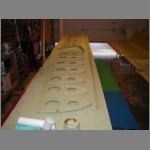
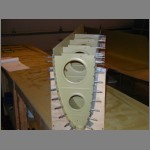
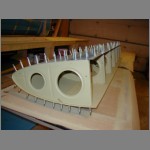
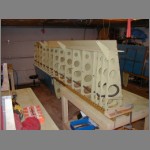
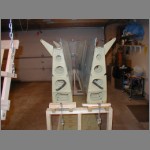
| Starting
outboard leading edge assembly |
|||
 |
 |
 |
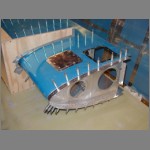 |
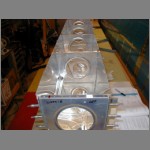
| More
Leading Edge |
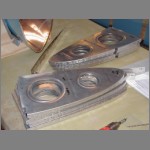
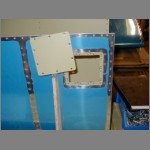
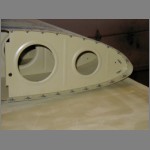
Stall-Warning
Access |
||
 |
 |
 |
 |
| Notched Ribs |
Alodined
Parts |
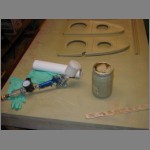
Priming Gun |
|
 |
 |
 |
 |
| Primed Parts |
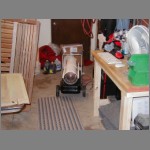
Garage Heat |
Nutplate
attach |
|
 |
 |
 |
 |
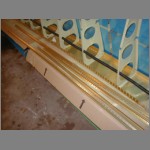
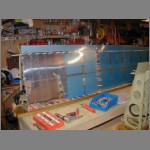
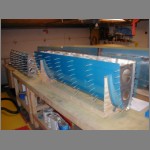
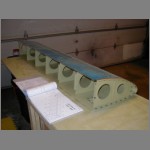
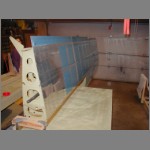
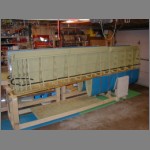
| Leading
Edge riveting |
|||
 |
 |
 |
 |
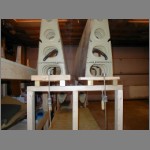
| The
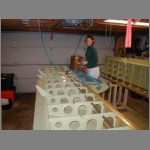
remaining pictures are of my wing cart, how I clamped my wing to the bench, and the various assembly pictures of riveting the leading edge on. |
|||
 |
 |
 |
 |
 |
 |
 |
 |
 |
 |
 |
 |
 |
 |
 |
 |
 |
 |
 |
 |
 |
 |
 |
 |
 |
 |
||