The Panel -
Continued
(Multiple Steps)
Added 12/28/2005
- 1447.0 approx. Total hours (1241.7 By Me)
Today's
pages added (this one and a finishing section) are once again
delayed in getting out. I've been keeping my head buried in the project
a little better (combined with the Christmas Holiday interruption), so
I haven't spent time posting much. It is exciting now, as
some
of those things that I've been waiting to finish are finally
completed....like the Andair valve, and getting the panel into the
plane.
See below for more details on the recent accomplishments.
Also, go to today's
Finishing Section page to see those items too.
Now, on to the sections...
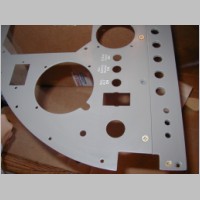
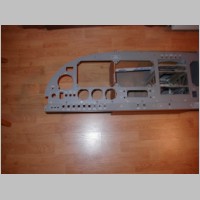
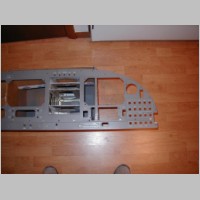
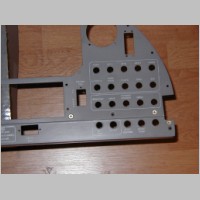
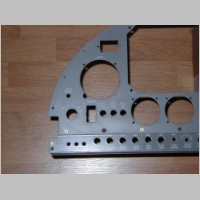
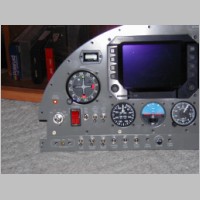
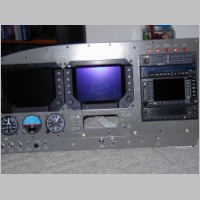
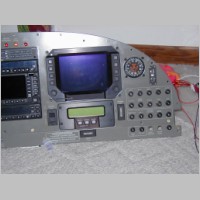
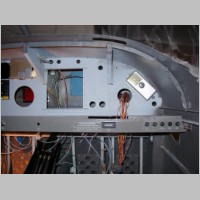
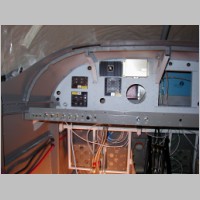
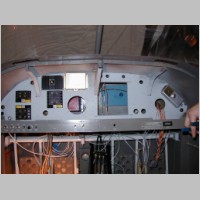
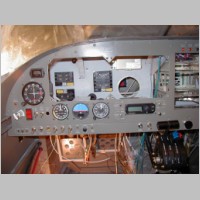
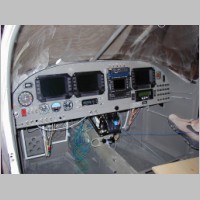
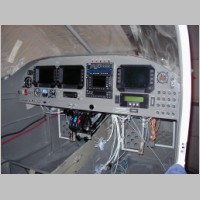
Panel
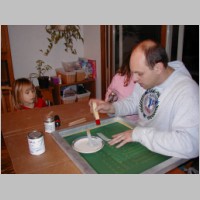
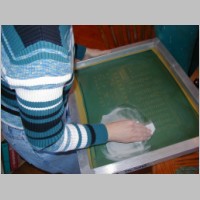
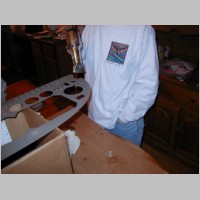
Silkscreening
Silkscreening your own panel is fairly easy, and it looks
much better than sticky labels. I ordered my screen online from
Westar, and It's a large screen with TONS of words on it. I
should have added "ADI", "CAUTION" and a couple others, but you can
basically put anything anywhere you want, as long as you screen your
labels in small sections. We did some things just one label at a
time.
http://www.westarsolutions.com/vend/westar/screens.html
20x24 panel is 13x17" photo positive.
Charge about $15 for the photo positive
Charge about $15 for the chem process
Charge about $33 for the most expensive screens
Ink determines the mesh size
Send in MS Word or 300dpi minimum for jpg
The ink is from Nazdar, but you'll
have to buy it from a distributor. I used ADE 2 part ink.
It was recommended as really tough stuff. You could use
many other types of paint/ink. Some people use that $1.00 craft
ink from Wal-Mart. It's OK, but it's a little thin and runny for doing
screening. If you clearcoat your panel though, you could use
almost anything. I clearcoated mine, but really didn't have to
since the ADE ink is tough. In retrospect, I may have skipped
clearcoating if I did it again.
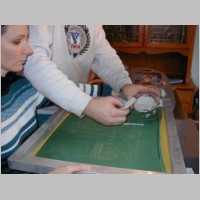
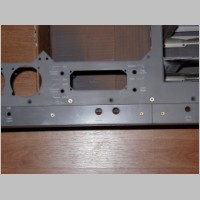
The process basically is: Mix some ink with hardner. Tape
off the word you want to screen so that only the word is exposed and
the area around doesn't get paint on it. I do this because you
don't want to plug your screen by getting paint everywhere and not
getting it cleaned out. You'll notice that my breaker area has
some not-so-good lettering...that's because the night before I
practiced with the screen and didn't clean it well enough, so the
screen had a couple of bad areas on it. Buy some good screen
cleaning solution when you buy your ink.
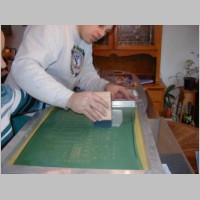
Once the ink is in place, use the screening squeegie (yes, get a
special one...and cut a hunk off to your favorite length...about 3/4"
to 1") and squeegie hard across the word. Then yank the screen
quickly straight up and check out your word. Clean the screen
immediately (remove tape first so it doesn't dissolve). Then
heat-gun the word so it dries for about 15 seconds. Then move on
to the next word.
You'll see the results below...
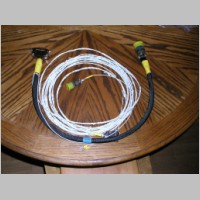
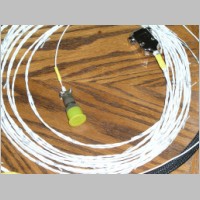
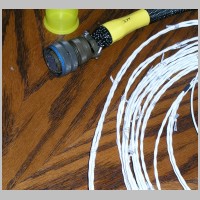
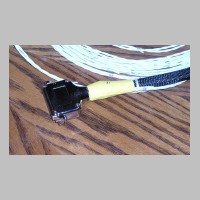
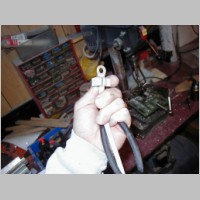
Making Harnesses
First, for those getting Cheltons, I was one of the last people
who bought during the time that they actually included harnesses.
Let me just say, you ain't missing anything. The harnesses
supplied had large round connectors on one end...something I didn't
need. The interconnect harnesses are great, but all the other
ones I have to chop up anyway. So, it wasn't worth the wait on
those.
For the Chelton GPS, I didn't use that good but cheap included MK-76
antenna. Since it doesn't have a bottom cable feedthrough, it
wouldn't be easy to mount that one on the outside of the plane and
bring the wire inside without ugliness or leaks. So, I am using a
different antenna. In my case, I'm using my GNS480 antenna for
the Chelton. Nobody will give you much guidance, but it looks to
me like the Comant 401-220 antenna that works for the Garmin AT (GNS480) had real similar specs. I myself was buying a Comant 401-620
antenna for my GNS480 and WSI receiver. It's a dual antenna, and
I mounted it on the cabin top just aft of that metal support bracket by
the windshield. So, I didn't need my GNS480 supplied antenna, and
since it has similar specs, I used it on the Chelton. I had to get a
custom SMA to TNC cable made up, which I got from HD Communications for about $29.
For battery cables, I was able to make my own crimps. I drilled a hole
the same size as the cable round section in a piece of thick aluminum.
Then I cut the aluminum block in half. Then I put the wire
and terminal in a vise and gave it a squeeze just to snug the terminal
on the wire. Then I put a nail on the terminal, running
lengthwise with the wire, and cranked the vise. That gave a nice
lengthwise crimp on the terminal.
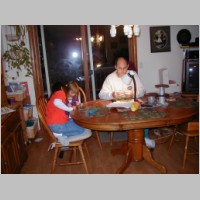
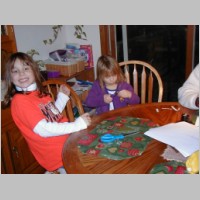
As you can see, the kids are getting into making harnesses. They
help cut out the wire labels and heatshrink them in place. It's
tedious, but fun.
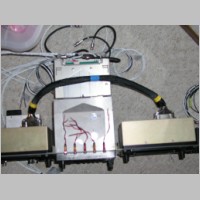
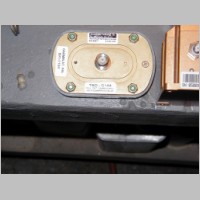
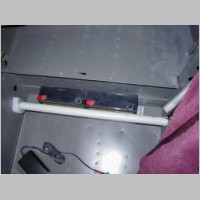
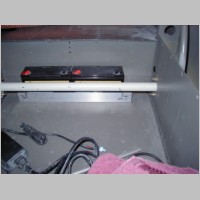
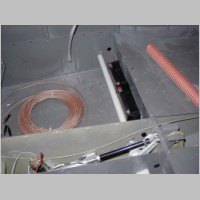
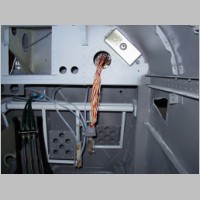
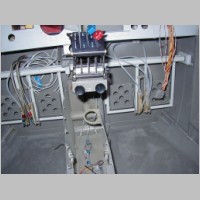
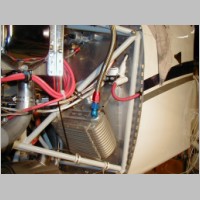
Aux Battery Mounting
Here are some of my photos of my Aux battery mountings. I
have a couple of jumper wires on them now, but haven't wired them in
yet. Maybe this week or next. I basically have a battery
tray built out of 1.5" x 2" x .125" angle, with some smaller angle
endcaps. That tray is made so that the batteries can't slide
forward toward the flap actuation tube. YES, there is clearance
between the tube and the batteries. I also put some of that UHMW
tape on the back side of the battery to protect it from the airframe a
bit. The endcap angle brackets are dual-function. First,
they keep the batteries from sliding side-to-side. Next, they
serve as strap brackets. The straps are nylon webbing, and crank
down really good. So, the batteries are mounted!
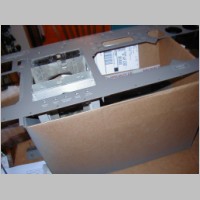
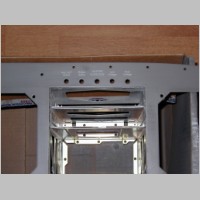
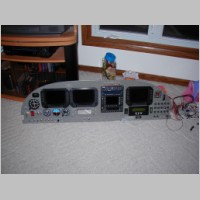
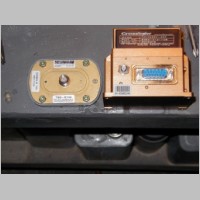
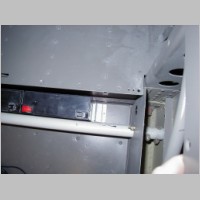
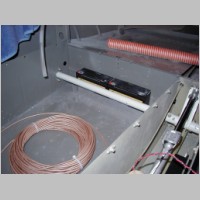
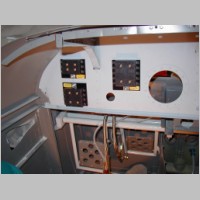
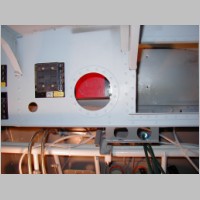
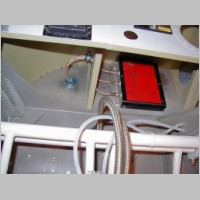
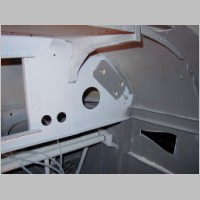
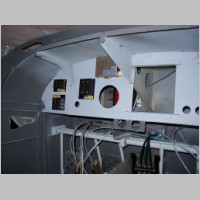
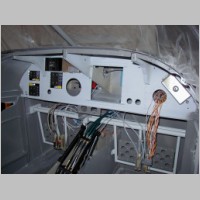
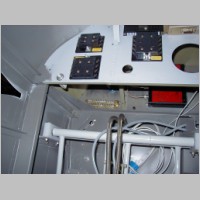
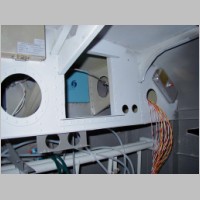
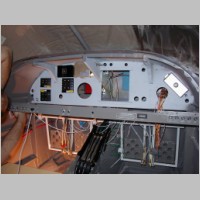
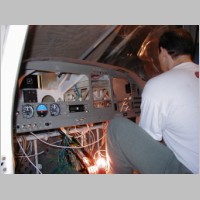
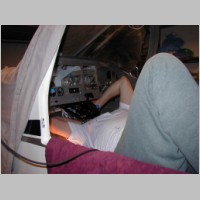
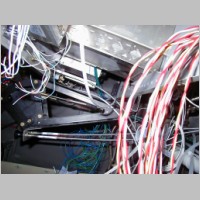
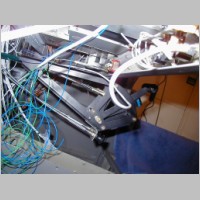
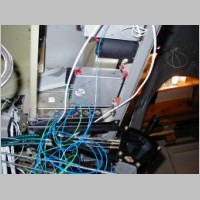
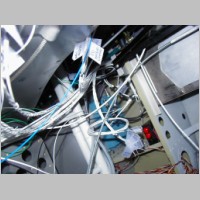
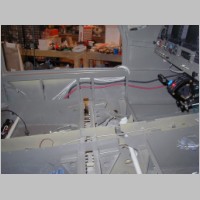
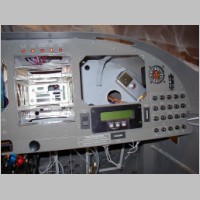
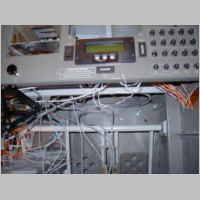
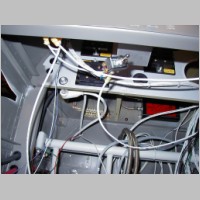
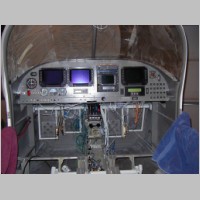
Under The Panel
There's too much here to explain, so I'll let the photos do that
for me. Suffice it to say there's a LOT of stuff under the panel.
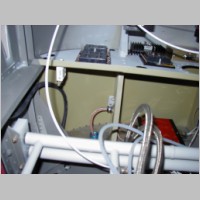
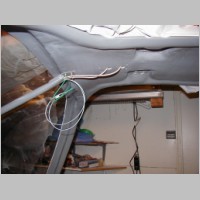
There is a photo here of where I routed my antenna wires for that
cabin top antenna. Now I just have to find a good way to conceal
the wires.
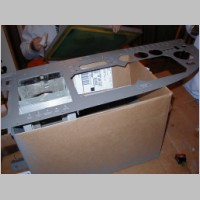
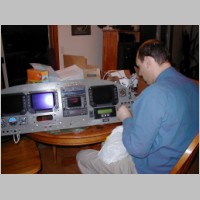
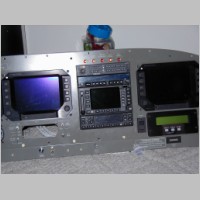
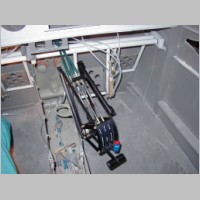
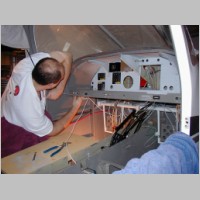
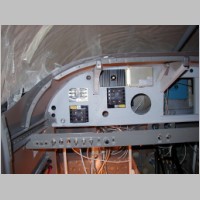
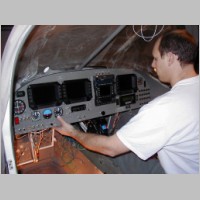
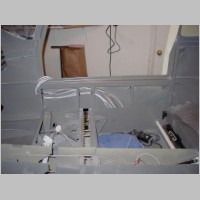
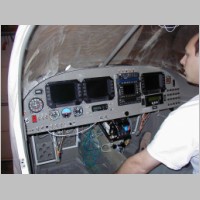
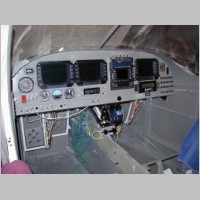
The Panel
Ahhhh, this is what it's all about. I finally got to a
point where it was too hard to make harnesses without having the panel
in the plane. To many routing destinations between systems, and I
don't want a ton of extra wire lengths. Building the panel would
be easier if you had the entire panel upper deck off the plane and in
the house, but I don't, so it's easier to do it here now.