Misc. Fuselage Tasks - Priming, Installing Floors, and More
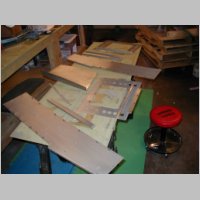
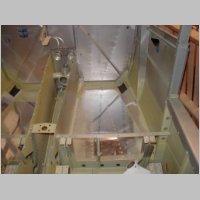
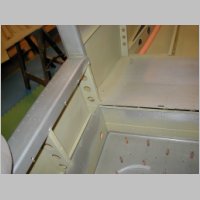
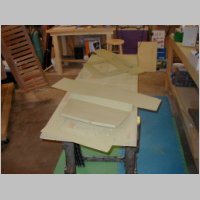
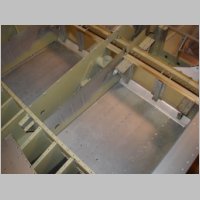
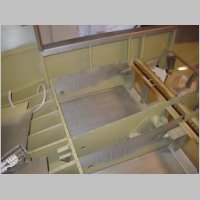
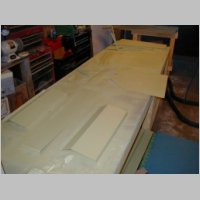
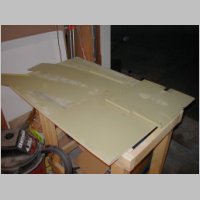
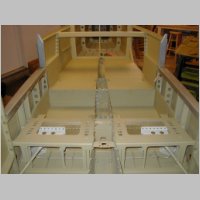
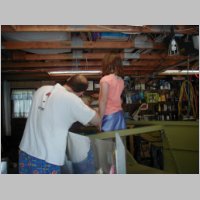
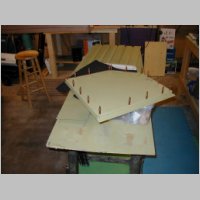
Added 5/22/2005 - 590.4 Me Hours, 635.1Total HoursHere there was a variety of stuff accomplished. The description and photos won't do the work justice, but it took hours to do all the prep. I did get the step installed. They had at least one bolt that was Waaay too long, requiring something like 5 washers if you wanted to make it about right. I just got new bolts. I primed all of the floor and wall panels underneath, so they could be sealed up. Then later I ended up priming the other side of most parts.
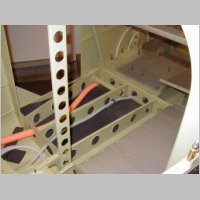
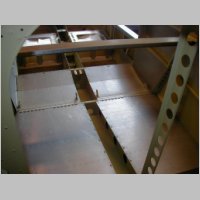
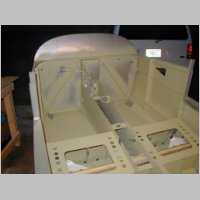
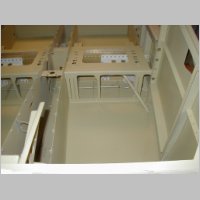
I riveted in the rear floor panels, and it found one of what I'd call the "impossible rivet" Just on the left and right side of each floor panel, the forward most rivets. They're hidden by seat brackets and impossible to get to with either LP4-3 pop rivets, or hammered rivets.
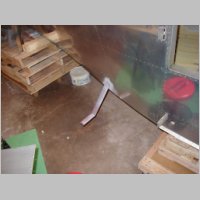
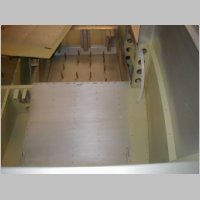
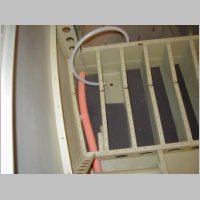
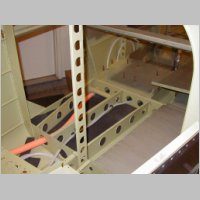
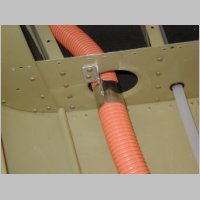
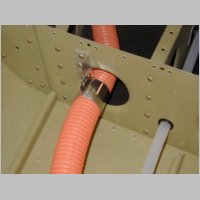
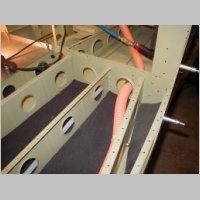
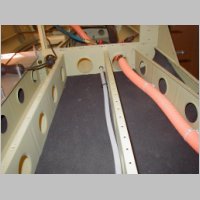
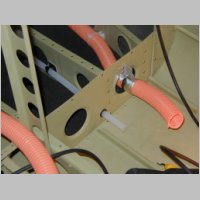
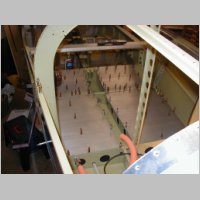
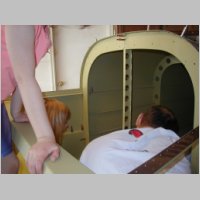
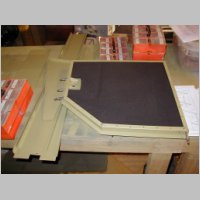
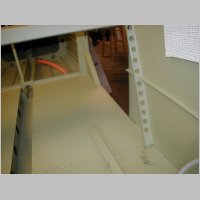
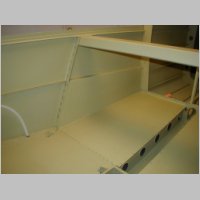
I finished soundproofing the floor of the baggage area, and routing conduit through. My 1.05" ID corrugated conduit is wire-tied to bolted on tie-wrap blocks onto the ribs...that conduit isn't going anywhere. I also ended up running a 2nd small 3/8" I.D. tubing conduit from the outer panel of the rear seat, through 3 seat ribs, and then rearward to the tailcone. This is for the left and right wing strobe wires. I've heard you can run them with the rest of the stuff, but since I don't want to worry about noise, and you couldn't correct it easily later, I just ran that 2nd conduit. Now they'll go all the way from tail to wings as a separate wire, and in the wings they'll be separate too. I also fashioned a special hanging bracket for the large orange conduit where it comes out a lightening hole in the rear bulkhead. It's not kosher to just run the thing out through the hole and let it flop, so I secured it so that it won't rub on the hole, and can't drop free. Self-designed brackets and all. Took some time, but I now can say I did it right.
I spent a lot of time with my pop-rivet tool. My right hand is ready for action now. Those floor panels and seat panels get strenuous.
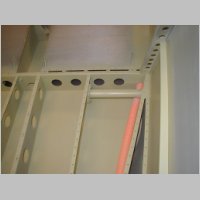
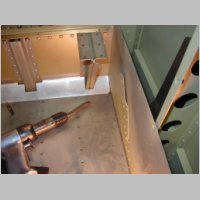
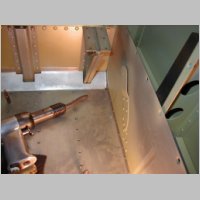
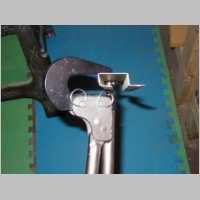
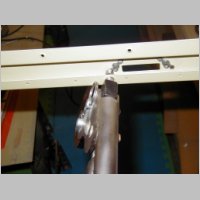
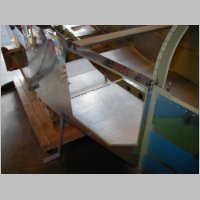
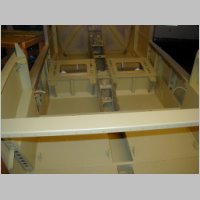
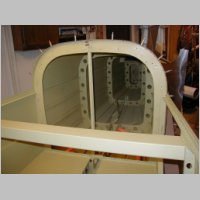
My 2nd "impossible" rivet turned out to be possible with a modification. The rear baggage door bracket has 2 nutplates on it that you can't
rivet one of the rivets each on. I ended up putting a hole in the back flange of the bracket (won't be visible and won't matter), that is
just wide enough for the thinnest rivet set in my squeezer. Then I could squeeze them. See the photos for more.
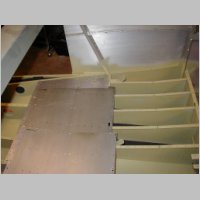
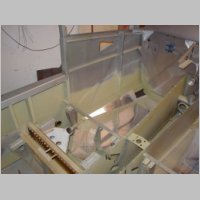
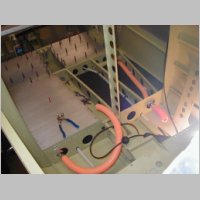
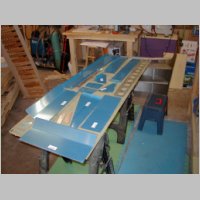
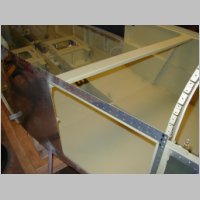
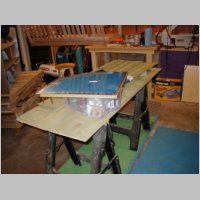
Then I riveted the floor panels in place, and scuffed all the parts. I primed them in prepartation for painting the interior. Just have to pick out some cool paint to match my seat fabric now. I primed the entire interior except for the stainless part of the firewall. Note: I didn't mask off my brake lines. That's the only sloppy mess I feel a little bad about. Oh well, I can either try to clean them off, or just not worry about it. They'll be hidden anyway.
I started the baggage door, but found I was missing the hinge and now I'm hung up on that again. At the very bottom of this page, you'll see a current list of missing parts for the QB fuse...at least at my time of shipping.
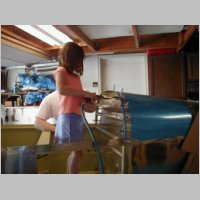
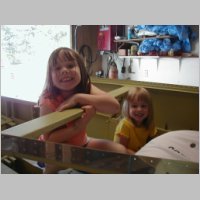
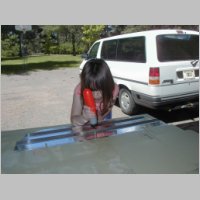
You can also see that I had visitors in the shop. I taught my 4 and 6 year olds how to drill, and the 6 year old did a little deburring for me. I shoulda waited to start this kit for another year or two....I could then have just hung out in a lawn chair and paid them an allowance for building my -10. Kids are supposed to listen to their parents, right?
|
|
|
|
|
|
|

|
|
|
|
|
|
|
|
|
|
|
|
|
|
|
|
|
|
|
|
|
|

|

|
|
|
|

|
|
|
|
|
|
|
|
|
|
|
|
|
|
|
|
|
Home | Previous | Next
If you have a QB fuse, you probably should check the quantities of some of these parts. Some are not even listed on the inventory sheet. If you have more to add to this list, send it on and I'll perhaps post this on the website.
Front Floor panels:
If you didn't get the floor panels, you probably didn't get the hardware needed either. They will send that with them. I was still short 8 CS4-4's in that hardware pack. Also, there were no K1000-3 nutplates to put under the front legs of the gear brackets (the ones that bolt through the floorpans). Hardware bag 1455 includes 2 K1000-3's, but you need 4 to do the floorpans. You probably should get a couple extra K1000-3's because if you were short already by 4, who knows how many more will come up.
I got tipped off from another lister and found these missing too:
For brackets holding fuel/brake lines under front seats:
AN515-6R8 (qty 8)
AN960-6 (qty 8)
AN365-632 (qty 8)
I found you will be real short on the K1000-8 nutplates. They do include 40 in the hardware bags, but I found at LEAST this many required:
P. 28-7 (6)
P. 32-5 (2)
P. 33-7 (8)
P. 33-9 (5)
P. 34-7 (4)
P. 35-3 (8)
P. 41-5 (6)
P. 33-10 (24)
That totals 63. How they missed by that far I have NO idea.
AN257-P3 Hinge:
I have a 3' piece, but you need to have about 3' for the 2 rear seats, and about 2' for the baggage door. I'm going to press on and cut my 3' piece for the baggage door and get them to send another 3' piece.
MS21053-L08
None are in hardware list, but 4 are required on Pg 35-3.
AN3-6A
4 are required per side....attaching the control bracket under front seats. pg 28-14. None are included in the inventory list.
F-6114B and F-6114C: These are blocks that go in the rear baggage wall...I think for friction prevention where the seat belt cables come through the rear wall. 2 each are required on P. 33-10, none are in inventory.
LP4-3's: They send a quantity of I think 275, but I am now running out. I can see that I used 196 on the rear seat area, + 39 in the baggage area for misc. panels, + 14 in the rear passenger floors. Then you get to P. 35-3 to put the bottom on the bracket that holds up the rear seat and it requires 50 right there, pushing you over the top.
You will need to buy a Baggage door lock ES A-510-2K with Mag Switch or you won't have a way to latch your baggage door.
On the front section, right above and behind the NACA vents, there's a "wire cover" that gets screwed down. There are 3 spots for nutplates pre-drilled in the longeron F1040-L & -R. They hold down the wire cover F-1042G-L&R on page 35-7. My longerons are pre-drilled. I couldn't find the spot in the plans where these get drilled for nutplates, or if it's done at the factory, but, I also couldn't find out where the nutplates are installed, so I have no idea what type are supposed to go there. I'll have to call in to verify this.
Hopefully this list will help you people with QB Fuselage's not get stuck at various points along the process. I am very frustrated that every time I went into a section, I ran into a barrier of a missing part or something that had a dependency. Then I'd start another section and go until I ran into another missing part. I would not be nearly as
bothered by this if at least once in this process I heard of a builder that actually got contacted by Van's, and told "Hey, we figured out that your kit was probably missing these parts....if you check for these, we'll send you out some if they're missing". But, it looks like they just fix the quanties in the kits....and they let the previous buyers slide until they figure it out and complain. That bugs me a bit. I got QB fuse # 40, or is it #44....but I suppose that's still early enough on
to be finding mistakes.