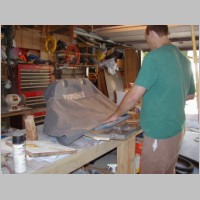
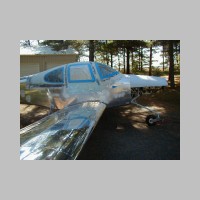
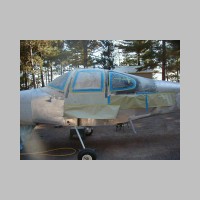
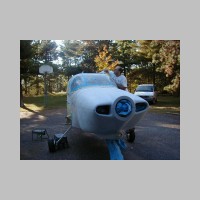
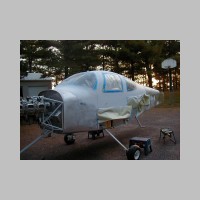
And ... More Pre-Paint Body Finishing (plus Door Covering)
Added 10/2/2005
- 1087.1 approx. Total hours (952.7 by Me)
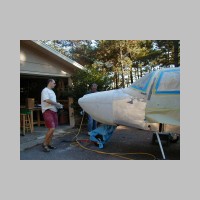
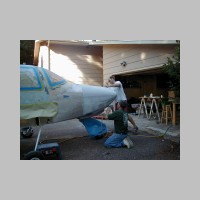
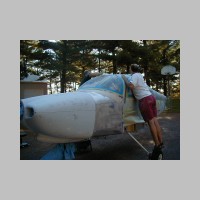
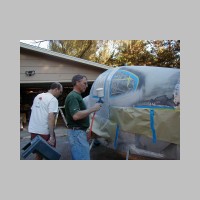
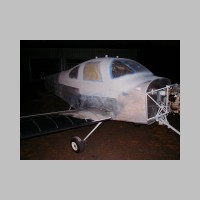
This week I
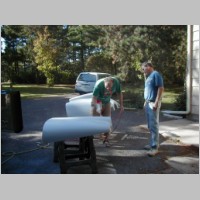
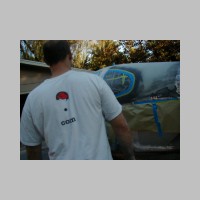
took some time away from work and worked with my Wife and our friend
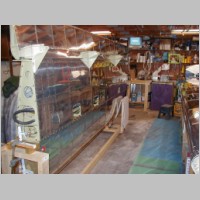
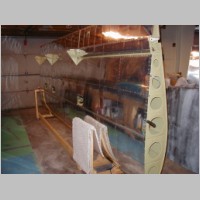
Bob, who's been top notch paint prep for the project. We put in a
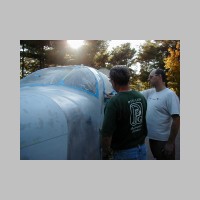
good amount of time this week, and really got the fuselage a long way
towards painting time. With Bob's information connections, we
also got wind of a really helpful product for the finishing of the
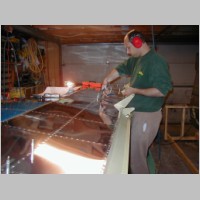
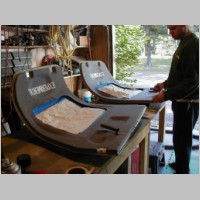
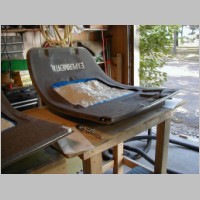
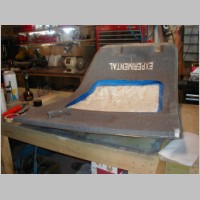
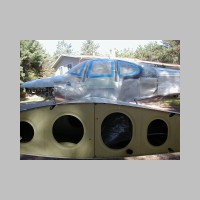
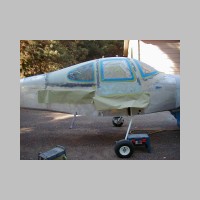
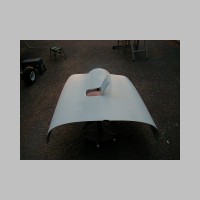
fiberglass parts. What we're finding is that the PolyFiber
Smoothprime stuff just isn't doing as good a job as what we're finding
with other products. The polyfiber stuff does a fair job of
filling some of the initial pinholes, but it leaves way too many of
them. Perhaps it would have worked better if I sprayed it on, but
rolling it on isn't so fabulous. Those cowlings come with
millions of pinholes that really need to be filled or it will look
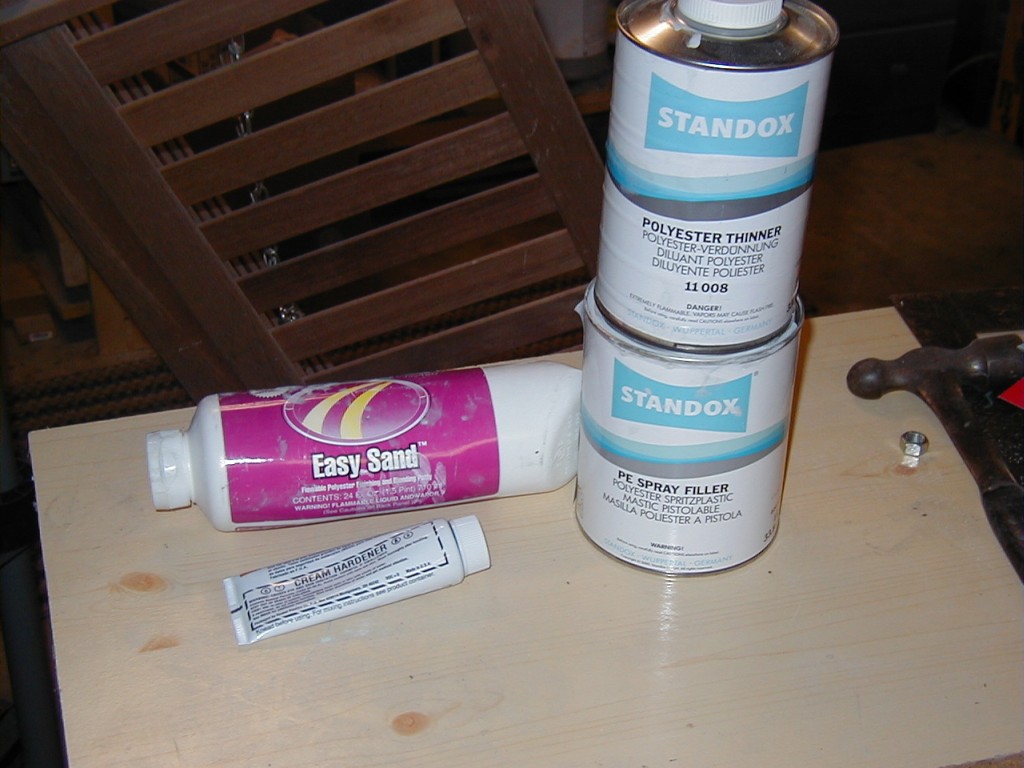
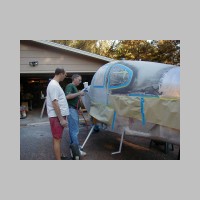
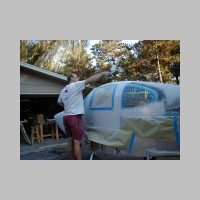
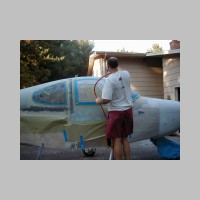
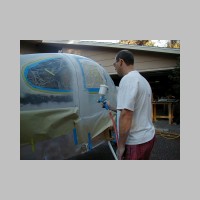
pretty bad. What we're finding is working, is some polyester
fill. I've had 3M Flowable Finishing Putty recommended, which I
think would be great, but at the paint supply place, I picked up some
Easy Sand, which is very similar. You squeegie it on very thin,
into the pinholes, and then it's ready to prime over with K36.
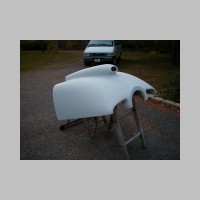
But, we also found another fantastic product for the prep job.
Under a couple of names, you can find sprayable polyester, which
goes on ok with a 2.0 gun, or better with a 2.5 gun (use an OLD
gun...it sets up in the gun within 30 minutes). You will
probably want between 3 and 5 coats of primer for some areas, but with
the spray poly, you can cut this way down. With this, you get a
nice hard sandable eggshell finish with one coat, that probably equals
3 coats of primer. Then you can thin down the K36 a bit and spray
it as a nice finishing primer. It's cheaper than the K36, so
you'll get by with much less. I wasted a bit of K36 between the
inside and out, but I'm already about to start my 3rd quart. I
think if I'd have used this spray poly right off the bat, I could have
eliminated that 3rd quart easily.
Nutplate Tip: Make sure
you buy a pile of K1100-08 nutplates. I can tell that the kit
shorted me at least a couple dozen. I had a few spares, but
nowhere near the number I needed. Do yourself a favor and buy
about 30 or more of these as spares. This time I'm not even going
to bother calling Van's about them...I need them faster than they ship
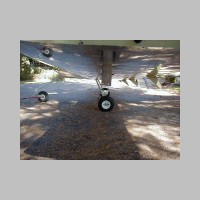
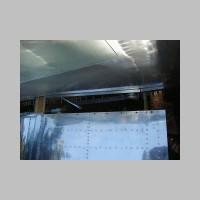
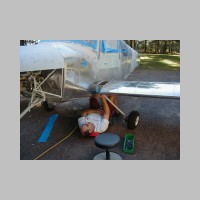
them, so Aircraft Spruce is where the order goes.In addition to the body finishing work, this week I closed up the bottom skins of both wings. That job takes FAR longer than I imagined. You can probably do it in one day if you try, but you'll be riveting with very little stops, for almost ALL of a day. I took a day and a half or more and got it all closed up. I was surprised that if you're really determined, you can do the entire bottom skin without any blind rivets. I used about 5 on each wing, in various places, but I wouldn't have had to. But, you'll need REALLY long arms to reach some of the areas.
We also finished the installation of the fabric on the door insides. This went well. If you contact Abby at Flightline interiors, she has the entire door patterned out and can send you door fabric panels with the "Experimental" embroidered on them. It goes on upside down, so when you open the doors it will read properly. It looks just fantastic. When applying the fabric, keep it stretched well side to side. I used 3M's General trim adhesive. The Super 77 just isn't holding things as well as I was told it would. When it came to the door latch area, I made a "U" shaped thin aluminum coverplate, with a notch cut for where the nutplate is on the bottom of the door latch, and glued it onto the latch mechanism with E6000. This looked and worked really well for covering that area. I also shortened the bolts
a tad, so they wouldn't push thru the fabric.
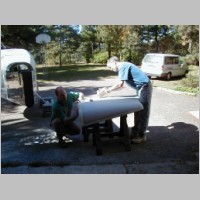
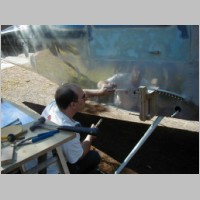
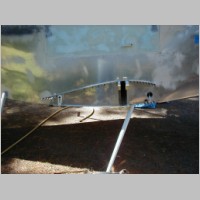
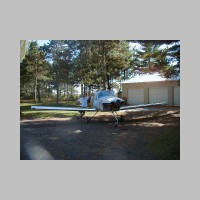
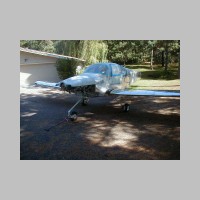
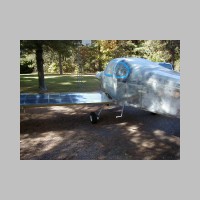
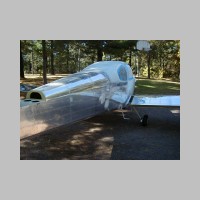
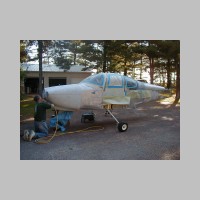
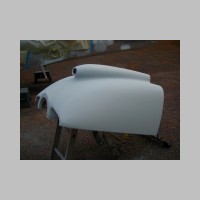
Then came the wing attach! That was way easier than I expected, and a lot of fun to do. We got the wings on in about 5 minutes each. Make sure you have a few LONG (like 8") 3/8" hardware store bolts...and CUT THE THREADS off. You'll use these as temporary pins to hold the wings on. I happened to have some in my arsenal that were brand new. Without them, you'll be making a trip to the store. With the wings on, I fit the wing root fairings. This wasn't all that fun, as they needed a bit of trimming. Be careful as you trim. If you attach the bottom, it will appear to scrape the fuselage as you wrap it around. If you don't pre-curve these properly before you attach the wings, you could easily end up trimming too much off of the edge, thinking you need more clearance....but, when you get the proper curve to the aluminum, you'll have an extra large gap. The top ones take some trimming too, which goes a bit easier. Oh, and the bottom farings....peel the plastic off and watch the prepunched hole alignment. I have a feeling that a couple of the hole spacings are off just a tiny bit, which makes you have to practically stretch the fairings to get them all in place. Mine came out pretty reasonable, but they took some time.
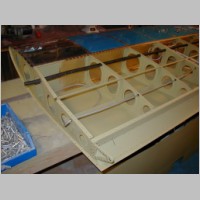
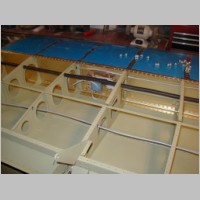
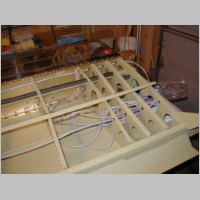
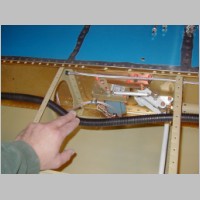
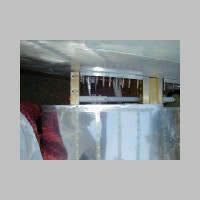
You'll see from the photos below, my wings have conduit, and I added another set of 1/4" snap bushings for the strobe wires. You don't have to run the strobes separately if you use shielded wire, but I decided to anyway. My conduits have lots of extra space for more wire in them this way, because with HID's and LED Nav lights, my wire sizes are pretty small.
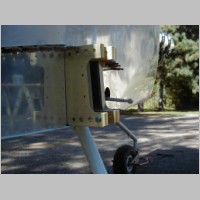
One more thing: The Gretz Pitot. I installed the pitot mount when I did the bottom skins. Previously you probably saw my photos about preparing the mount. This is just a follow-up note to say that when it came time to actually rivet them in, there was nothing too it...everything went perfectly.
Well, with a couple more days of body prep, we'll be all ready for painting! Maybe this coming weekend we'll knock out a section or two...weather dependent, as I'm hauling it to a paint booth.
|
|
|
|
|
|
|
|
|
|
|
|
|
|
|
|
|
|

|
|
|
|

|
|
|
|
|
|
|

|
|
|
|
|
|
|
|
|
|
|
|
|
|
|
|
|
|
|
|
|
|