Painting N104CD in White
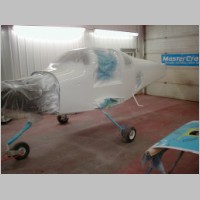
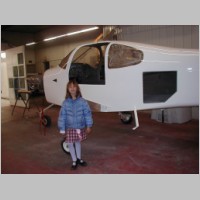
Painting Day finally arrived! While I still have a couple of pieces of fiberglass to deal with, there should be far less fiberglass, epoxy, and filler dust in the shop from now on! It's a relief to be done with this step, and it was right by my hopeful timeline, due to the decreasing temperatures.Still ahead, we have to paint the silver and blue trim stripes on the VS, the Fuselage, and the Wingtips, which we will be working towards over the next couple of weeks as time permits. I am going to try to arrange for a vinyl template to be made for the N-Numbers, to make for precision painting.
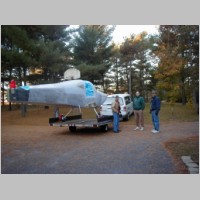
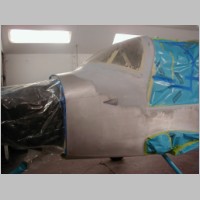
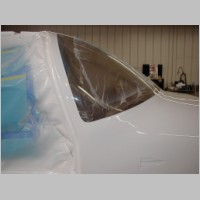
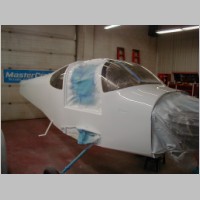
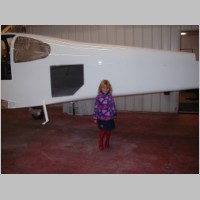
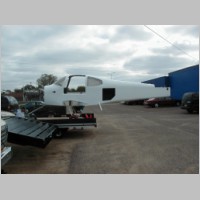
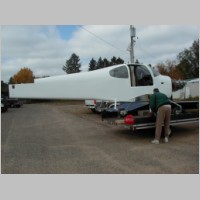
As far as the painting goes, many people know that it was my intention to paint the plane myself at home, but as things came together, I ended up in a "too good to pass up" situation. With time running out on the weather, I decided to look for some help with the paint prep. A stroke of luck happened and I met a perfect match, a friend of the family (Bob), who had the time, and loves airplanes, and spent 30+ years in auto body. What more could you ask for! As we worked on the pre-paint prep, I know we spent at least 100-125 hours of preparation. The fiberglass takes a lot of work. The wings and other parts aren't too bad. Bob really helped a lot with things that take alot of time to get right, like the windshield fairing area, the cowlings, and places that required some precision sanding. We all worked through the pre phase as quickly as possible, and having that help really maked it much more bearable. I would really suggest that this is a great place to get some extra help, even though it isn't a necessity. Well, being in the business, Bob knows lots of people in painting, and we had the opportunity to use a real auto body paint booth for a weekend. I decided that although I really wanted to give it a go at home, with the colder weather I would be better off using the booth. It saved me buying some good lighting, plastic, kerosene for heat, and the time to build the booth. The stressful part was figuring out how to haul the plane and wings to the shop. In the end, we hauled it on my snowmobile trailer. SEE HERE The wings were easily hauled using the wing stand, secured onto the trailer as well.
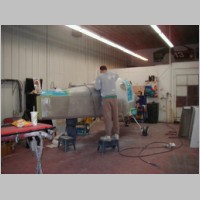
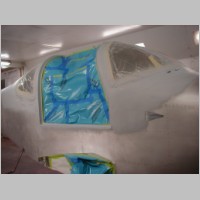
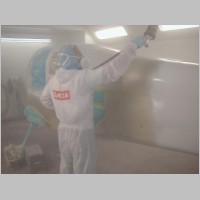
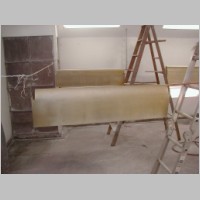
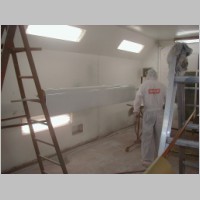
We saved the scotchbriting, the masking, and the degreasing work until we got to the paint booth. That's where the painting plans changed a little bit. I had intended to spray the paint, but there was a mountain of pre-painting scotchbriting to do. We prepped the fuselage and then rolled it in for painting. At that point, I decided that with a real pro available....the Obi-Wan Kenobi of the paint gun, I should do what I can do to make this job the best it can be, which is get that prep work done. I sprayed a couple of small areas, but Bob did an excellent job and shot almost everything. Good thing, too, because it turned out VERY nice, and we were able to be very conservative on the paint and other materials.
As far as the paint itself goes, we used the following: (All PPG products)
- K36 Primer + K201 Catalyst for high-build sandable surface priming of all Fiberglass parts
- DX1791 + DX1792 Wash Primer for the etching of all Aluminum surfaces
- K36 Sealer/Primer + DMC900 (concept paint - white) + DT870 Reducer + DCX61 for sealing all of the surfaces, required for those surfaces sprayed with DX1791+DX1792
- DMC900 white + DT870 Reducer + DCX61 Catalyst for all paint coats
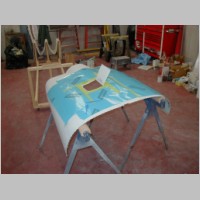
- DX685 Flattner was used for all interior surfaces to reduce shine, especially the panel
- DX330 was used for cleaning all parts at least 2 times before spraying began
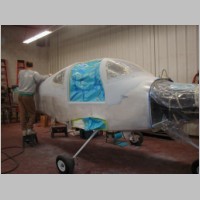
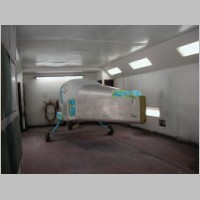
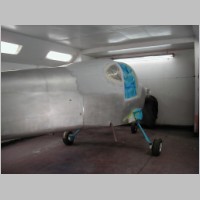
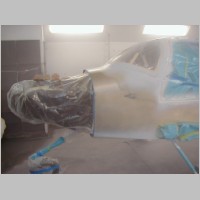
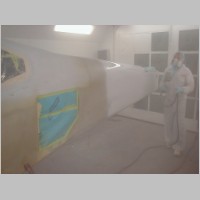
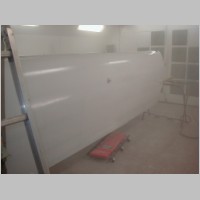
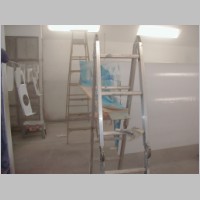
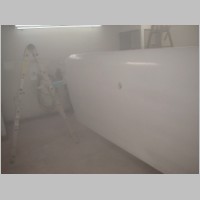
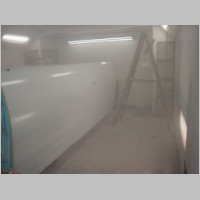
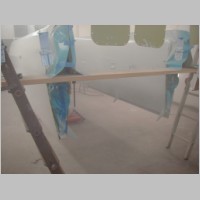
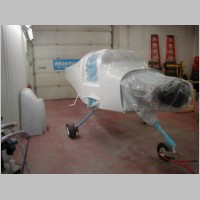
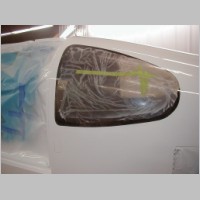
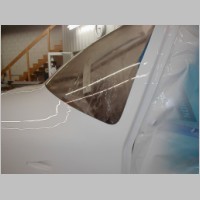
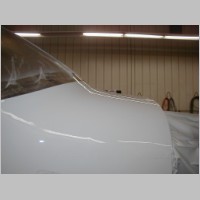
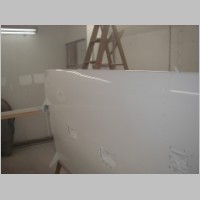
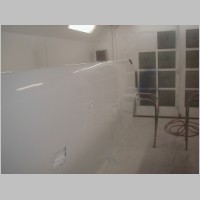
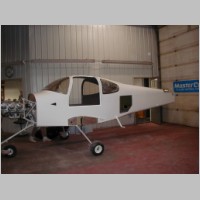
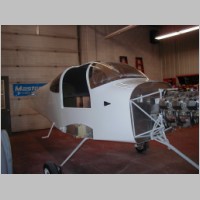
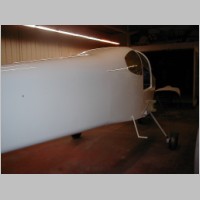
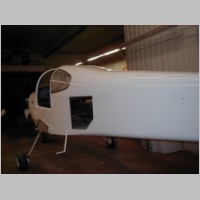
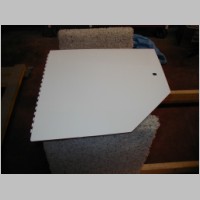
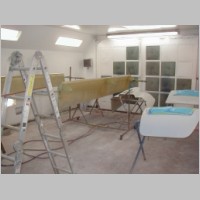
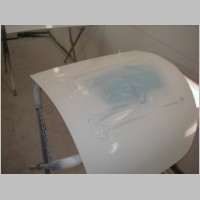
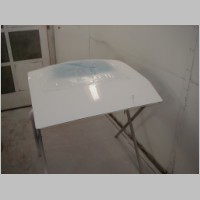
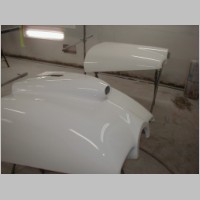
Below are the photos from the paint shooting. The actual spraying, if set to the proper spraying pressures, is very easy. It's just a continuous back and forth, with 1/2 pattern overlap. For me, the learning experience was that I have always sprayed things on a little heavier than Bob did, going for a full solid cover on each pass, without doing nearly as much overlap. This is probably why I have sometimes sprayed too thick and had the tendency to run. After watching Bob though, I know I could do a great job painting on my next paint project. The primer that I sprayed on the inside turned out very reasonable too.
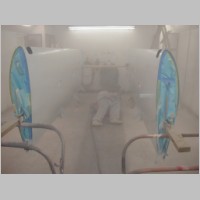
Since some have asked.... The spray gun used was a SataJet RP 1.4 gun. I myself bought a Satajet RP 1.4 Digital II gun, which seems like the ultimate gun for the job. It requires a little less volume than a full HVLP, but obtains similar efficiencies, at slightly higher pressures. The Digital II is nice, in that it has a built in digital pressure gauge and regulator in the handle, so you don't need the extra regulator sticking out the handle. This allows you to get into tighter places with it, and is great when painting the belly. One other tip...during the belly painting (actually, for all of it), Bob used a disposable cup insert. The gravity canister is replaced by a plastic shell, that contains a flexible paint cup. The cool thing is, it makes it easy to paint upside down because as the paint is used, the container collapses, so there isn't a lot of air volume in the container, which keeps the fluid down towards the bottom, even when almost upside down. Very handy little things! Another tip: When doing the belly, use a creeper.
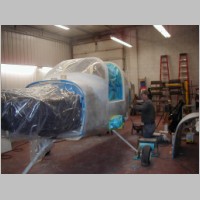
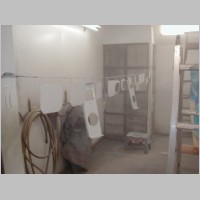
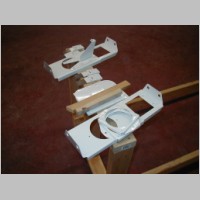
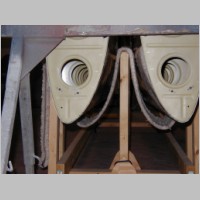
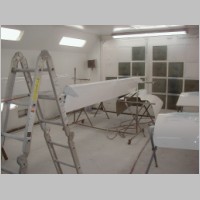
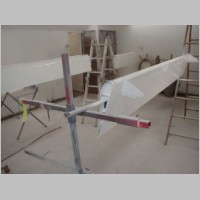
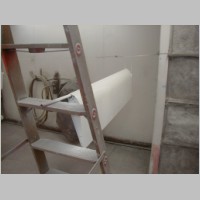
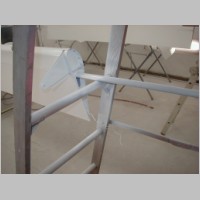
The photos below may be useful for helping you figure out how to hang or support items for spraying. You'll notice that we needed things like 1/2" copper and 1/2" PVC pipe, some 2x10x8' boards (you could use other widths) and ladders and stands to hold things. You just have to get creative, although I think we did a fantastic job coming up with some ways to hang things for best fit into the booth and ease of access. The wings were the hardest to figure out. Safety wire (.041") was used to secure some things from swinging. You also may notice that I have not yet attached my air inlet ducts. I missed this, in the delay trying to figure out how to fit that vent under the panel. I noticed that Randy screwed his in, and filled the screw heads so they're invisible, then filled inside the NACA duct. That looked really nice. I won't screw them anymore, since it's painted. Van's specifies Proseal, so I might use that, but that E6000 is looking like a very good option for these, so I might do that too. Also, the NACA duct on today and it looks pretty good without the filler inside, so I might not try to do anything there, either. Time will tell.
Hopefully it won't be too long and you'll see photos that include the color striping!
|
|
|
|
|
|
|

|
|
|
|
|
|
|
|
|

|
|
|
|
|
|
|
|
|
|
|
|

|
|
|
|
|
|
|
|
|

|
|
|
|
|
|
|

|
|
|
|
|
|
|
|
|
|