Battery Box for Odyssey PC925, Spinner, Door Latches
Added 8/30/2005
- 908.4 approx. Total hours (814.0 By Me)
When I first set out to choose a battery, I wanted one with a
longer run time and more cranking power. I know many people opt
for light weight, and some opt for dual main batteries that need to be
connected for starting. In my plan, I'm using a larger main
battery for cranking during our cold Wisconsin winters, and a bank of 4
smaller batteries in a series/parallel arrangement to act as my
space-saving aux. batteries. (More on that in previous and future
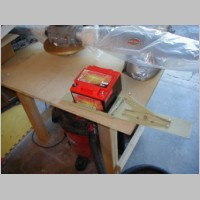
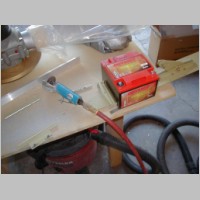
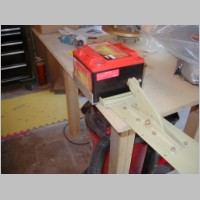
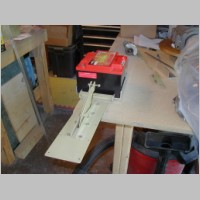
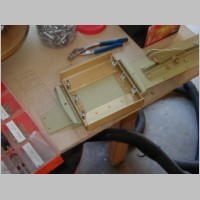
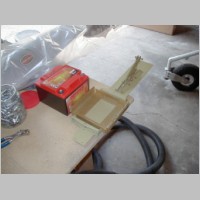
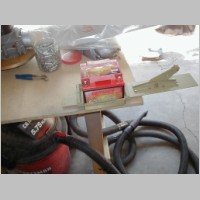
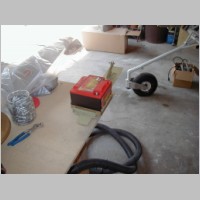
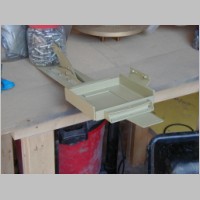
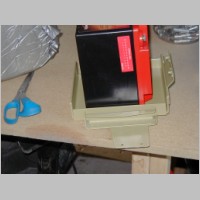
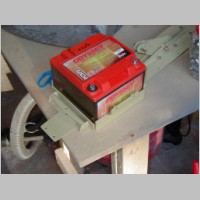
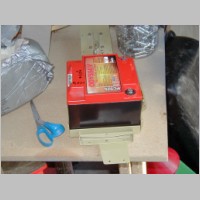
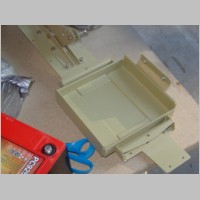
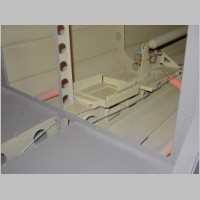
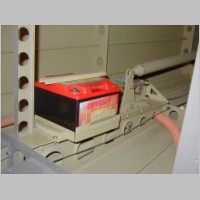
sections.)Unfortunately, the PC925 isn't necessarily the best match from a form factor perspective. This made it a requirement to modify the battery mount, which was really easy and no hassle at all. All you need is a couple feet of 1-1/2 x 2" x .125" Angle. The photos below illustrate it very well. In the end, the battery fits great, the box is strong, and it should work out just perfect.
Anh Vu had another thought for his, although I don't know his final plans. He may mount his battery on it's side, since the Odyssey's can mount in any orientation, being dry cells, and have the terminals come off the side. This will also work very well, as the battery on it's side is about .125" narrower than the existing tray, and the battery is roughly an inch shorter than the existing tray. I myself just feel more comfortable with the old standard cables on the top....that and I hadn't thought of Anh's idea before I started either.
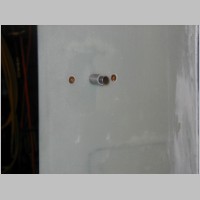
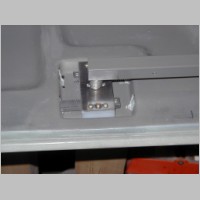
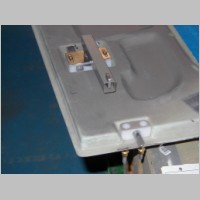
The door latch pins aren't too awful tough to install, and the latches are coming along nicely. I'm scattering my jobs right now, doing whatever is best to fit my nightly schedule. The hard part about the door pins is getting the bend just right to come out into the latch pocket in the right spot. Also, if you don't cut good sized holes for your latch gears on the sections that will be pinned to the latch pins, your straight pin will rub on the door and the latch will stick. Just make sure it operates smoothly.
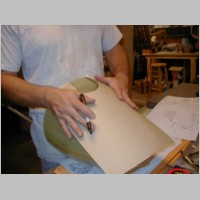
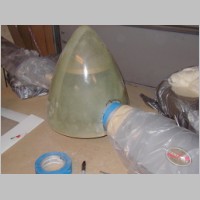
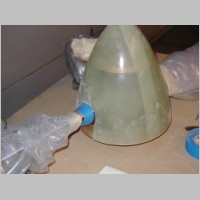
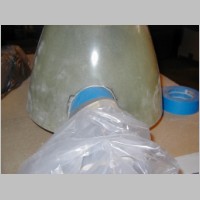
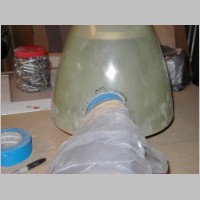
The spinner cutting so far is going perfectly. I used a carboard form to mark around the blade. I needed a little help keeping it curved around the spinner backing plates, and then I transferred the hole template onto the spinner. I found that I needed to do a little custom trimming afterwards, because my carboard template tapered inward a tiny bit under the blade, but other than that initial issue, the trimming so far went flawlessly. I rough cut it CAREFULLY with the cutting blade provided for the windshield, and then I used a die grinder and sanding drum (small coars one first, larger fine one later) to sand it to my marks. Do make sure you tape and replace tape often when test fitting or you'll scratch your prop blades. I'm trying to be extra careful with my new Hartzell Blended airfoil prop!
Moving right along now...
|

|
|
|
|
|
|
|
|
|
|
|
|
|
|
|
|
|
|
|
|
|
|
|