Door Latches - Landing Gear Finishing - Rolling it Out - Prop. Governor - Spinner Backing Plate
Updated 9/5/2005 - 900.0 approx. Total hours (805.9 By Me)
Things look like they're moving real fast at this point, although I haven't put as much time in as I'd like to. Hitting another 100 hour mark is a good feeling though. I'm hoping to make about 100+ hours / month for the next few months and fly within about 1600 hours. I'll be hoping to be in the air by early March.
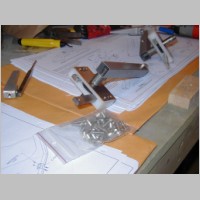
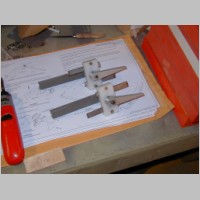
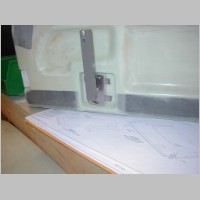
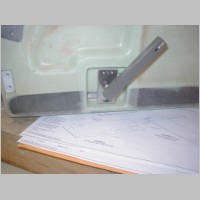
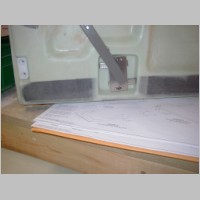
The door latches are now going together. I still have to finish installing them in the door, along with the latching pins. The door latches themselves are pretty "per-plans". When it comes time to put the roll pins through the handle and compress the spring, you'll probably need to file the flats of the handle a bit, or the button pin won't slide back and forth very well. By operating the latches, you can identify which is the left and right side. I thought the screw would be on the bottom when closed, but that's not correct. The screw in the center of the handle is on the top when latched. Also, when latched, the end of the bar gear that has the hole in it will be extended too.
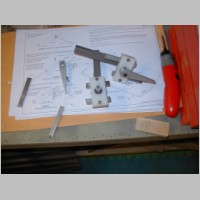
Randy has an awesome tip for the section in the 2nd row of pictures, where you mark the door for cutting holes where the gears go through....
The tip is, the latch pocket is too narrow to do the procedure as the directions show...the gears are too wide. So, you remove the gears and just use the left-over middle section of gear that you cut out previously, and use that for marking the holes. See my photos and you'll see I have the smaller gear stubs in place. I haven't cut my holes or marked them yet though. On to other things...
You may find small shortages of hardware in the finishing and Firewall Forward kits. Originally I thought it was worse than it is, but it turns out the engine mount bolts are not with the general hardware....look for the EA DYNA BOLT KIT. I was shorted the AN7-26 bolt for the nose gear, some AN fittings for on the firewall bracket, (Oh, don't forget if you're using a hobbs to order the oil pressur switch from Van's before you get here), and some AN960-616 and 716 washers. So, I was slowed down from finishing the gear for a couple days. Right after getting off the phone with Van's, I started punching in an order with Aircraft Spruce to order my towbar. (Order the RV style Bogerts Bar...about $80) I ordered extra washers and nuts for many sizes. On the phone with Gus, I had asked where the 1/8" pipe plugs specified in the beginning of the FWF kit plans were (actually, the plans incorrectly specified 1/4"). He searched and said they're in bag 523-1...(or was it 532-1...I can't remember) Anyway, I didn't have that bag, I only had the one without the "-1". That indicates a change that happend later on.
Parts update: 8/31/2005
It's been requested that I go a little more in depth as to what has been missing hardware lately. I guess some of you are using this to your benefit, which is great and I'm glad it saves you a hassle. Here I'll try to update you with what I've found recently. My advice: Order some spare AN960-10 -416 -516 -616 -716 -816 washers (and "L" versions too). Also order some spare nyloc nuts in those sizes, and some spare nuts of the all-metal and AN310 varieties.
Here is the FWF Kit Hardware list: (Please note that these lists probably change as they figure out what they're shorting people, so you may have different quantities at your time of purchase)

Additionally, I have the following hardware listings here:
Fuselage Kit (QB) .pdf
Finishing Kit .pdf
Finishing Kit
Bag 1535
FWF Kit
Bag 1529
Part on bag is listed wrong as AN960-61S (should be AN960-616)
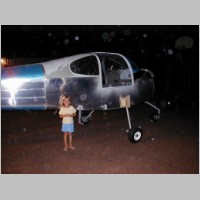
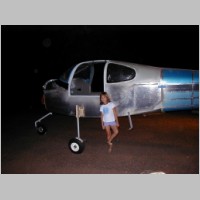
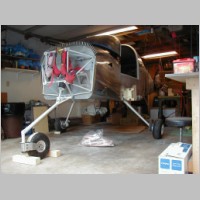
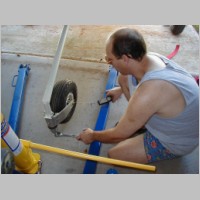
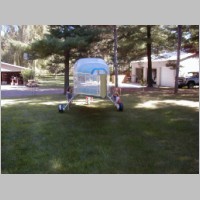
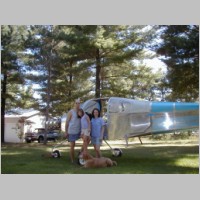
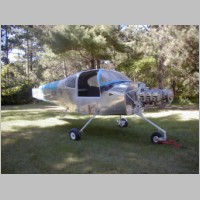
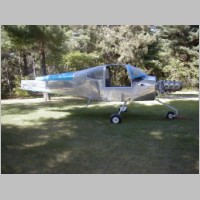
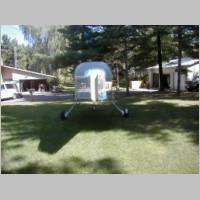
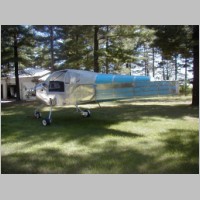
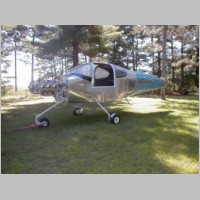
Anyway, the Towbar worked great, and we got the plane out later one
night. That was fun, but it was too dark to really get the full
effect. You'll notice that I used some scuba weight belts filled
with lead shot pouches to hold the front end down. You'll need
maybe 50 to 75 lbs to keep the plane's nose on the ground once the gear
is on. I couldn't find my fish scale, so I didn't test and set
the breakout force of the nosewheel right away, but did it with the
wheel attached after hanging the engine. It was very hard to get
it right at 26lbs. You have to hold the nut from turning while
you pull the tire and measure the force. As it ended up, they
pre-drill the nose leg, and the pre-drilled location was right between
2 slots in the nut, so I went about 90 degrees to the other pre-drilled
holes and drilled 2 more. I thought this would be a better option
than having the breakout force be way off. Ideally, we'd have
some shims that we could put in there and adjust the stopping position
a bit.- Missing 2 SCREW 3/8-24x1 Nose Fork Screw
- Missing 1 cotter pin MS24665-360 (have 2 for mains, none for front) pg. 46-5/46-6) (these are cheap, order tons of spares. I ordered too many spares...so if you come visit I'll give you a few)
- Missing 1 AN7-26 (Finishing Kit)
- Had extra AN6-24
- In Finishing Kit, 2 AN822-4D's required on Pg.46-07 for brake calipers....are they in fuselage kit, not on Finishing Kit list?
FWF Kit
- No F 1/4" pipe plugs (These are actually F 1/8" pipe plugs....plans are wrong)
- Apparently they updated the bag, mine was 523, now there's a 523-1. Bag 523-1 not shipped
- Doesn't have any AN822-4D's (Required on FF1-3)
- Bag 522 doesn't have any AN816-4D (FF1-4)
- Bag 522 doesn't have any AN816-8D (FF1-4) *** Update 9/5/05 - Not required per plans revision
Bag 1529
Part on bag is listed wrong as AN960-61S (should be AN960-616)
- Missing 4 AN960-616 Pg. 46-04 (2 per axle)
- Also need 2 more from Pg. 46-06 (front axle)
Continued ...
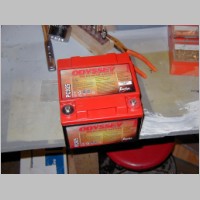
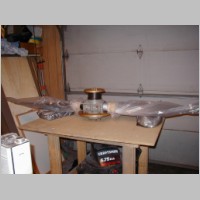
Another shot below shows the Odyssey PC925 battery that I bought. I now will be modifying my battery tray to hold this battery. More on that later.
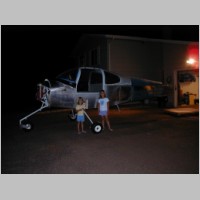
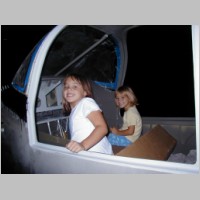
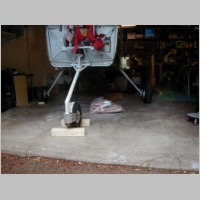
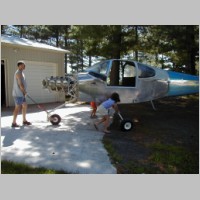
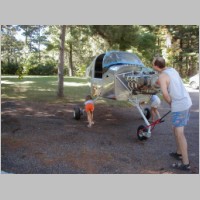
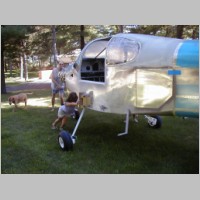
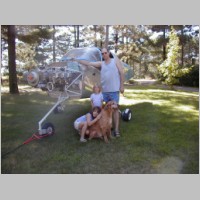
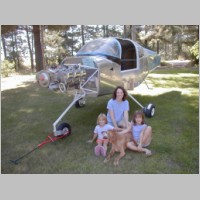
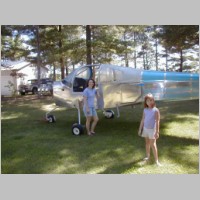
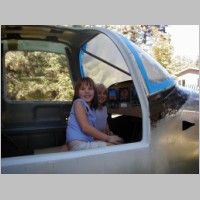
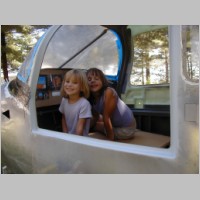
After everything was done, and the Engine hung (Same date, different section) we rolled it outside so she could see the sky she'd be flying under. Being daylight, it was a great time to enjoy it all. The kids loved it and are getting pretty excited at the prospect of the Disney vacation they've been promised right after the flyoff period is done.
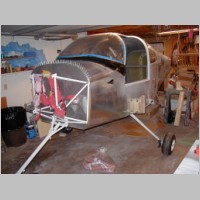
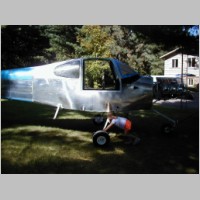
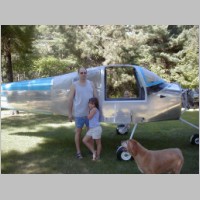
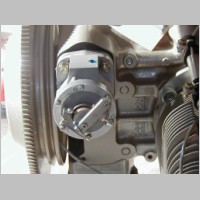
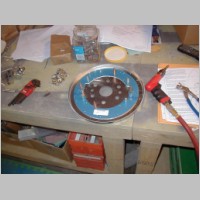
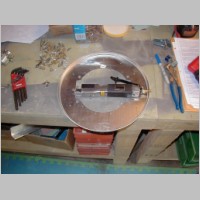
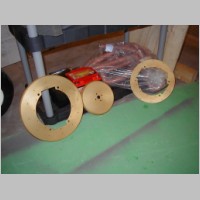
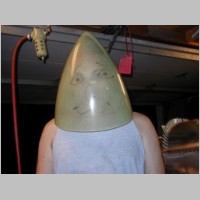
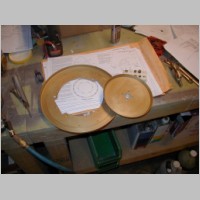
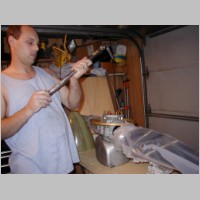
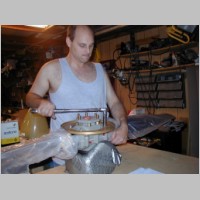
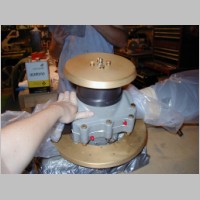
After cleaning the garage and preparing the area for a now longer RV-10 fuselage, we put it back inside and continued on by bolting on the prop governor, and starting the spinner. The spinner backing plate is the first step. Very easy, and once again, my pneumatic body saw from Harbor Freight with 32TPI blades made it a very easy chore.
Also arrived this week was my CreativAir AVI-PAK strobe power supply, and my CreativAir (bought from KillACycle) LED RV-Style NAV lights. I won't work with those things much for the time being. Trying to get the fuse and wings painted before the end of September.

|

|
|
|
|
|
|
|
|
|
|
|

|
|
|

|
|
|
|
|
|
|
|
|
|
|
|
|
|
|

|
|
|
|
|
|
|
|
|
|
|
|
|
|
|
|
|
|
|
|
|

|