|
|
|
|
|
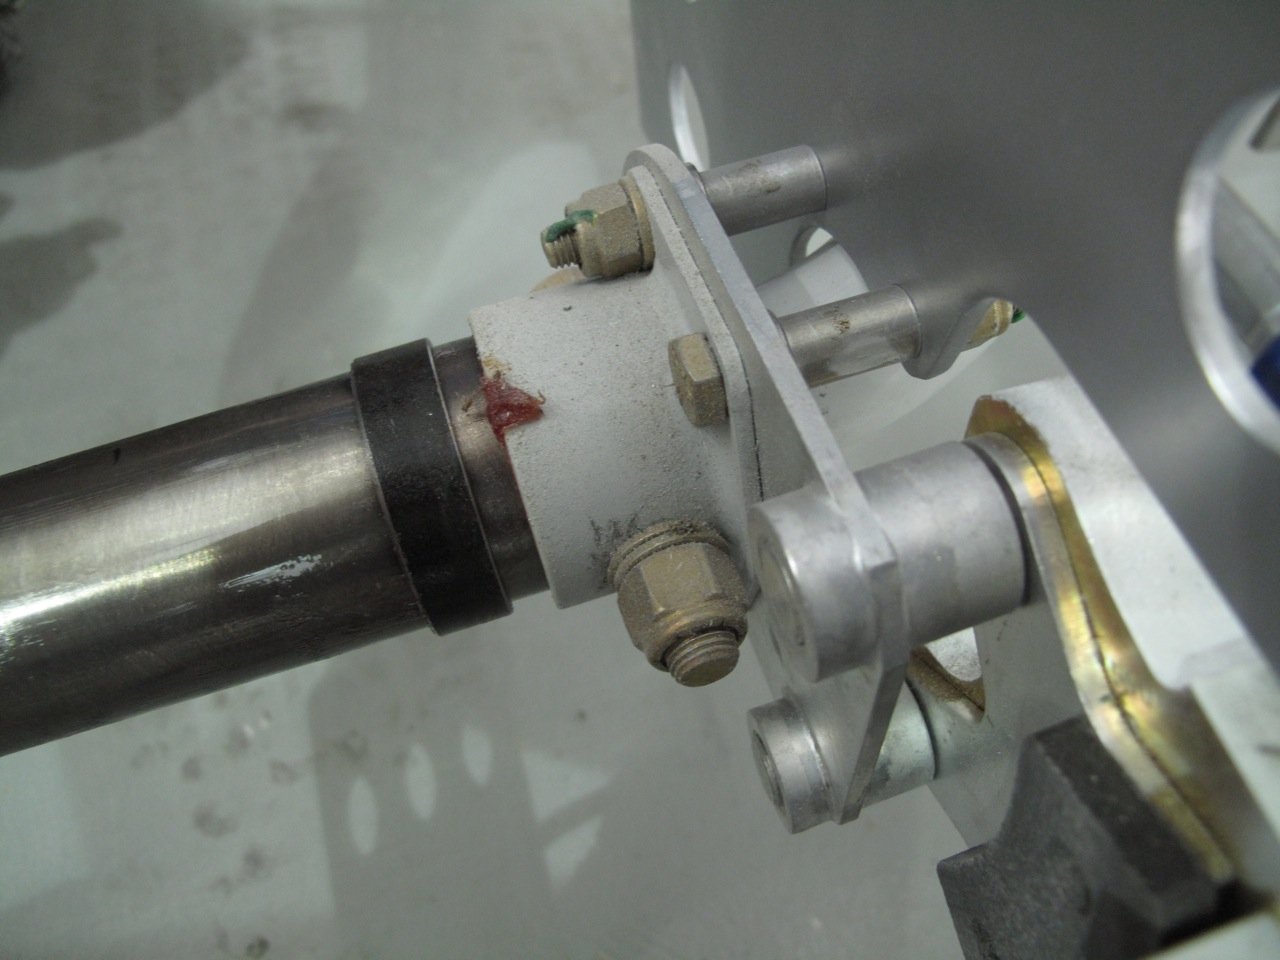
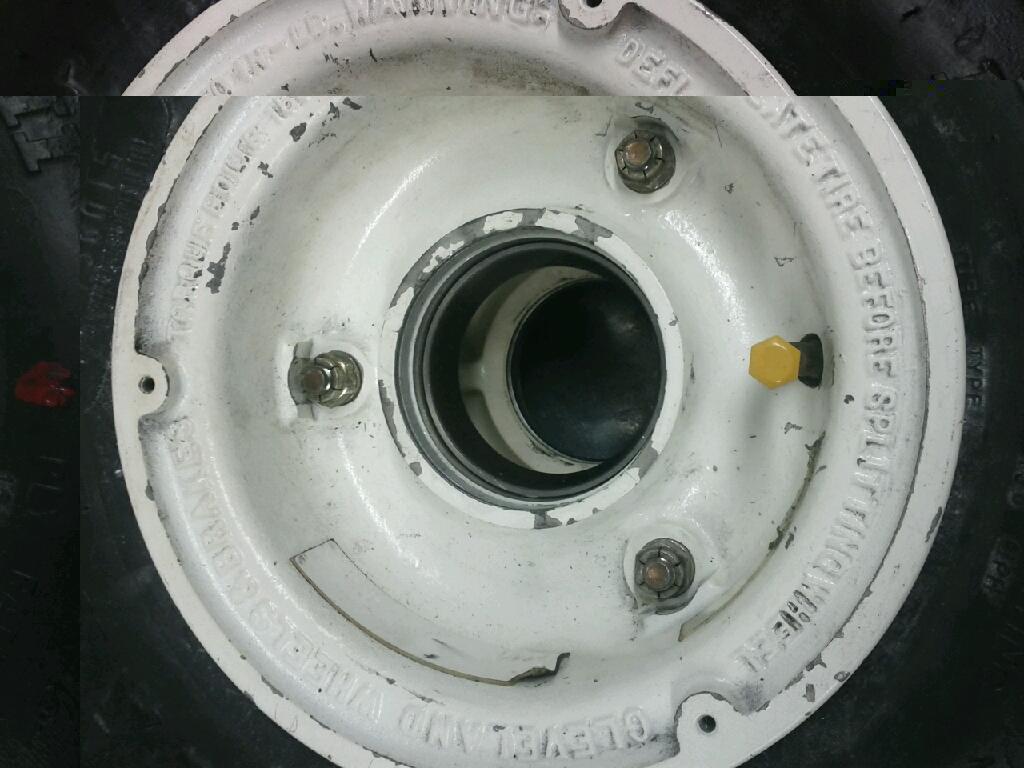
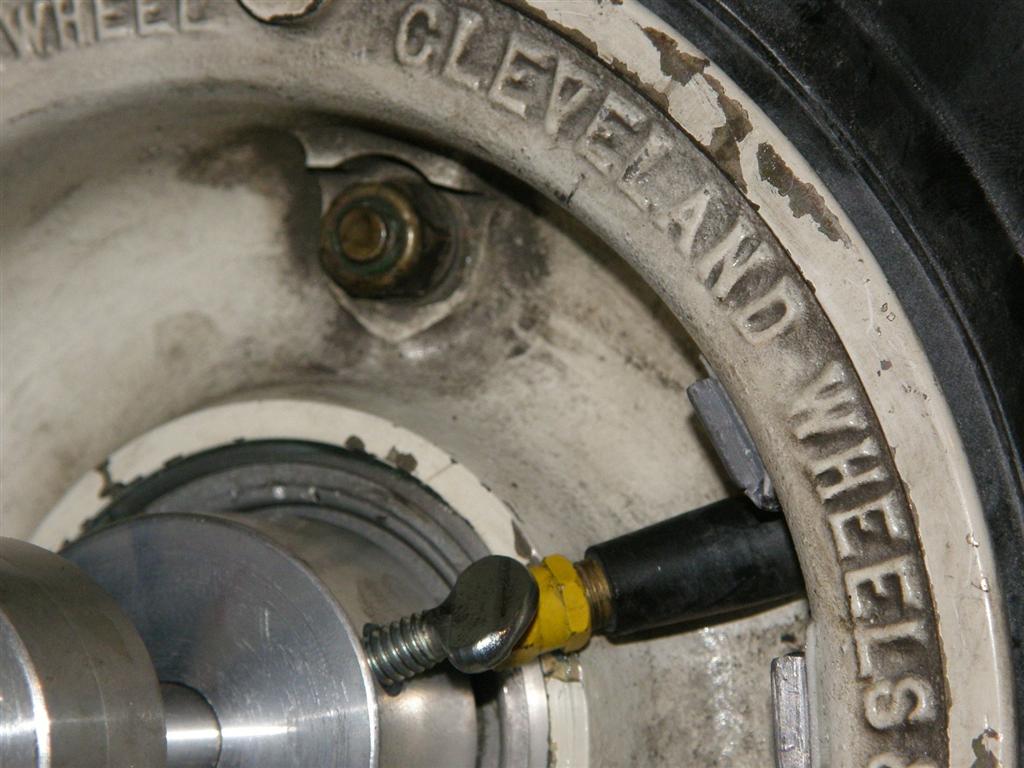
| Main Gear Tube Stem Low Clearance (No Cap) |
Main Gear Tube Stem New Easy Valve |
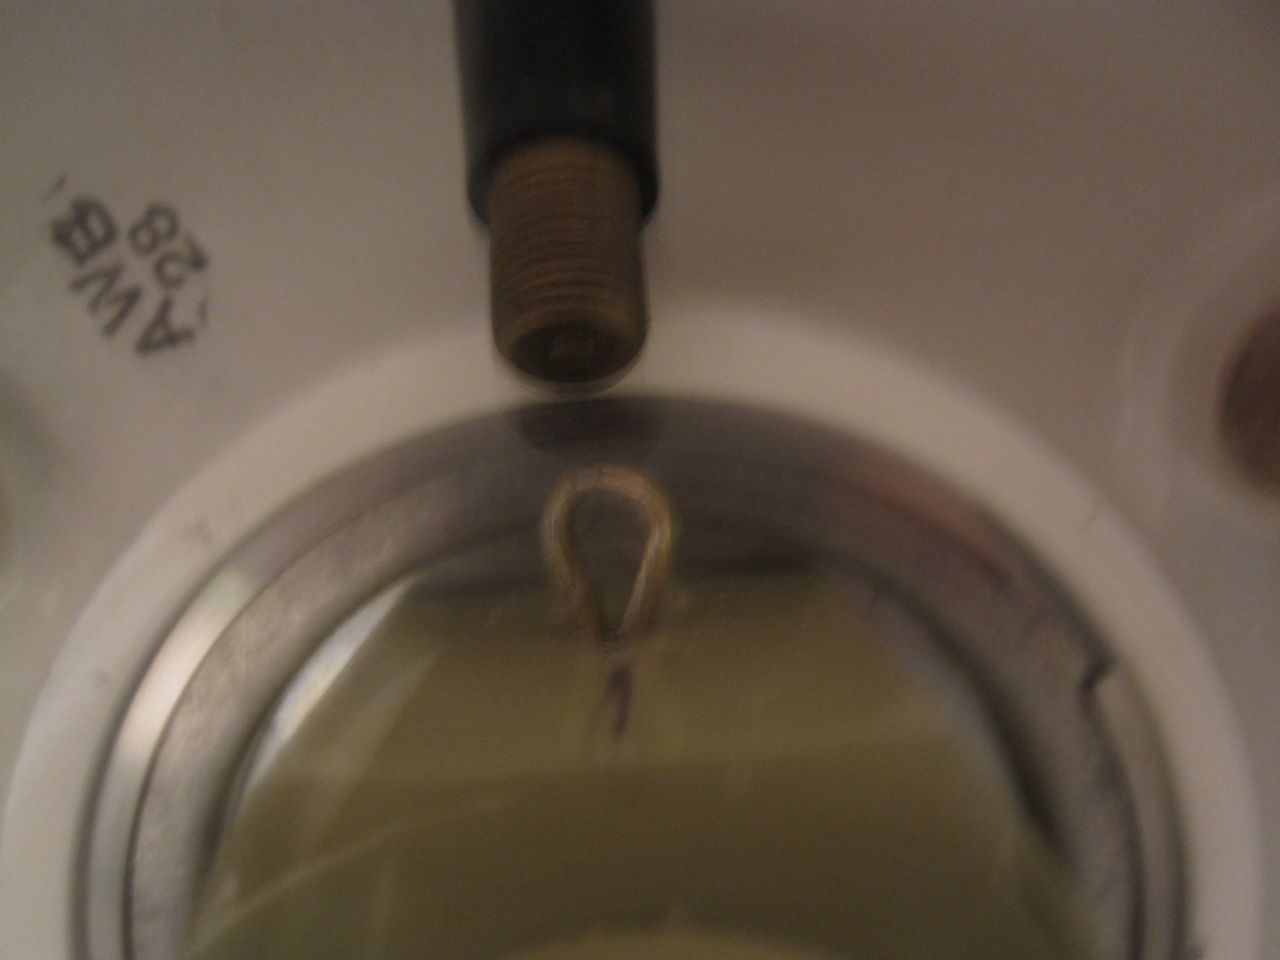
My Nosewheel Stem (barely adequate) |
My Nosewheel Stem (Installed) Clear but tight |
 |
 |
 |
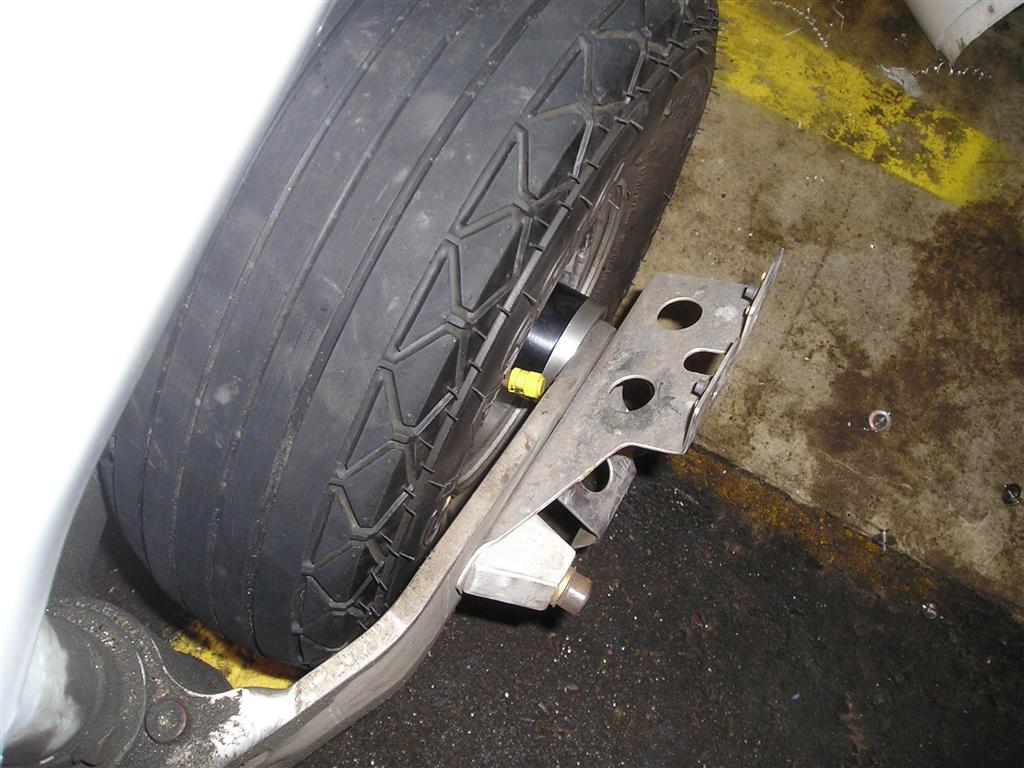 |
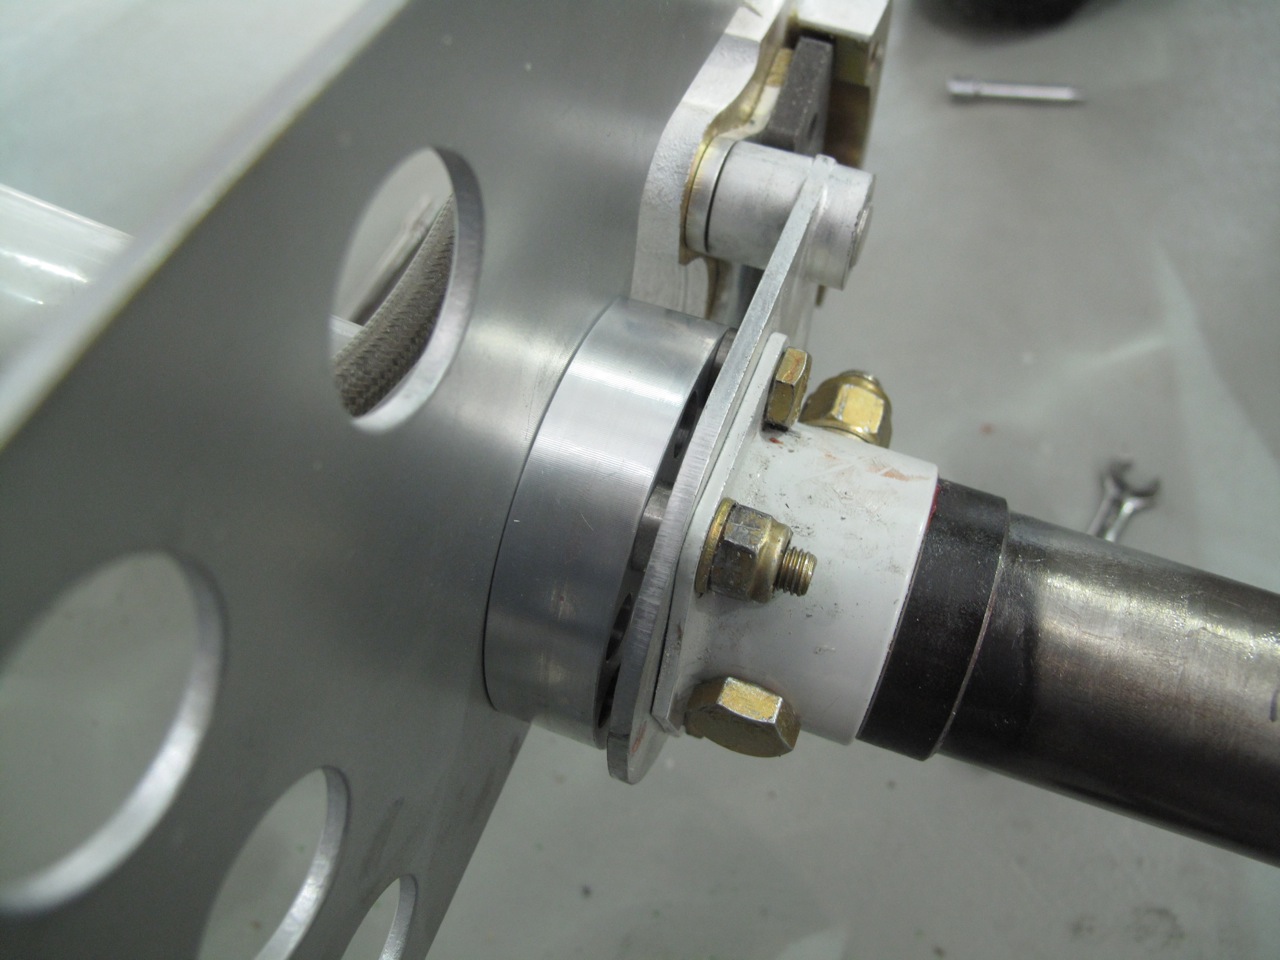
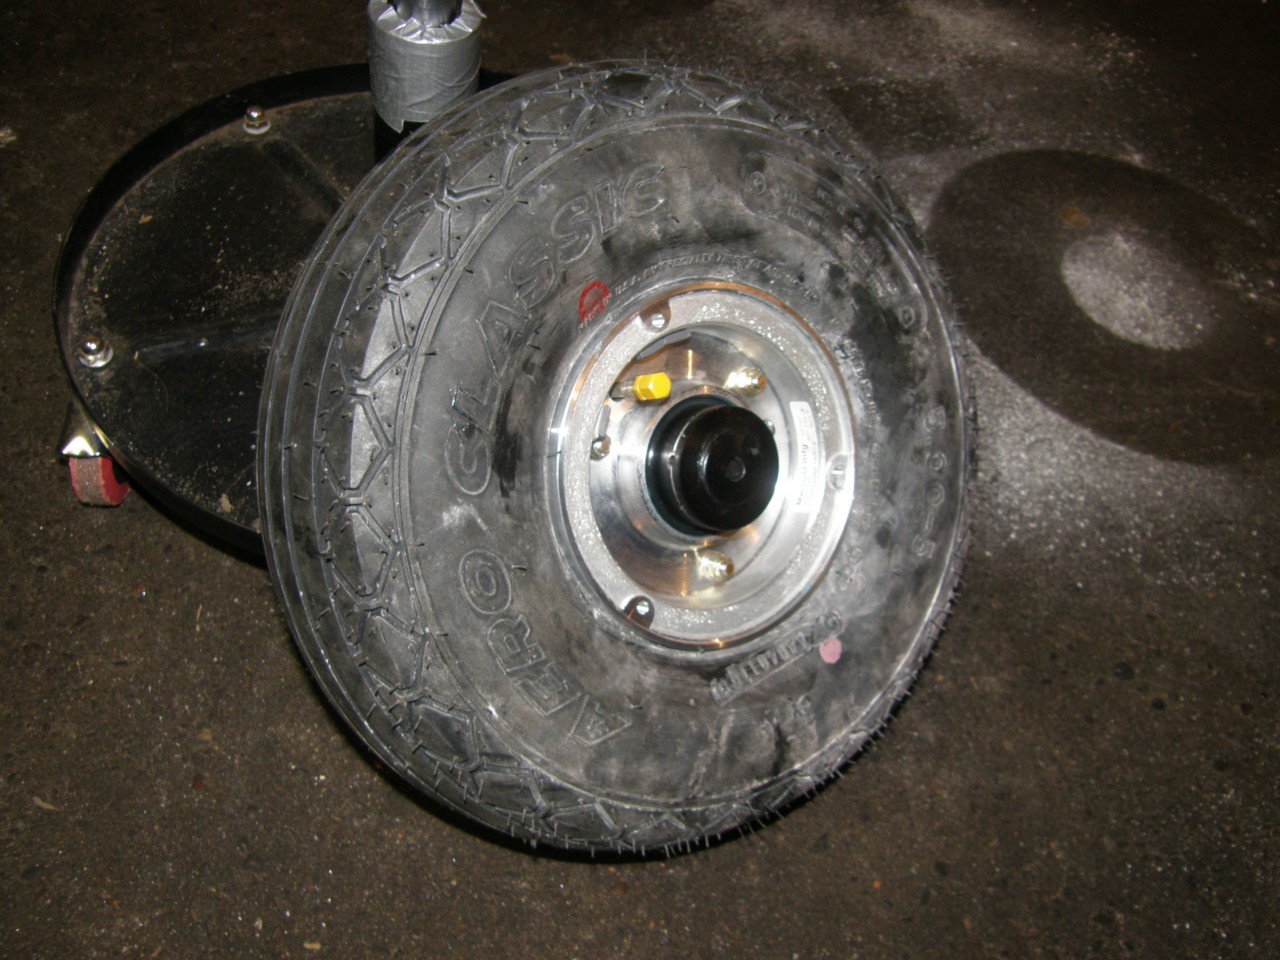
| My Main Gear Tube Stem Clears OK |
My Main Gear Stem on Balancer (Tight but ok) |
||
 |
 |
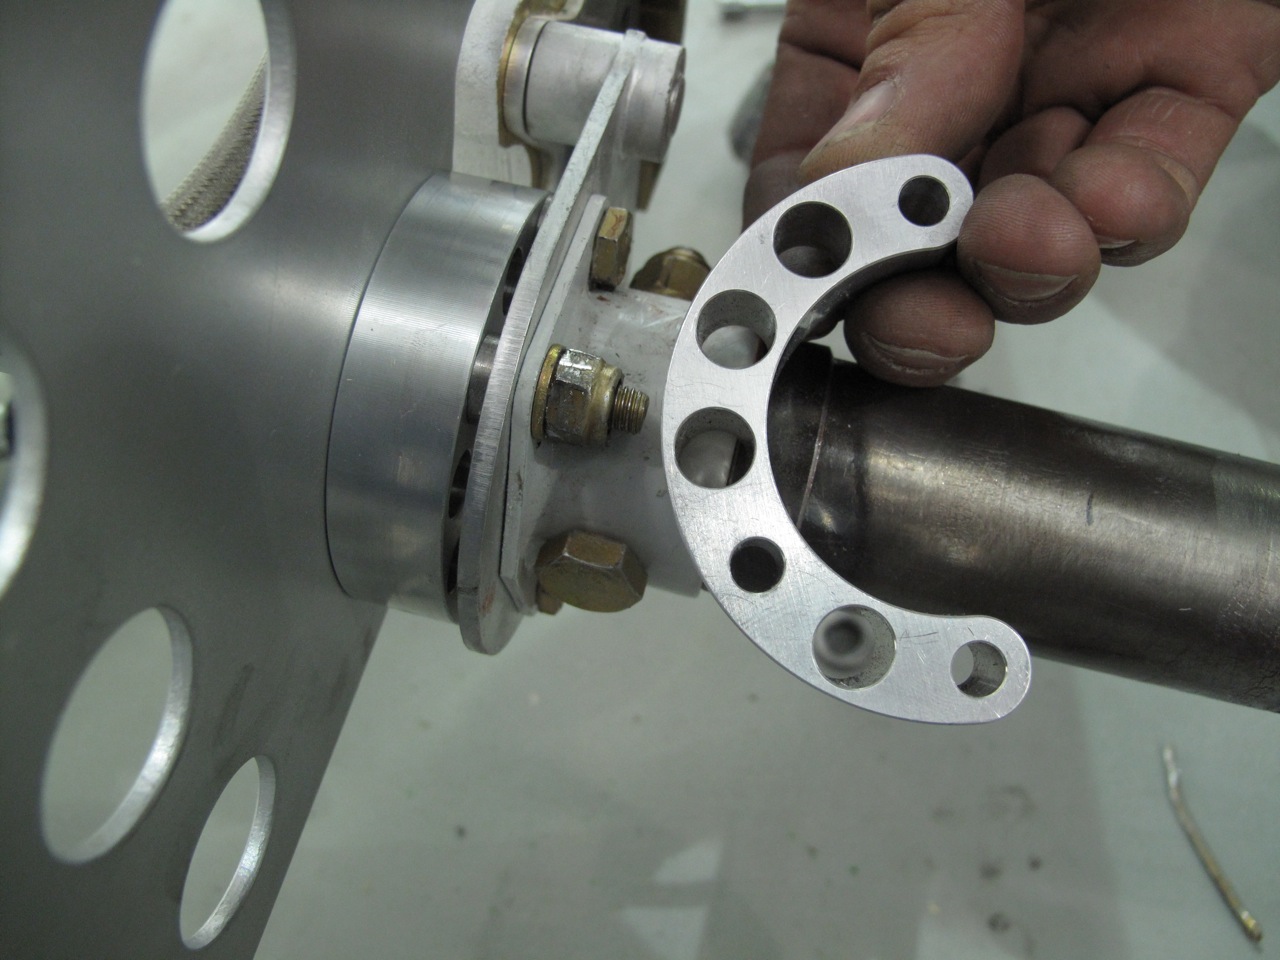
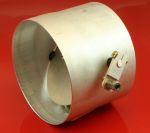
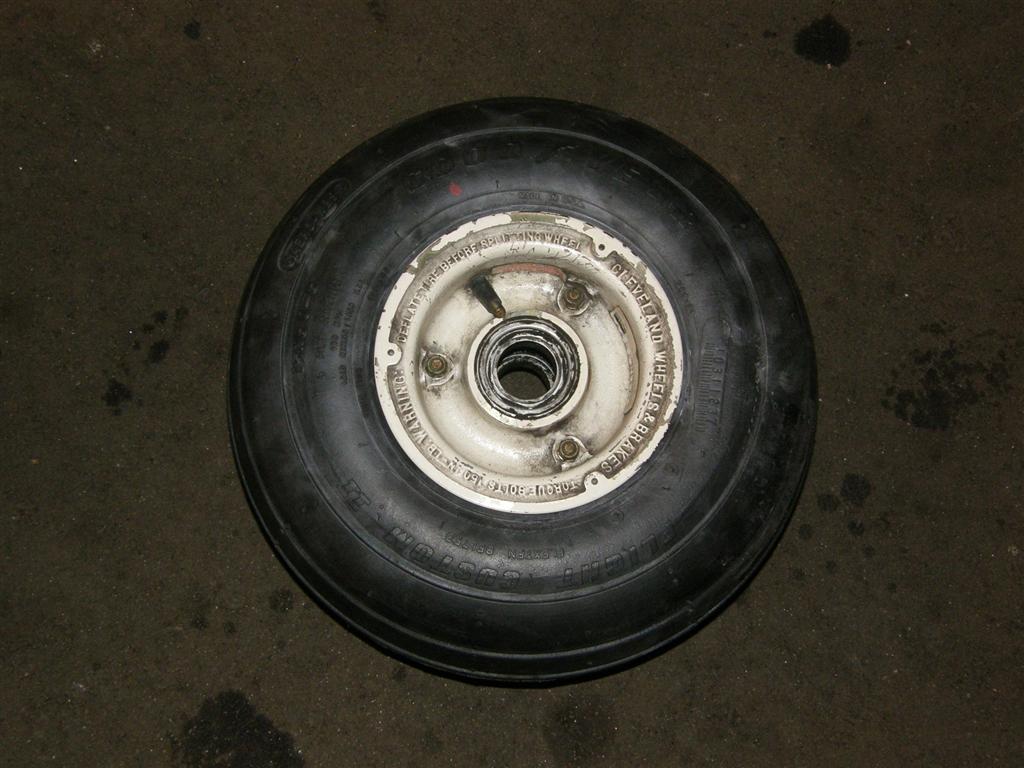
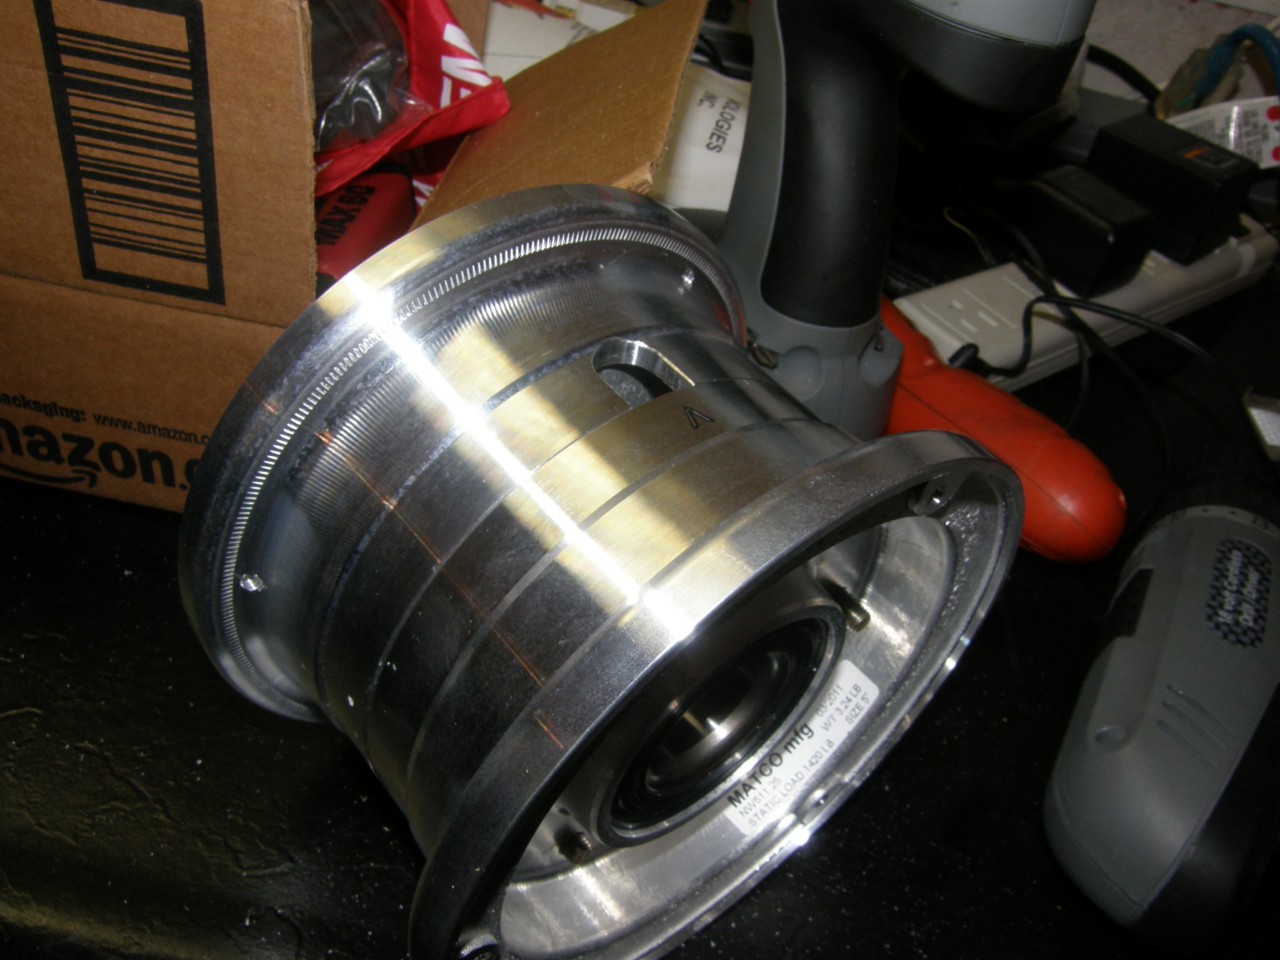
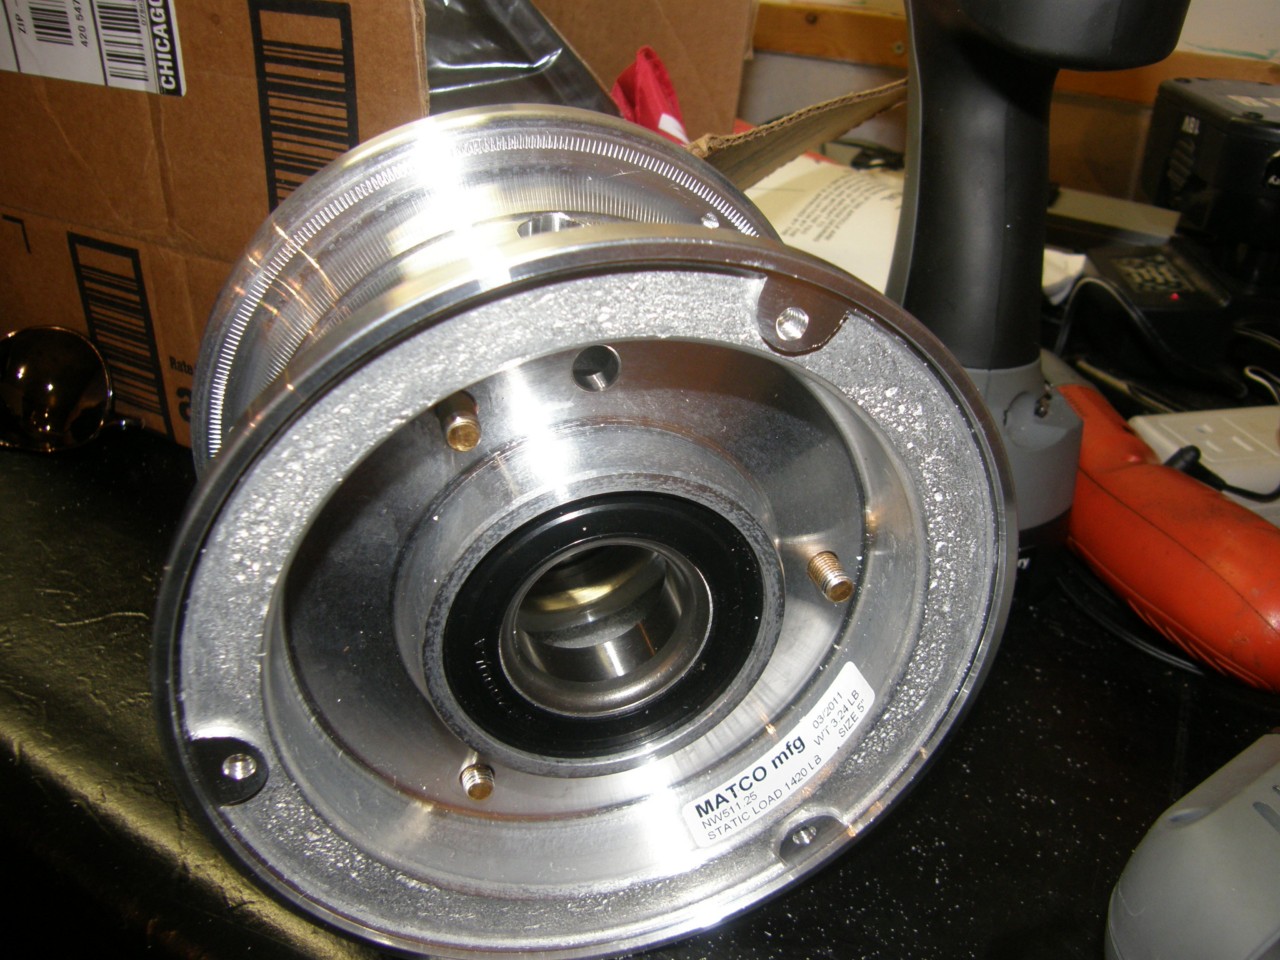
| The New Rim |
New Rim - Note the stem hole is in the opposite wheel half. |
New Rim - The stem hole goes through both halves |
 |
 |
 |
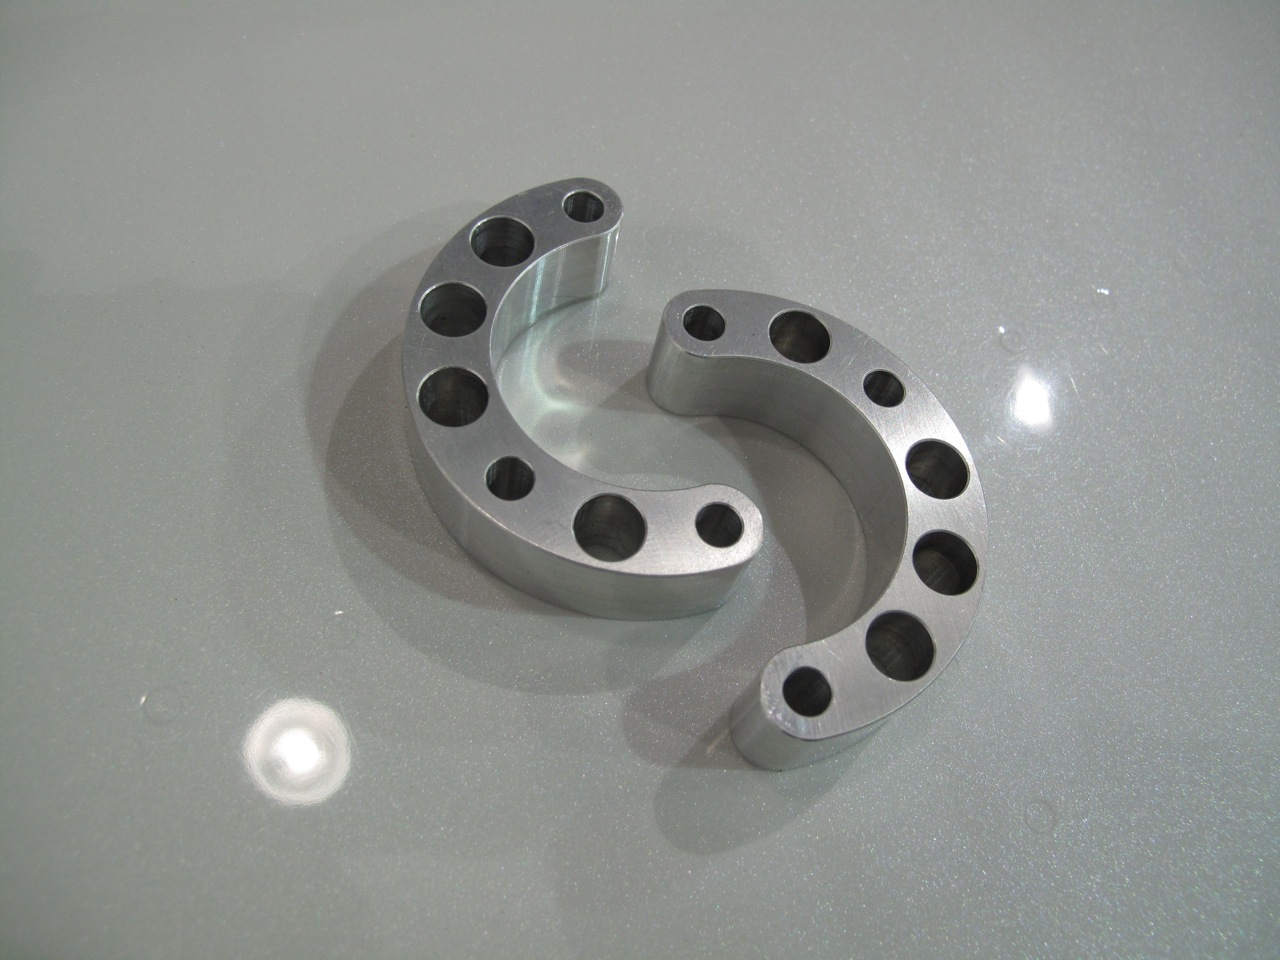
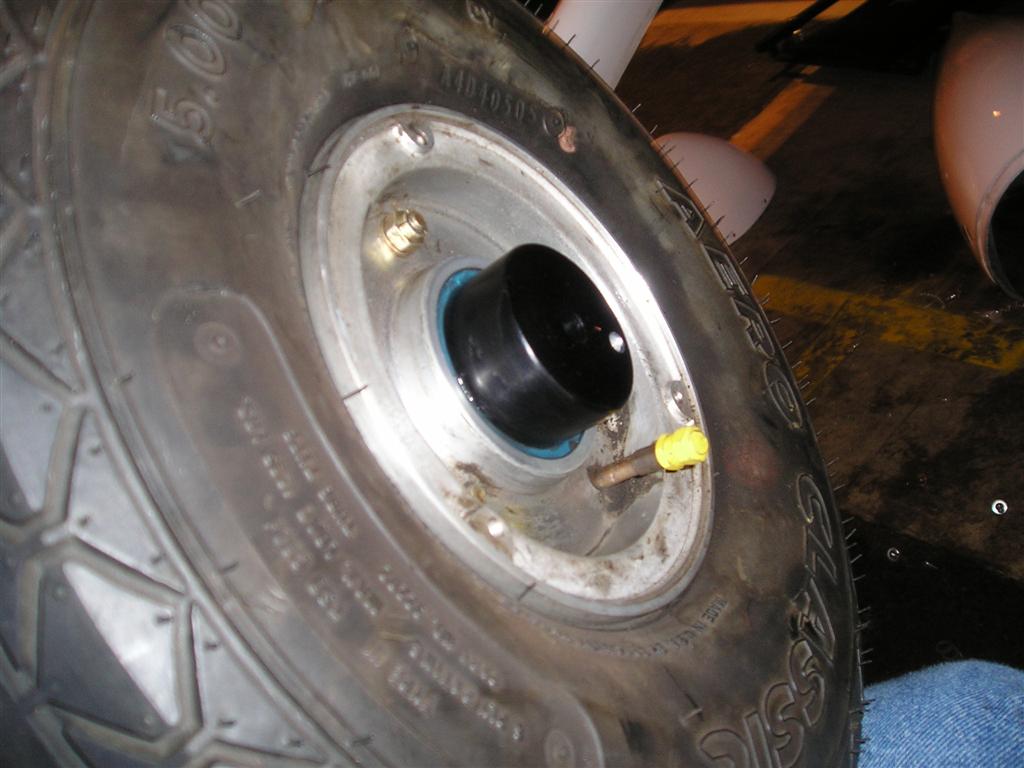
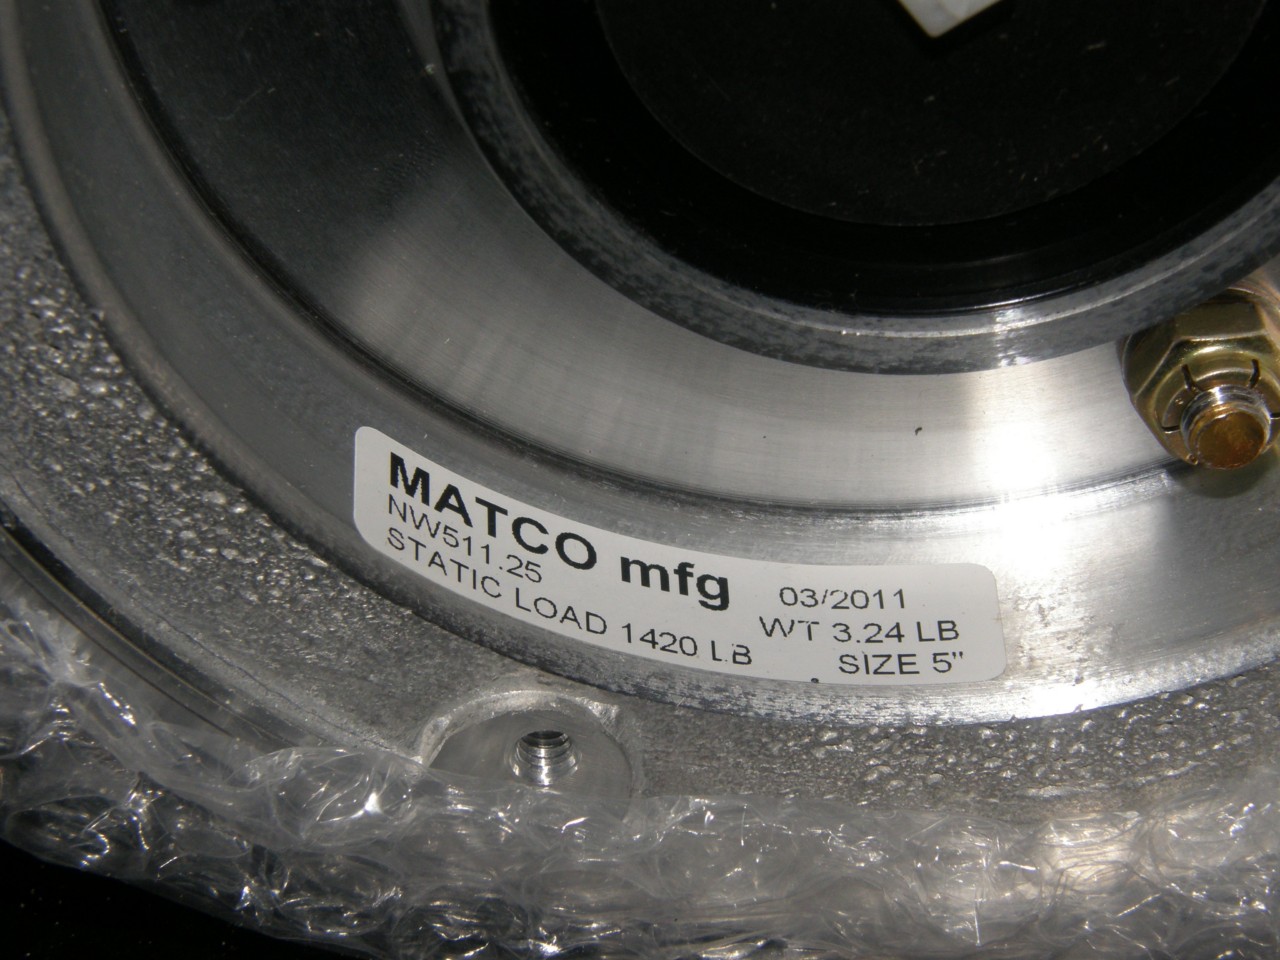
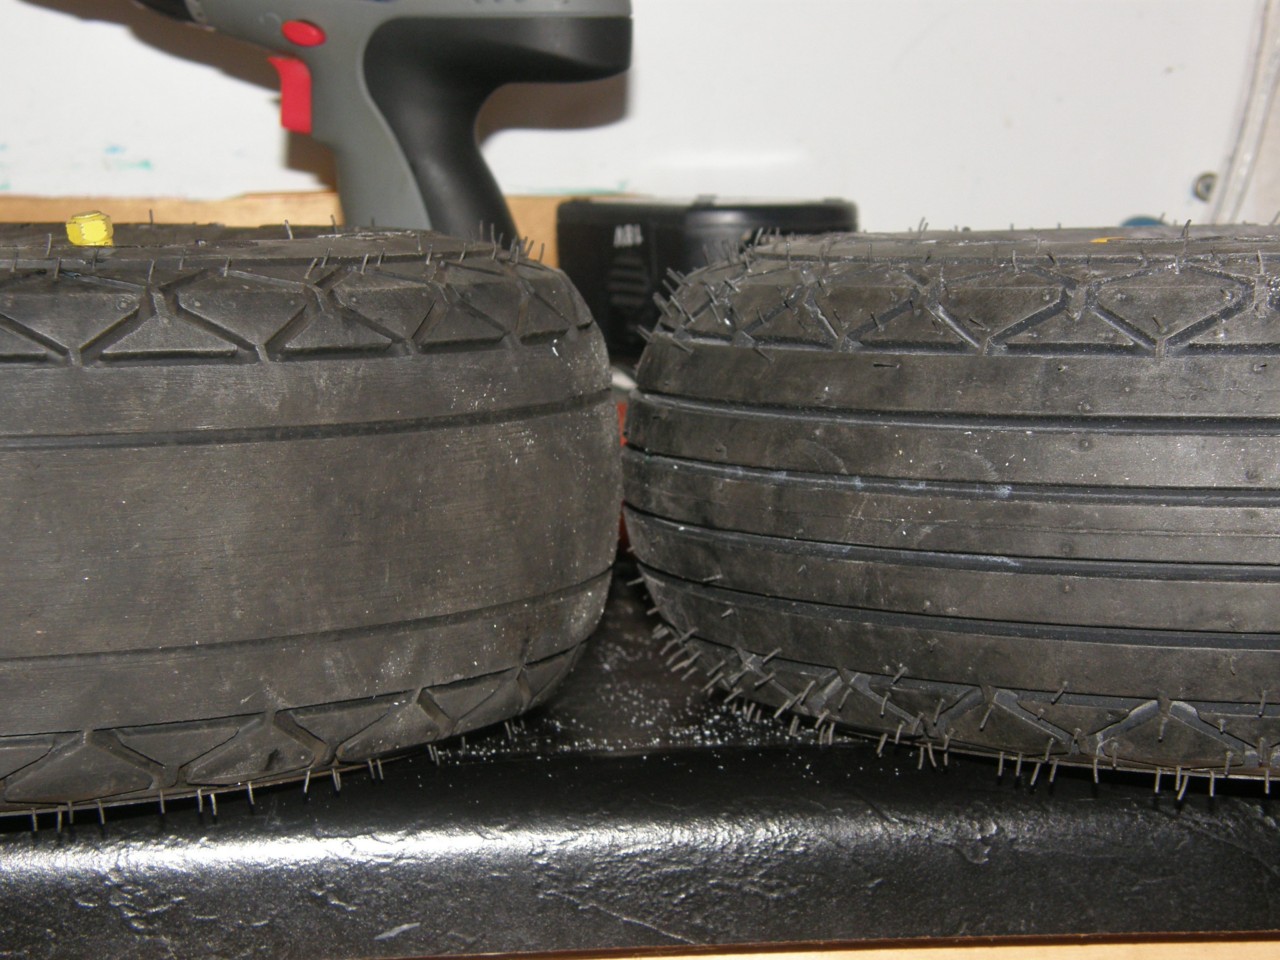
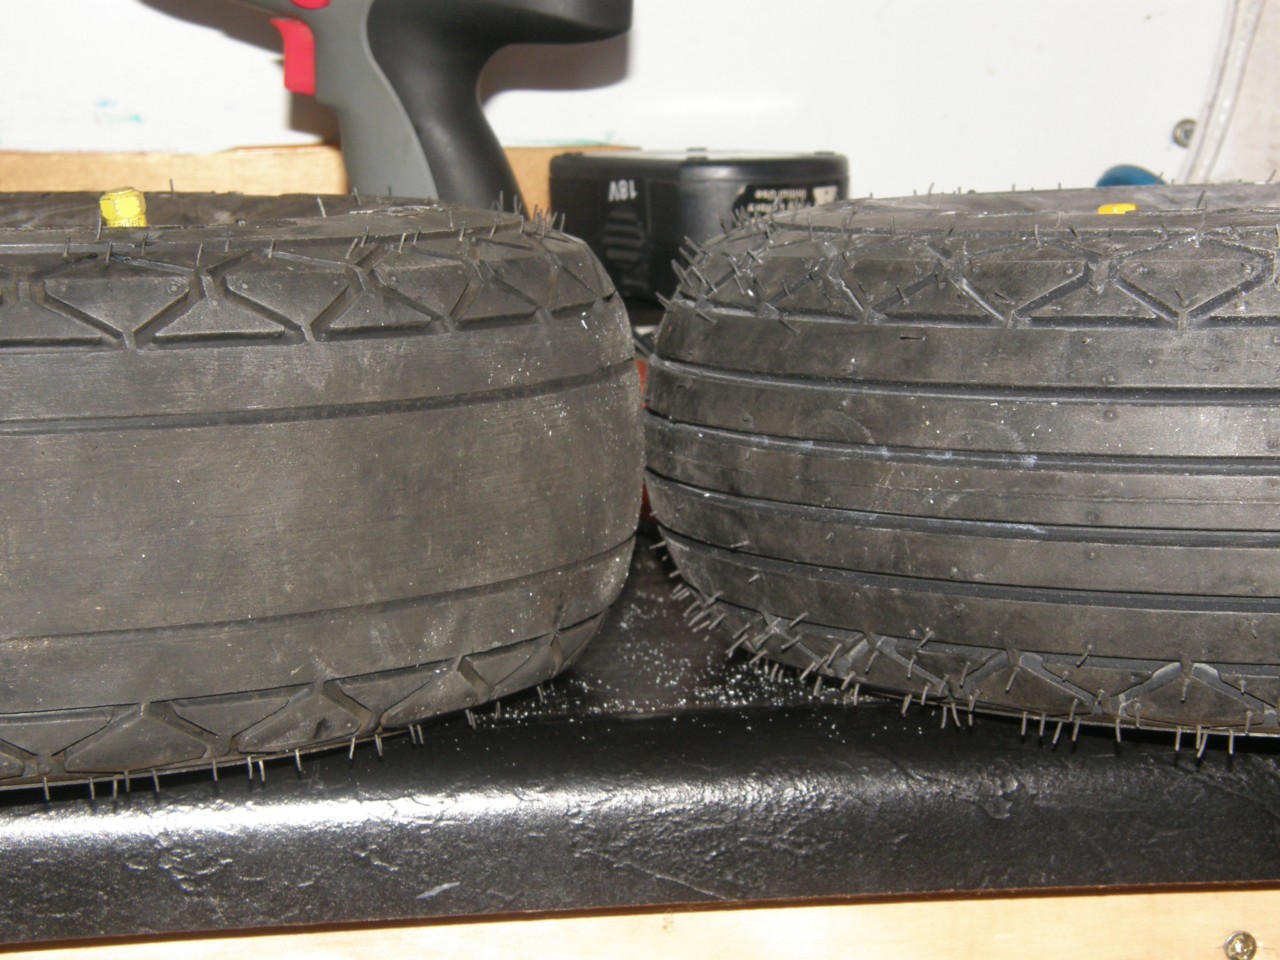
| Stem Height Difference |
Stem Height Difference | The complete Matco wheel! |
 |
 |
 |