Section 24 - Wing Tips
Added
2/26/2005 - 488.2 Me Hours, 528.3 Total Hours
This page will be updated in the future, and this link will
change. I'm doing this because I just wanted to get this
preliminary info out a.s.a.p. for people like me who are paranoid about
cutting their wingtips. I was pretty worried because there's just
a surprising amount of excess (about 1") that needs trimming, and with
the stepdown areas to trim, I wasn't so sure of how I'd do, so I
procrastinated. In the end, the trimming was a 2 hour job, no big
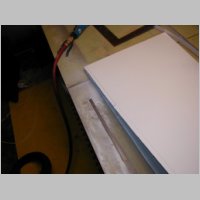
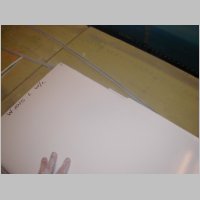
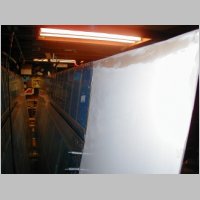
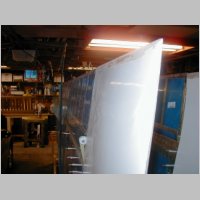
deal.Basically here's the process. The total width of that flange that fits under the wing skin is 1/2" wide.
I have a 1/2" wide ruler from Avery that I got with my tool kit. I used this to mark the cutting line. You can see the ruler in the frist pictures. Looking at some of the next shots, you can see that I have a straight-edge along the skin, and extended it up by the aileron. As it turned out, it looks like the 3/16" gap is about perfect if you just extend a cut line even with the inside edge of the wingtip flange. You may be able to see the lines in the photos. I drew the line so I had the 1/2" flange, then I marked the stepdown areas. On the top side, you can just extend the line of the inside of the flange all the way to the rear of the wingtip. Pretty simple. On the bottom, you can do that too, but for about 3.25" from the flanged area, you need to leave a stepdown that's about 1/4" wide. Pretty easy to see in one of the last photos of the wingtip. The first cut is to just take off the approx. 1" all the way around. The next cuts are to do the stepdown areas. I did my trimming with a cutoff tool, by the way, and it worked very well. After trimming, I found the absolute best way to bring it down smooth was to use my Vixen file. It's a fantastic tool.
One thing I did run into was that the J-stiffners on the leading edge area that were riveted in were stuck out just a little past the outer rib. This won't work. Before you start fitting the tip, take a dremel cutoff wheel if necessary and make
sure that the wingtip will be able to fit tight to the rib all the way around. I had a couple of j-stiffners that I needed to
grind back a bit. I'll have to go prime them again later.
After using the cutoff tool, I used the vixen file and my 1/2" ruler to make sure that there were no places that the flange was any wider than the ruler. If it is, there will be a gap between the wing skin and the flange. You will be just slightly undersized of the 1/2" most likely by the time you have filed enough. If you find a high spot, file it down so that when you push the tip on, it fits all the way around. Then I finished the edges with a palm sander.
The one thing that's left undone for the time being is that both wingtips were too long. One was maybe 3/4" long and one was probably about 1/2" too long, past the end of the aileron. I'm going to do like Randy #006 and NOT live with this, but cut them off and re-fiberglass them. I just have to get the supplies shipped in....should have done that earlier.
More later....
(continuing...3/5-6)
So the wing tips started off great, but the trimming to length isn't the most fun thing in the world. One of them trimmed easier than the other, because it only needed 1/4", so the trailing edges were still attached to eachother top and bottom. The other though, needed about 3/4" removed and after cutting it, the trailing edges were free. I fiberglassed them, but after they had dried, I realized that it takes VERY LITTLE slip between the skins to cause it to curve up or down. Hard to explain, but if the trailing edges are glued with one slid further forward than the other (and it's IMPOSSIBLE to eyeball this), the tip will curl up or down. I didn't see this until it was dried, and then the fun started. Try cutting them apart, bonding them, then cutting the 2 panels apart again without wrecking them, and then RE-bonding them. The 2nd time I used less fiberglass and basically just intended to match it to the wing while it dried. I clamped my Aileron and Flaps together, and duct-taped the tip to the wing, then clamped the trailing edge together and pushed
it slightly back and forth until it was lined up with the aileron. After letting it harden that way, then I added more fiberglass to the inside of the joint. Getting the trailing edges free of pinholes and bubbles isn't easy either. After filing a nice edge to them, I had gaps where the resin didn't come out uniformly, or I had hairs of fiberglass cloth sticking out. So I had to use my WestSystem Epoxy today to bulk up the trailing edge a bit and hopefully get it back looking nice. This whole process just lit my fire.
The OTHER tip was where things REALLY went haywire. The cutting wasn't bad...the catch is that the trailing edge
since it still stayed joined, now needs to have material added and a slope cut back into it, or the trailing edge won't
have much sharpness to it....it'll be too blunt. Also, during the fiberglassing, something went awfully wrong and I ended up with a smashed wing tip on the top edge by the landing light lens cutout...and now I need to use epoxy body filler and get the thing looking nice again. This is where the fact that these things weren't the proper length really started to get me going. What could have been a 2 hour job, ended up being more than 2 days, and, they'll probably not look as good as if they had just been made right in the first place.
 |
 |
 |
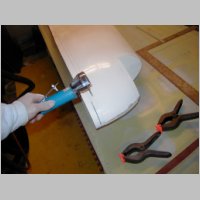 |
| Using the 1/2" wide
ruler |
Cutoff tool |
||
 |
 |
 |
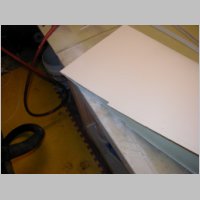 |
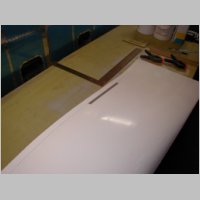
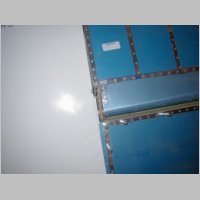
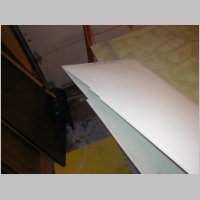
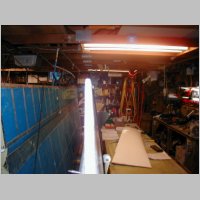
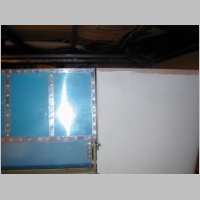
| First Cut
Complete |
Flush with the skin
gives the req'd 3/16" gap |
Cut Stepdown |
|
 |
 |
 |
 |
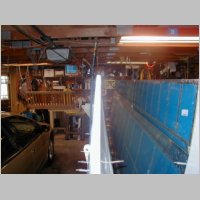
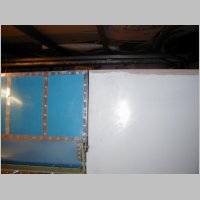
| More
stepdown cuts |
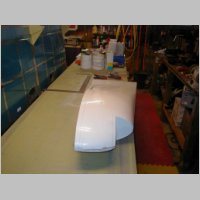
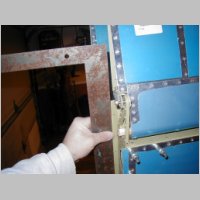
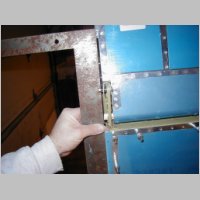
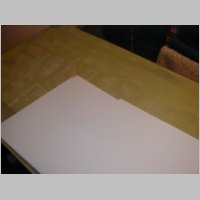
Fitting
(Notice Step) |
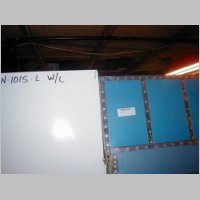
Tip is too
long |
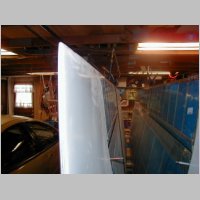
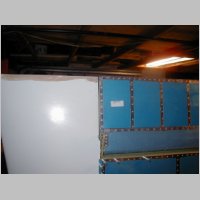
Completed
trim |
 |
 |
||
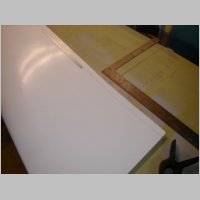
| Completed
Trim |
Another View |
||
Worthless Wingtips - 3/12/2005
Today I gave up this job after drilling the Right side Wingtip to the wing. The Right wingtip was the one that I damaged while trying to shorten the wingtip. As you may remember from above, even though I'm #170, the wingtips were made too long for a while and I had to shorten mine to fit. Well, the Left wingtip has just earned itself a ONE WAY ticket to Oregon. This stinkin' piece of crap isn't going on my plane. The tip started out being 3/4" too long on the chord for the wing. It would look hideous on the wing. After doing a fantastic job of mating it to the wing, cutting it shorter and fiberglassing it, I thought I had it made. After it cured though, I saw the problem. The top and bottom skins, being separated by the cutting may have been lined up end-to-end, but they weren't in the perfect position, so the wingtip had a flex in the upward direction at the trailing edge of over 1/2". This would have the same effect as having a 20" wide aileron be deflected 1/2" during flight. Imagine fixing that heavy wing with a trim tab.So, I cut the stupid thing apart, which was VERY tricky, since I now had 2 nice thin sheets of fiberglass that I had to pass a saw blade and cuttoff wheel directly down the center of...the whole thing was maybe 3/16" thick and I had to cut them apart. The cutting took forever, but went ok. Then I had to file away all the piled up fiberglass cloth and resin that I had joined them with. After all that work, I fiberglassed them again, and this time I got smart. I put the wingtip on the wing with duct tape and flexed the trailing edge while clamped until it lined up with the ailerons....which were clamped in position to the flaps. This neutral position is exactly where the RIGHT wingtip fits when it's attached to the wing....and that's the one that I didn't have to separate the trailing edge on.
Well, as my poor luck would have it, this wasn't good enough. The tip came out looking nice, and I worked to add epoxy resin to the trailing edge, in search of filling all the holes, making it pretty, and tapering it to a nice tip. But, after doing all that, it was time to match drill it to the wing. Well, as you match drill, you have to use lots of pressure holding the tip on perfectly while the holes are drilled. Although my skin to wingtip seam was flawless, after clecoing this tip around the wing it was apparent that even though I had matched it to the aileron, it wasn't good enough. There's still more than 1/4", probably 3/8" deflection of the wingtip upward. Without the ENTIRE wingtip clecoed in place, which also would make that fiberglassing a real pain, there's no way to guarantee that the wingtip re-joining will come out OK. The worst of it is that after cutting it apart and reworking it, the trailing edge is now only about 1/8" thick, and there's absolutely no good way to get any cutoff wheel or sawblade in there easily to separate it again....even if I wanted to...and I ABSOLUTELY don't. This wingtip is getting sent back. There's no way I'm going to risk making it even worse and wasting another day on this tip. There's many extra hours in it already from having things not go perfectly.
 |
 |
 |
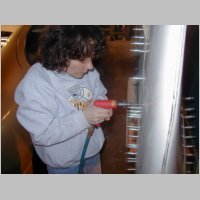 |
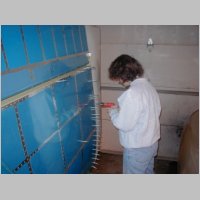
| My
elfish looking helper drills the wingtips |
|||
 |
 |
 |
 |
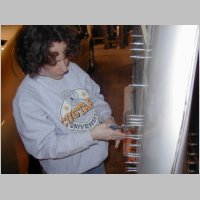
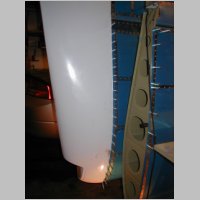
| The Right tip went
OK. See the damage spot. |
Bad alignment |
Bad alignment |
|
 |
 |
 |
 |
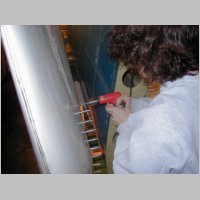
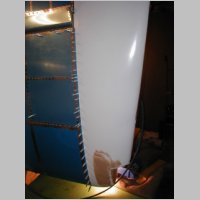
| See the gap |
Not aligned |
Right side
is better |
Right side |
 |
 |
 |
 |
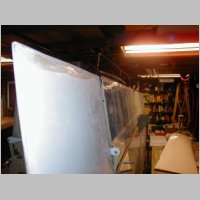
| Right Side |
This left side isn't
aligned at all...the pics don't show it well enough |
||