Kick the Progress into HIGH GEAR!
Added 2/09/2006 - 1699.5 approx. Total hours (1475.9 By Me)If you watch the above build-time info at all, you'll see that I've been spending a little time away from home in the past week. I've cranked it up to 4-8 hours per night, and managed to get a ton completed. The schedule kept pushing up, and when my DAR, suggested 2/12/06 as the inspection date, I committed to making everything ready for that date. As I write this, I'm on an Airbus headed to Portland to get my 5 hours (insurance required) for transition training in the factory RV-10. I think this will be a valuable step to getting the comfort to launch. I've never flown with a skillful pilot that couldn't teach me something.
Yesterday my local EAA Tech Counselor Doug swung by for the 3rd and final inspection on the EAA technical counselor program. He came prepared to look it over very well. He was very happy with the construction of the kit. I'll toot my horn for a minute... Throughout the build I've had people comment on the quality of the work I put in. I'm very proud that I didn't cut corners on anything but maybe the smallest cosmetics. I don't have any amount of extrordinary skill...any builder should be able to build to the level I did. What I did have was dedication to an attempt at quality. With the positive comments I've received, it helped me validate that I shouldn't have too much to worry about when I put my family in this plane, and I appreciate greatly all of those who offered their comments and advice. John, Randy, Gary, Doug, and Rick immediately come to mind. To all of those who are unnamed, and I've met through the Matronics list, your tips and advice have also helped accomplish a good level of quality. Thanks.
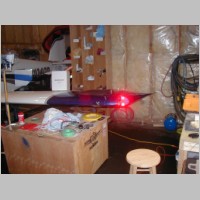
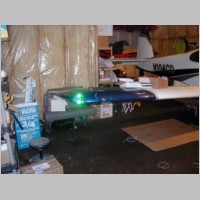
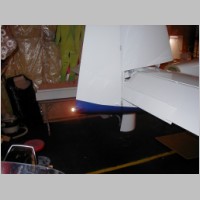
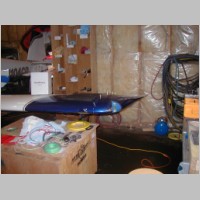
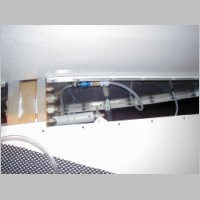
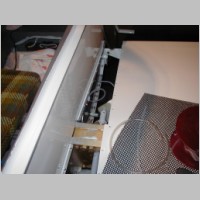
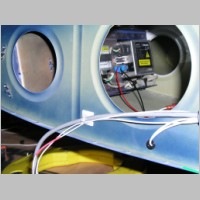
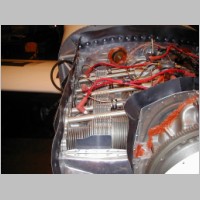
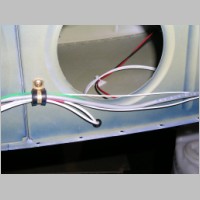
Below you will see some photos of my Nav, Strobe, and Landing lights. All of these performed just great in my tests. The only shocker to me was that even though you only need 3A each to run the HID's, you still need a larger fuse because the initial turn-on inrush current is higher than 10A for the pair. A 15A fuse fixed that.
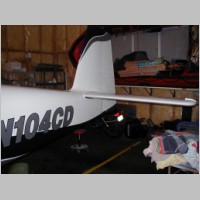
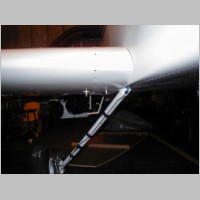
I took a couple pictures of my 2 NAV antennas. Recently another builder wanted to see positioning. You will actually find better pictures if you look at the Colorado RV-10 photos I took. Those are the photos I referred to when I mounted my tail mounted NAV.
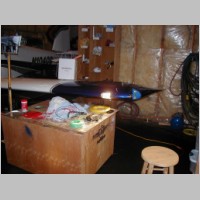
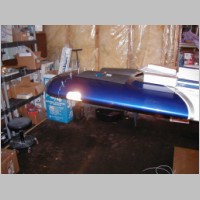
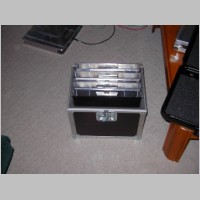
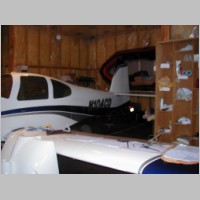
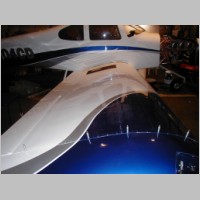
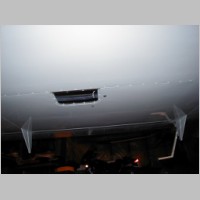
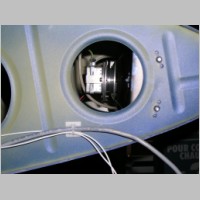
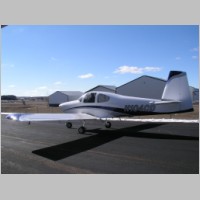
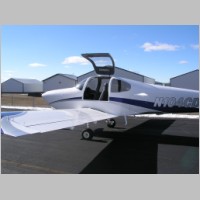
Some of the pictures aren't really for much more than taking a few last shots before I closed out a section from being visible. It may be a while before I see all of those spots again. I also shot some photos of the scales I bought to weigh my plane. They are race car scales, certified to what I think was .1% accuracy. I know from testing with my own weight and other peoples that they were very close at least. These race scales made the weighing a very easy thing. The readout showed all 4 numbers simultaneously.
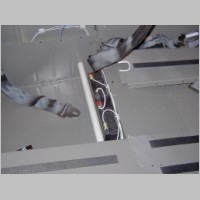
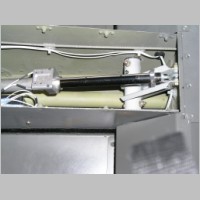
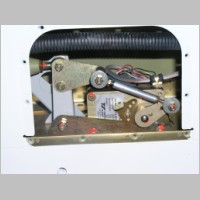
Oh, since there's some photos of the elevator trim cables, I'll post this tip that I posted to the matronics list:
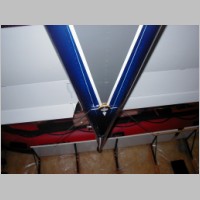
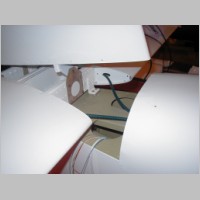
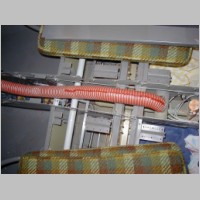
Tonight I installed my elevator trim. Connecting the trim wires on the remote ends is the last of my wiring to connect, so I'm happy about that. I spent close to an hour or more trying everything I could to get the trim cables pushed from the forward part of the elevator through the snap bushings and coming out the back. It just was NOT going to happen. There was almost no way to get in there to align the cable with the holes inside the HS either. Especially doing it with the Vertical Stab mounted in the way, it was just not going to happen.
Then I had one of those fleeting moments of brilliance.... and after that, it took only a few minutes to get both of them through. Save this tip if you haven't done this yet.
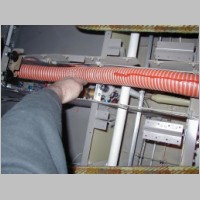
First, get some wire like coathanger wire. I used some old aluminum pin material from some hinges used in previous construction. Put a light in the center of the HS, towards the forward part. Use the light to sight into the snap bushings from the rear and feed that wire up to the front.
With the wire in, use a needle nose to pull it out the entrance point for the cable. Tape onto that something that's about 3/16" or 1/4" thick and flexible. Maybe pitot tubing...I used scrap pieces of strobe wiring. You'll need about 2.5-3' of it.
Another builder used some tygon static tubing I think and had similar results...might be even easier!
Now for the fun part!
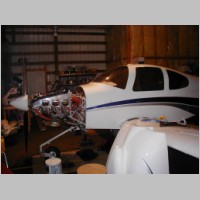
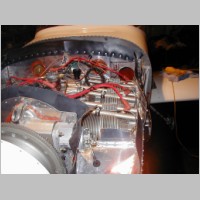
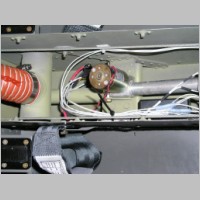
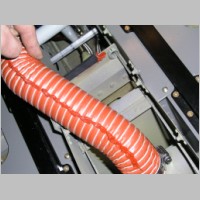
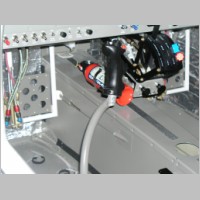
With the engine ready to run, and all of the assembly done, it was time for it's initial ground run test of the engine. First some advice, double check your brake, fuel, and oil fittings to make sure they're torqued properly. During the final assembly I had one brake nut that wasn't tight and leaked a few drops of fluid before I noticed. I had one fuel fitting that leaked when given 35 psi of fuel. I also had one other unexpected issue...I had never installed my upper cowl after I completed the engine work. Previously I had allowed for clearance for the prop governor arm to go up and down through a hole in the cowl. It worked fine when I fit the cowl, but the cable wasn't attached at that time. Now that I had the cable attached, the rod end made it a little larger, and I didn't get full prop movement. I should have caught that earlier, but I didn't. Just go very slow on your initial run.
Oh, one more tip. Before you drill your EGT probe holes, make sure you have your lower plugs in place. I drilled my EGT's early on, but left the spark plugs out since the engine was pickled...I didn't want to drain the oil in the cylinders prematurely. Well, I found out the hard way that my EGT probes ran into my spark plugs. With the HIGHLY EXCEPTIONAL customer service of Aircraft Exhaust Technologies and Aerospace Welding, both of Minnesota, I got 7 minute...yes 7 minute turn around on welding my mis-drilled EGT holes shut. For what price? The same price you paid to read this! That is fantastic service.
Oh, now for 2/8/06... What a day! We rolled that baby out, and after a couple of times in and out of the cockpit, all systems were go for engine start. I had previously turned the left tank on, and blew a little pressure into the fuel vent hole by breath. I hoped this would help prime the system a little and prevent the dry pump from doing all the work. When I hit the boost and saw 35 psi, I turned the boost off and hit the key start. That absolutely beautiful Lightspeed Plasma III ignition fired off on the 2nd rotation of the prop. I had put in too much throttle, so I powered her back a bit right away, and then listened to the purr. It ran BEAUTIFULLY! I cycled the Hartzell prop and MT governor a few times and then the air purged from the system and the fine to coarse pitch started working great.
Well, after sitting there for a couple minutes, I realized that what Randy had told me was right....there was NO WAY I could start the engine and not taxi it around a bit. I taxied down to the end of the runway and took the active. I gave it a full-power run up to verify the max static RPM which came in at 2690. Let me tell you, with 260HP up front, those brakes do all they can to hold you in one place. By the way, Randy tipped me off, and I'm very glad he did, that the brakes will screech and grind a LOT during their first few runs. It did get better after some taxi runs.
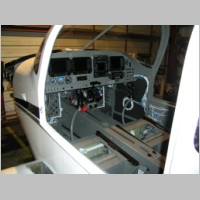
With that all done, slowly added full power and started my roll up RWY 36 at KLUM. My chelton screens showed the runway layout, and my pitot system came to life. Now some people do and some don't like the idea of a High Speed Taxi. I decided to go with it, but not try that bunny-hop stuff you hear about. I hit about 50 mph and backed off the power and came to a slow sotp at the other end of the runway. Wow! That thing really puts you in your seat! Aerosport Power (Bart and Sue), if you read this I just want to tell you I think you do FANTASTIC work and I've very impressed with this engine. I couldn't resist a couple more higher speed runs and then, since I had verified engine operation at all power settings, it was time to shut it down. I verified that the mixture did indeed go all the way to idle cut-off, and the engine came to a stop with less shudder than the O-360 I am so used to.
With that, we put the plane back in the hanger so I could get ready to go to Van's.
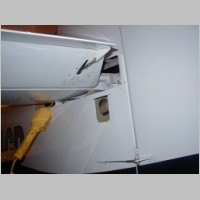
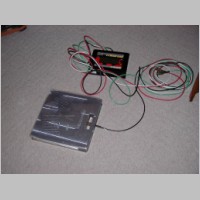
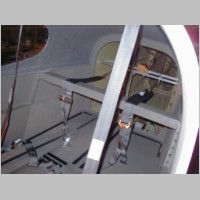
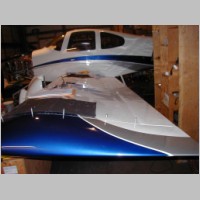
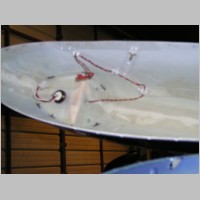
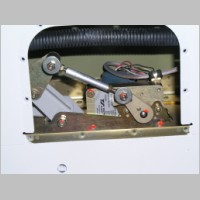
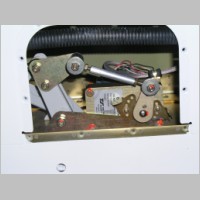
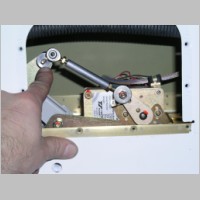
What about those TruTrak Roll Servo photos?? Well, I was having bad luck with my TruTrak roll enhancement upgrade. I put it together per their photos, and the 3.760 hole to hole pushrod length just wasn't working out. These photos were taken to send them to show them what it looked like at full Left, Full Right, and Neutral aileron. I was getting about 5.3 or 5.5" of upward deflection (measured to the wingtip) with full left aileron, but only about 4.2" with full right aileron. The full Left came real close to their servo stop, but the full Right wasn't long enough to be able to extend the arm as far as the aileron bellcrank would go. I was about to give up and send the photos but I decided to try to extend the arm a bit. I set it to 4.10" and that gave me what I needed. I think I have about 5.45" of travel on both deflections, with the Left Aileron coming almost to the servo stop, and the Right aileron hits the Aileron hard stop before the servo arm hits it's stop. With that little chore out of the way, I can now relax and go forth into the Airworthiness inspection, scheduled in 4 days.
Here's a SHORT (6.7Mb) video of today's engine run. And, here's a longer (71Mb) one.
|
|
|
|
|
|
|

|
|

|
|
|
|
|
|
|
|
|
|
|
|
|
|
|
|
|

|
|
|
|

|
|

|
|
|
|
|
|
|
|
|
|
|
|
|
|
|
|
|
|
|
|
|
|
|
|
|
|
|
|

|