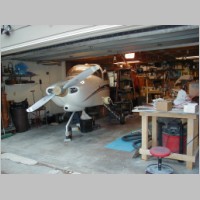
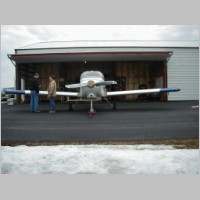
Final Assembly Begins - Moving to the Airport
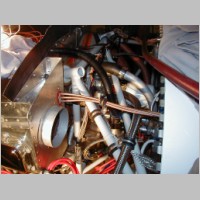
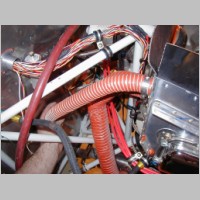
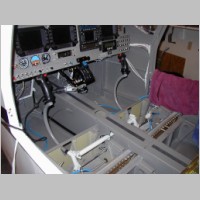
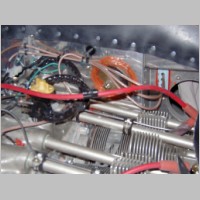
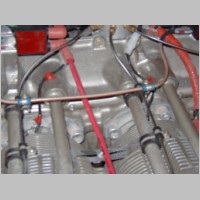
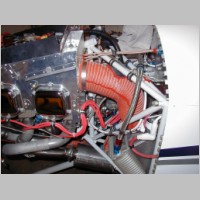
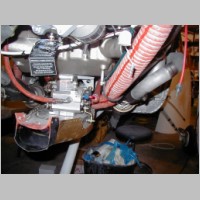
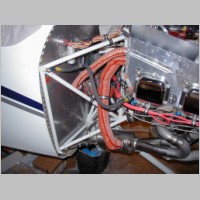
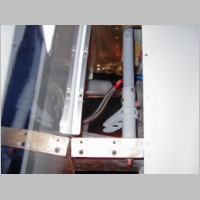
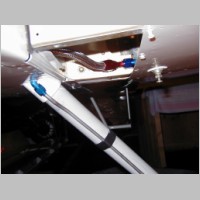
Updated 7/5/2006 - 1630.5 approx. Total hours (1409.6 By Me)Below are the latest progress photos. I finally decided to hook up the wiring for my Lightspeed ignition coils. I am using a keyswitch, and will try to fill in later how you get the keyswitch to work with the Lightspeed and one Mag. Just make sure you get the Plasma II+ or III and you can do this pretty easily. I routed them along adel clamps on the valve pushrods, with spacers from the other fuel line clamps. See photos below.
Updated 7/5/2006 - Sorry for the delay
Keyswitch Configuration with 1 lightspeed and 1 Mag
This is all good info originally sent to me by Dave Sundberg, another RV'er, so he deserves the credit. I'll post it because I KNOW you want to know.
I've found what works, at least on my setup with the key switch, one LSE Plasma II+ (Right Side/Top Plugs) and one Slick Impulse Mag (Left Side/Bottom Plugs). ** Note, this also works for me (Tim) with a Plasma III in the same configuration.
- The P-Lead from the mag goes to the L-Terminal on the Switch with the shield connected to the GRN terminal on the mag and not connected to anything on the switch end.
- The P-Lead from the LS (Pin 1) goes to the R-Terminal on the switch and the shield (Pin 9) goes to the GRN-Terminal in the center of the switch.
- Do not connect the jumper from the R-Term to the GRN-Terminal next to it.
- Do not connect the center GRN-Terminal on the switch to aircraft ground.
- Both ignitions are grounded out with the switch in the OFF position.
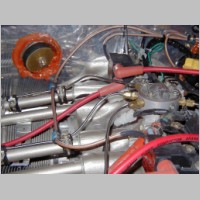
You'll also see below I added a 1.25" SCAT duct blast tube from my Right rear baffle that blows directly on the heater control valves on the firewall. This should also help cool the area of the fuel pump. I added a blast tube visible in the first photo that also blows air on the mag and should cool the fuel pump too.
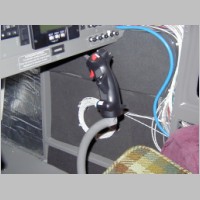
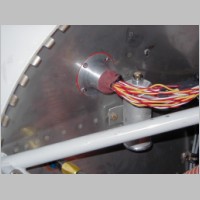
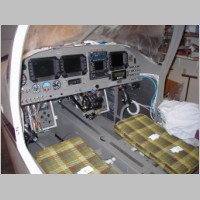
I drilled my sticks and pulled the wire for my Infinity Stickgrips. I then wired them up. I have AP disconnect, EFIS Mute, both Com's Flip-Flop, PTT, and Chelton screen flip (not wired yet...waiting for parts), oh, and both Elevator and Aileron trims are now wired up.
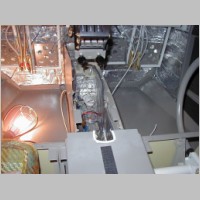
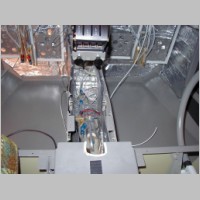
I got some great firewall insulation from Abby at http://www.flightlineinteriors.com and cut it to fit the various spaces up front including inside the tunnel. I'm going to wrap my fuel line too just to keep it insulated from the heat ducting.
I pulled all the wires and terminated my headset jacks. With the recent family addition of 2 pair of Bose headsets, I've wired all 4 positions for Bose and for Standard headsets. I also added ANR power for our old headsets that are ANR Headsets conversions.
These kits are very awesome by the way, and highly recommended. Although the Bose headsets are more comfortable.
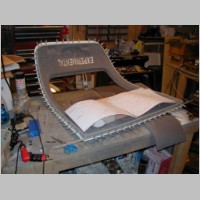
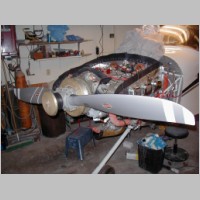
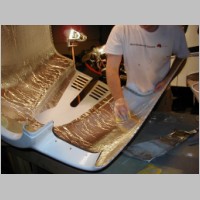
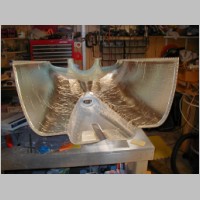
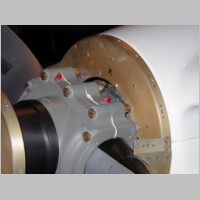
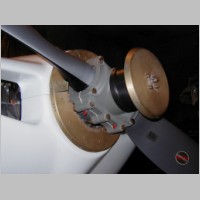
Other misc. tasks: I put 3M fire putty in the wire exit from the firewall where all my probe wires come through. I finally glued on my door seals and glued down the fabric around the windows. Advice on that....leave plenty of flex to the fabric when you glue it down. My fabric didn't flex as well as I needed so I had to slit it and then cut out small triangles of fabric to fix the slit areas. Many are invisible, but a couple are not. I also installed and torqued the prop, and saftied the wires per the Hartzell manual. I painted my inlet air scoop. (Do this when you paint the cowl...it's impossible to blend perfectly otherwise). I also lined my lower cowl with aluminum reflective heat shielding. I guess there are problems with the exhaust causing paint blisters even in the first couple hours of flight, so I thought I'd head that off right away.
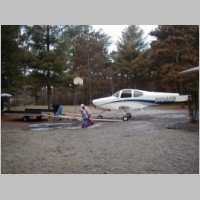
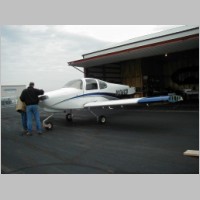
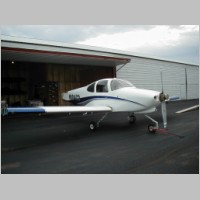
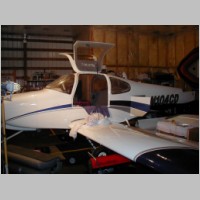
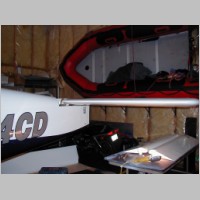
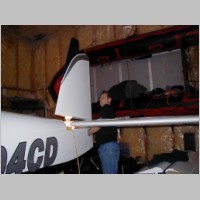
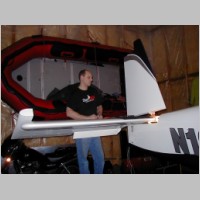
After all of that, it was a quick fit check of the cowls and door installation and then off to the airport. Regarding the cowl...I had tried for a 1/8" spinner to cowl gap. In the end, I ended up with more near to 1/16" for the most of it...and it's nice and even all the way around. My advice is to use maybe a little more than what's called for in the plans...mine is as close as I can handle it. I'ts hard to get the cowl on, and some day if it starts to come close to rubbing I'm going to have to sand down the front of the cowl and reinforce from the inside. If you leave enough gap to begin with, you can avoid all that.
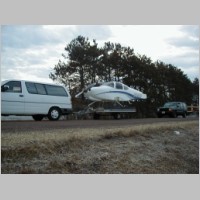
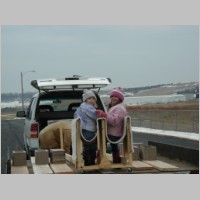
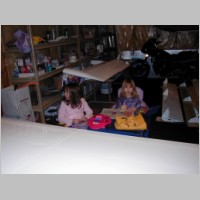
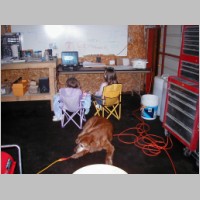
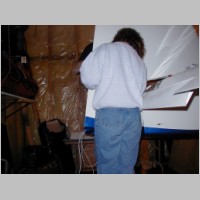
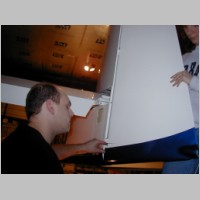
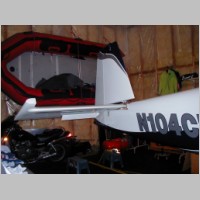
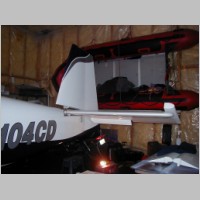
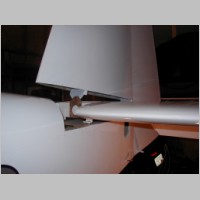
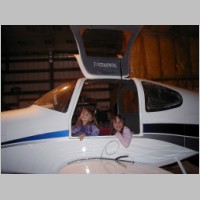
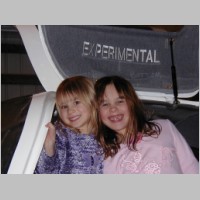
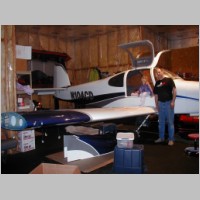
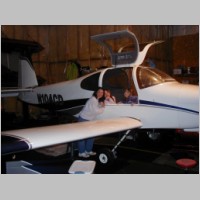
Moving all of the boxes of junk and misc. parts, workbenches, and shelving took a few van loads. The trailering went perfectly as before. As soon as we got there, we installed the wings so that I could continue on them without help. Then we installed the fuel lines on the tank end, installed an torqued all wing attach bolts, drilled wing wiring holes into the fuselage, attached all tail feathers and rigged the elevator, pulled the wires for the tail strobe/light (I used a bit of sealant to build a barrier between the rudder bolt and wires. You may want to offset the wire hole and grommet by 1/2" or so from the bolt to prevent this. The kids spent most of the day out there with us. They're set up OK, but not as nicely as the other shop. I need to get internet access into the hanger, or I'm going to be hurting when I'm on call (every other week). For now, my laptop suffices for the Music and TV machine. I use a PVR card to tape all of our favorite shows, and carry them with me on a portable USB hard drive.
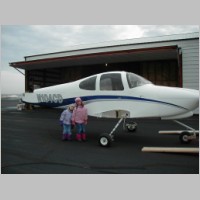
So that's the latest. It now actually looks like a flyable airplane, and within only a handful of hours, it could be.
|
|
|
|
|
|
|
|

|
|
|
|
|
|
|
|
|
|
|
|
|
|
|
|
|
|
|
|
|
|
|
|
|
|
|
|
|
|
|
|
|
|
|
|
|
|
|
|
|
|
|