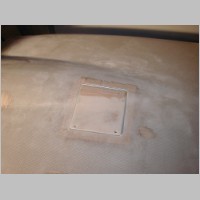
Oil Access Door, Cowling Louvrés, Body Finishing
Added 9/18/2005
- 991.2 approx. Total hours (893.1 By Me)
OK, I'm
definitely into the miserable part now. ;) Even this stinkin' oil
door is harder than it has to be, and the rest of the body is going to
take a bit of work. Get yourself some good sanding tools.
I'd suggest a small, round, 5" random orbit sander (I don't have
one) and maybe a small square one as well. I have a square one
and a larger 6" air powered random orbit one. The 6" though is
too big and aggressive for anything but the initial shaping of your
filled areas. I suppose I should try using something finer than
80 grit though. ;)
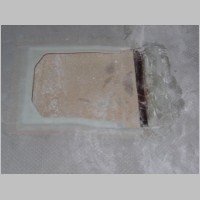
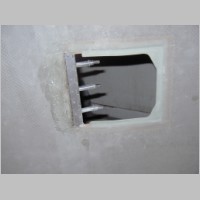
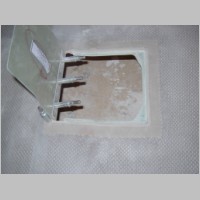
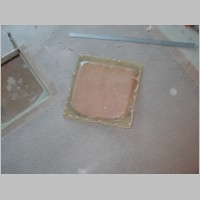
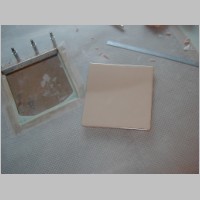
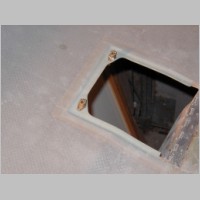
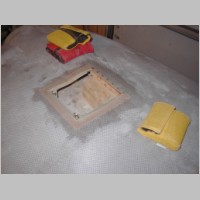
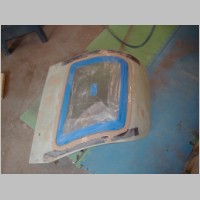
Oil Door
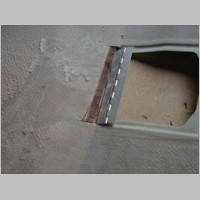
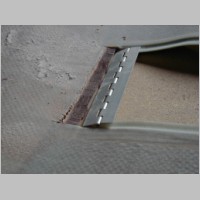
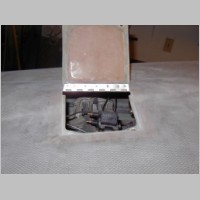
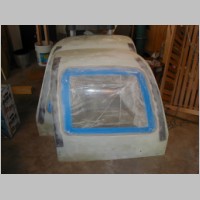
The oil door is really not what it should be. The reason is, first of all, the plans don't really show you where to cut the hole for the hinge. I can tell you that 6" is about right on the length though. I estimated high by one eyelet, and ended up filling in the hole that I had cut. I *think* that you're supposed to put the hinge on the brown area of the square hole for the oil door. You can do this, and I think you are supposed to (might be worth a call to Van's) but there will be a complication... The brown area is very thick, so your hinge eyelets will be well below the surface of your cowl, and it will look ugly. Now, how to fix that..... Anh took one approach, which was to bend the hinge tab so that you can rivet it on the fiberglass, and it bends upwards toward the canopy surface. Although he didn't like how they built the cowl any more than I did, he seemed happy with his solution. Mine was a bit more aggressive, but I also like my solution. I took the area where the hinge goes, and ground it from the inside so that it was thinner. There's a problem with this though. The brown stuff is actually some hard foam stuff in the cowling. You'll probably need to go almost all the way thru this stuff, and then your hinge will sit about right. But, now you have that squish foam to put the hinge on. I decided that I'd put down a layer of E-Glass before I put on the hinge. This turned out great. It reinforces the area, and adds just enough thickness so the eyelets are perfect on the top cowl. You'll want to put some wax paper on top of the area after you epoxy, and then maybe lay the hinge or something heavy like a wood block with weight on it to make a nice flat area for the hinge to attach. Now the only complication is that when you drill the holes for the hinge from the top, you're also drilling through soft, squishy foam...and countersinking gets nasty. What I did there was to countersink extra deep....not really caring how ugly it got. Then I filled the holes from the top side with clear epoxy. After it cured, I re-drilled the holes and re-countersunk. Now it's much more secure. When I riveted that area, it did squish the brown foam a bit, so I ended up filling over the rivet heads and now all is well.....ALMOST.
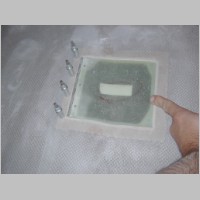
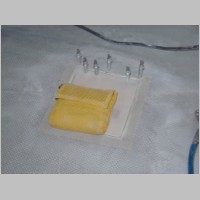
*** Part issue: The door recess is too deep, so, you'll need to add epoxy to your door bottom so that it sits flush with your cowl. Once you do that, you'll find that the 2600-3W wingnut camloc is not big enough for the cowl....I don't know how they thought it would ever work. My total thickness was about .200 between the cowl area where the recepticle goes, and the top of the door. So, you need to order a pair of -6W camlocs.
The oil door easily took me 6-8 hours...I don't even want to look to know exactly.
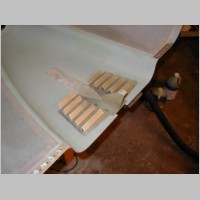
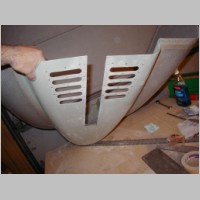
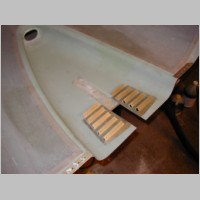
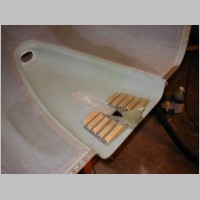
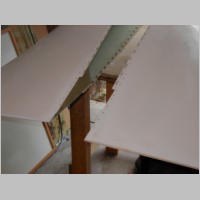
Louvrés
Nothing to them...these are a breeze. Just follow the plans.
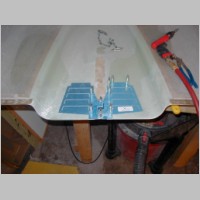
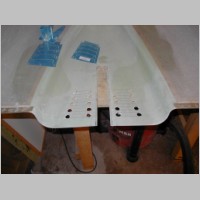
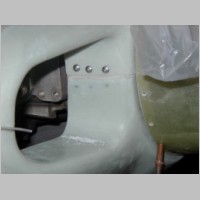
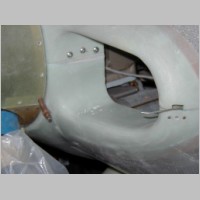
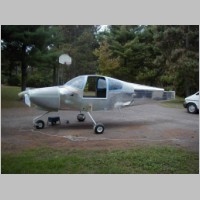
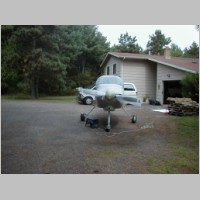
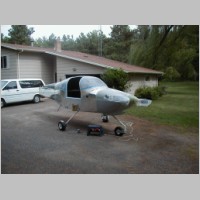
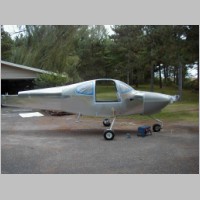
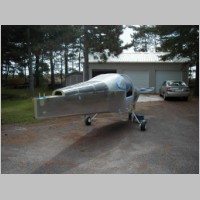
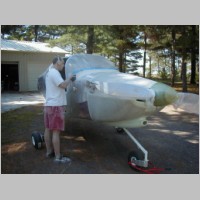
Body Finishing (First in a long, long, long series)
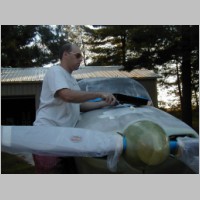
The body finishing, at first glance, seems to be no big deal. Then you start working on it and it of course feels like it will take forever, since it's miserable work. I don't really expect it to take all that long, but it's still no fun.
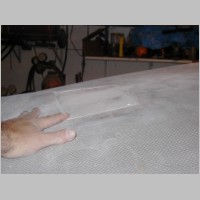
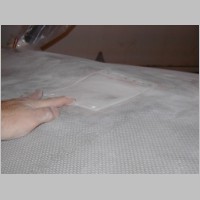
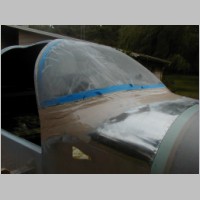
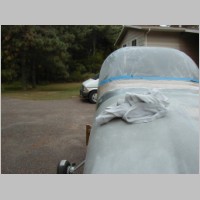
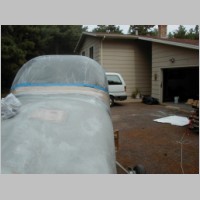
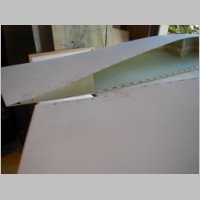
In the photos below, there's not a ton to see. Basically I just finished my wingtip ribs...(I hadn't installed them yet since I had that one wingtip that needed replacing.) Then, I started on the windshield fairing. Using 60 grit paper, the initial forming of the fairing went pretty quick. I had a good curve to it...don't know if it matches that 7" radius curve well, but it looked good. But, as I got towards the top, I realized it wasn't going to turn out too good up by the tape line.
** The problem: If you laid your e-glass all the way to the tape edge, it's impossible to sand it down thin by the tape....the e-glass will split and tear and chip as you cut through the fibers.
My fix for this was to take a couple steps backwards. I used a disc sander to gently sand down
to the bottom of the epoxy, right at the tape line. Then I used the sander to sand back at an angle, that e-glass line, so it started maybe 3/16" below the tape...tapering the glass thicker to the curve I wanted. Then I pulled the tape and re-taped, since I had started sanding into the tape earlier. Last, I re-mixed some epoxy (in black, using laserjet toner as before) and applied it to the windshield. My future steps will be to now sand that pure epoxy down to a very thin edge by the tape line, and it should turn out much better.
Around the windows I'm just using WestSystem Epoxy and 410 microlight. This seems to work well. I did have a thought while sanding around my rear windows tonight though. At OSH, many of the RV-10's, if not all of them, had cracked paint around at least part of the windows. I am thinking that this is probably because of that nasty window glue. If that glue is filled to the outer thickness of the window, then the epoxy that you fill over it with will be very thin. So a little heat will expand and crack that epoxy area. I wonder if it will be more durable if I grind out with a thin wheel, a little bit of that glue, and then have more depth to fill with epoxy. I did this on my rear windows, but not the front, so I guess we'll someday know.
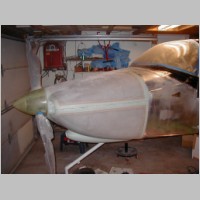
Other than this "in-progress" work, I also started using some smoothprime on my cowl top. There's LOTS more to do...
|
|
|
|
|
|
|
|
|
|
|
|
|
|
|
|
|
|
|
|
|
|
|
|

|
|
|
|
|
|
|
|
|
|

|
|
|
|
|
|