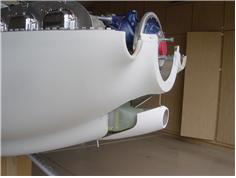
| Progress today!. Started by trimming/sanding the induction replacement fairing to 'final' size. the next step was to temporarily |
|
| position it in the right place. I found that in order to get a straight alignment with the Ram canister and the feul servo, I needed to |
|
| drop the ring about an 1 1/2" below where the James Oval was. This also puts the face/front of the round inlet in the same plane |
|
| as the spinner ring (vs at a slight angle). I made a couple of brackets out of .040" until getting it at the right distance, and then |
|
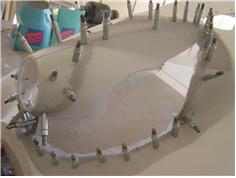
| clecoed the front in place. I picked up some alum and fiberglass screen @ HD to use as a temp form for the fiberglass. It turns |
|
| out that the fibergalss is a little too flimsy and the screen while very flexible is slightly more rigid. I cut 2 strips of screen about 12" |
|
| and applied them diagonally and overlapped them. I drilled and placed clecos as I went, by adjusting where the cleco went I was |
|
| able to get a pretty cood contour/transition frm the original cowl bottom to the round ring. I simply trimmed te screen and |
|
| wrapped it aound the bottom (top) and overlapped it with the other side. with both sided done, I udes some fast epoxy/flox and |
|
| trowled a small bead along the seam where the screen and the old cowl met. when cured, I trimmed to excess screen away, |
|
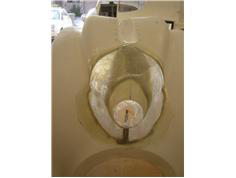
| removed the clecos and sanded the high spots of epoxy. Next was a 2 ply layup of 6oa cloth that followed the same pattern as |
|
| the screen. This will cure overnight and tomorrow, I'll sand/trim the inside of the cowl and then add 2-4 more layups of glass to |
|
| the inside. Then I'll trowel on the SuperFil and proceed to the finishing steps. |
|