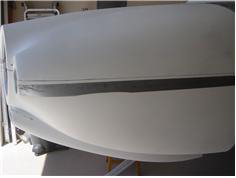
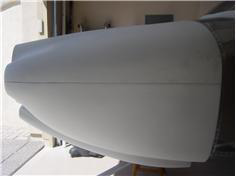
| This weeks goal is to get the cowl final fit and ready for paint. I cut the hinge pins for the upper aft hinges too short so there's not |
|
| enough of the pins sticking up to grasp with pliers for insertion and removal. So I ordered some replacements from ACS. And |
|
| spent the morning tapering the ends of them using a grinding wheel and the scotchbrite wheel. A lot of little detailed doctoring by |
|
| inspecting where they were binding and then figuring how to remove/relieve the binds. The new pins are still a firm fit, but they go |
|
| in and out with just hand presure now instead of the 'encourager' Nest step was to finalize the horizontal gap between top and |
|
| bottom cowls halves. Van's plans say to finish it to betweem .020 and .032" I put some duct tape on the sides and then used a |
|
| feeler gauge to measure how big/little the gap was and noted it on the duct tape. Then removed the upper cowl and used the |
|
| vixen file to file those places where it was high. It took lots of on and off iterations, but I got both sides to bewteen .027 and .030". |
|
| The Lower cowl was projecting outward slightly on both sides. Took the cowl off and using the seamers I slightly bent the hinge |
|
| eyes on the lower cowl outward slightly. (did 3 @ a time) The 2 sides now match flush (Dont' know why they weren't flush after |
|
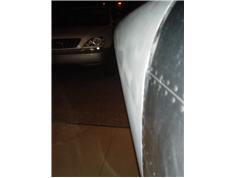
| installation. must have gotten more proseal on the lower hinges than the upper.) The cowl is NOT flush with the firewall and fwd |
|
| fuse skins, . So I will need to use some filler to fair/blend the 2 items together. |
|