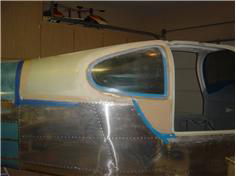
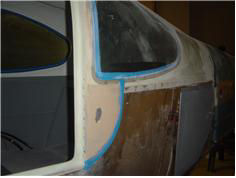
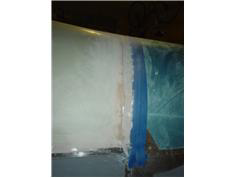
| I sanded all of the places where I applied flox/micro prior to applying the fiberglass tapes. I used one to the doors as a test case. |
|
| !st off I cut several 1-1 1/4" strips of lightweight glass cloth cut on a 45 degree bias. I attempted to roll the tapes up after beingn |
|
| cut to preserve their width, but was only partially sucessful. went ahead and applied 1 layer of the lightweight glass cloth to the |
|
| perimeter seam of one of the doors, but was not happy with the process or the result. The glass strips stretch too much in some |
|
| places and not enough in others. I think i'll go back cutting a 5 " piece on the bias and lay-up 2 plys between 2 sheets of plastic, |
|
| and then cut the 1" strips from the layed up cloth. peel one of the plastic sheets off nad use the other to help hold the cloth while |
|
| working it around the perimeter. Hopefully this will have a better result. Meanwhile, I have some 'depressions' where the rear |
|
| seat air vents are located, and I need to fill these so they are perpendicular with the skins and cabin top. I removed the vent |
|
| doors put some duct tape in the opening, and then mixed up some epoxy/flox/micro/cabosil mixture and trowled it on the areas |
|
| that are 'below' grade' (I previously used a straight edge to ientify the size of the area to be filled. I could have used body filler, |
|
| but this area is close to the doors and I was leery of body filler being too easily chipped, so I went w/ the 'thinned down' flox mix. |
|