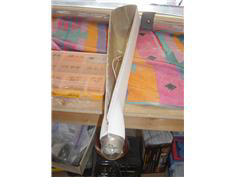
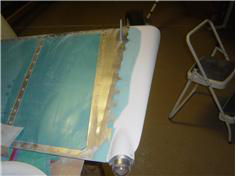
| Tried to finish off the fairings for the rudder today. First order of business was to figure an attachment of the Whelen tail |
|
| light/strobe combo. I recalled a Matronics post. And copied their approach: i.e.I cut a circular opening in the aft of the fiberglass |
|
| large enough to insert the main portion of the light/strobe, then marked the top & bottom holes where the cover/cap attaches. |
|
| drilled the holes, then remove the light/strobe, and reinsert the screws and nuts without the light and flox the nuts in place on the |
|
| inside of the fairing. I used some Fast epoxy and put them under halogen lights for 20-30 minutes, then I backed out the screws |
|
| leaving the nuts permanently floxed in place. Reinsert the light/strobe, put the cover/cap back on, and insert the screws and |
|
| tighten... Done! Sanded the gelcoat w/ 100 grit, match drilled the fairing to the rudder #30, dimnpled the rudder skins, |
|
| countersunk the fairing, then attached using CS4-4 pop rivets. I also drilled a hole in the most forward bottom position of the |
|
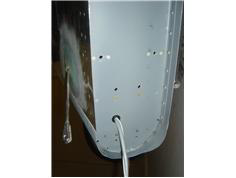
| rudder fairing for water drainage. Before attaching the fairing, I needed to complete the run of the strobe/light wiring to the aft |
|
| rudder bulkhead. I installed some snap bushings in the internal bulkheads, secured the wiring to the longerons w/ tywraps, and |
|
| routed the cable thry the aft bulkhead. Sanded and then filled the fairing/skin seam, then sanded again. |
|