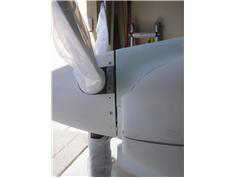
| Yesterday I spent some time 'adjusting' the hinge pins and induction rings to get an easier fit with the upper cowl and fuse. |
|
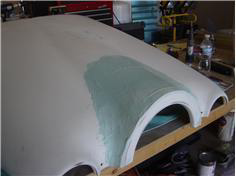
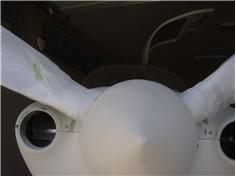
| Today's task was to build up the upper cowl spinner ring to blend equally with the prop spinner. I used a 24" straight edge to |
|
| mark how far back from the fron edge I would need to build up in order to make a smooth transition with the upper cowl and to |
|
| not have a 'bump' arond the spinner ring. It turns out that about 12" rear is the 'disappearing point'. I built that area up using |
|
| several applications of filler, i built it up beyond what was necessary in order to avoid any depressions or low spots. When I |
|
| measured the amount necessary with the cowl on the airplane I needed about 1/8". after the filler cured, I began to sand and fair |
|
| it into the right contour. I was able to get 90% of the sanding done with the cowl on the bench as i got close to the 1/8" I |
|
| remounted to cowl on the plane, applied some duct tape to the spinner to protect it, and then used some 100 grit wrapped arond |
|
| some 12" blocking pads, and sanded it flush with the spinner itself. I'll need to add a small radius to the edge when the cowl is |
|
| removed. I still have an issue with the lower cowl, the outside of the cowl ring is mostly Ok, but I've got to provide more distance |
|
| between the spinner and the bottom cowl than presently exists. To do that I'll need to ad several lay-ups of fiberglass to the |
|
| inside of the bottom cowl and then sand the front of the cowl prop ring back about 1/16-3-32 ". |
|