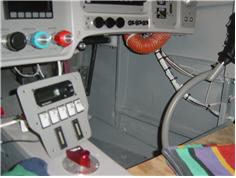
| Sort of a light day today, Parker had his Thanksgiving dinner/luncg @ school today so the afternoon was spent there. In the am I |
|
| was able to find the problem from yesterday with the aileron trim servo not being activated by the hatswitches. Turns out it was a |
|
| bad crimp on one of the pins in the dsub @ the servo connection. These awg 26 wires are touchy, it's exactly the same problem i |
|
| had on the Elevator trim. After lunch w/ Parker, I began on the wiring for the LED's and switches for the overhead plenum. I was |
|
| shortsighted here, it would have been smarter to have installed some conduit for the wire when I installed the plenum to the |
|
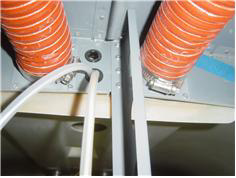
| cabin cover, or at least when the cabin cover was off and upside down. I used some 10 awg solid copper wire and 'fished it from |
|
| the aft bulkhead where I installed 2 snap bushings. After I got the #10 wire forward, I attached some 1/4" polyproplene tubing |
|
| and pulled it back using the #10. I did this for both the front seat lights and switches, and the rear seat lights and switches. I've |
|
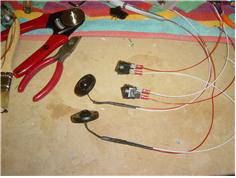
| got some dual conductor wire left over from probes and sensors that i threaded through each new 'conduit'. I soldered and |
|
| crimped some wire to the forward LED's and switches. Once the rear are done I'm pretty much ready to install them into the |
|
| overhead. the Kids are arriving from school tonight so the next couple of days will not show much progress on the project. |
|