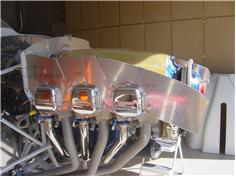
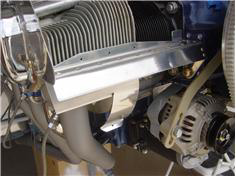
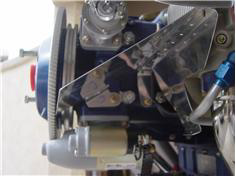
| Combo yesterday and today update. continued working on the plenum and baffling. It's nice to be working with alum and metal |
|
| again, even if only for a moment. I sorted through all of the pieces in Van's baffling kit and determined which I would use and |
|
| which would be discarded. Luckily all of the cyl baffles will work, the baffle in the front gets tossed, and the #1 & #2 get modified. |
|
| I deburred, match drilled , and riveted where necessary. I'm missing the air supply ring from the rear of th eplenum to the oil |
|
| cooler, ordered that from Van's. Began to figure out where / how to run ingntion and probe wires. Ordered some 3 hole ignition |
|
| gromets from ACS. #1 is simple with just a trim of the side pieces and the ramp to match the plenum, # 2 will be a little more |
|
| work, but not that much. The prop control mounting barcket will get attached to the underside of the front of #2, but since there's |
|
| nothing to attach the front of the metal 'ramp' piece to to steady/solidyfy it, I'm going to have to fashion some sort of bracing so |
|
| that the prop doesn't end up 'hunting' with the flex in the baffle material. After I get all of the metal pieces fabbed and installed, I'll |
|
| trim the top of th ebaffling to match the top of the plenum. I picked up some high temp epoxy today, in order to make the |
|
| modifications to the plenum, I decided that I would go ahead and cut and reposition the plenum intake tubes in order to get them |
|
| better aligned. I think I've figured an easy way to do it. |
|