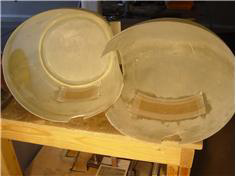
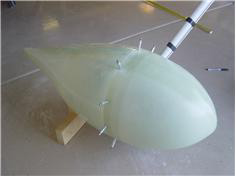
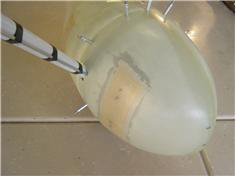
| Set up plimb bob at front and rear of fuse and marked the floor, then stretched a nylon lin ebetween then to mark the fuse |
|
| centerline. Got everything adjusted for th eLeft Gera fairing per plans and then began to drill the fairing to the attach bracket. The |
|
| bracket holes in the front were fairly close to the fairing, but the bracket in the rear is a way's (1/4" +) away, and if you try and drill |
|
| the bracket the bit wanders way to far. (Learned the hard way). A TIP, is to drill the fiberglass and then to 'score' the surface of |
|
| the bracket using the drill bit to mark the hole, but tak ethe fairing off the wheel and drill the bracket directly. I did this on the |
|
| Right fairing with much better success. Then layed-up some 3" 4 ply reinforcement pads where the gear fairing attach holes are. |
|
| Put the lights on them to speed up their cure, and went to work on the Right Fairing, Same process, in cutting it out for the gear |
|
| leg and brake line, then aligning it per the plans, then drilling the fairing and the bracket. I tapped both brackets w/ 6/32 threads |
|
| per the plans, but I found that wehn installing the Left fairing w/ Flox that there was still some misalignment, so I fund it easier to |
|
| use !/8" clecos to get it installed w/ flox then removed them and nudged it to it's final position. I will 'true' up the fairing holes |
|
| tomorrow after the left pant cures overnight. Meanwhile did the reinforcement lay-up on the right pant for o'night cure/ |
|