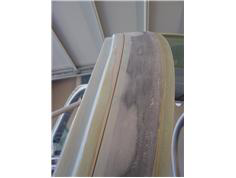
| I think there is light at the end of the tunnel, Today I final sanded by hand the gap/seam between the doors and the cabin cover, I |
|
| sanded it to aprox 1/32 - 3/ 64" gap, and then went back and 'broke' the edge using some 150 grit to put a slightly rounded |
|
| corner. This is primarily to help keep the paint chips to a minimum, as the tighter radius make them more suceptible to chipping. |
|
| after the sanding the 'gap' seemed a little larger because of the radiused edges. I hope that there's enough of a gap to allow for |
|
| primer and paint, it's hard to know just based on eyeballing. It's also very hard to take off too much material when i've gone to |
|
| such an effort to make this a more attractive package. then popped the doors off, I put a fiberglass patch on the Left door where |
|
| I had trimmed off too much material when mounting the door latch. I put the lights on it and it 'cured relatively fast. Last thing |
|
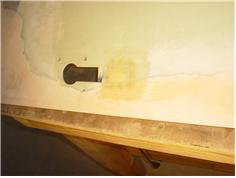
| done tonight was to mix up some SuperFil and spread it between the flox build-up edge on the bottom of the dors and the upper |
|
| surfacr of the door panels so othat when sanded it will yield a smoother transition and not show any 'waves' in the paint. |
|
| Tomorrow, I should be able to get the exterior doors final sanded and spray on several coats of Smooth Prime. I'm anxious to |
|
| see how they look after being primed and sanded. Then on to priming and sanding the cabin cover. then I can finally get this |
|
| 'dust bucket' cleaned up!!!! |
|