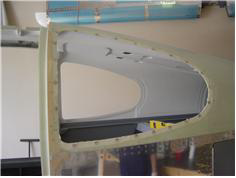
| I've been going slow on these windows because I've frankly been intimidated by them. I figured I'de 'learn' on one going slow and |
|
| then move on to the others. Well after today, I'm ready to move one. using the epoxy/flox/cabosil mixture took a lot of the issues |
|
| about working potl life of Weld-on away. After test fitting the window several times I found the right combination of 960-4 |
|
| washers to use as shims, I used a conbo of both the reg and the light washers. I had Judy standing by as I mixed up the peanut |
|
| butter mix and applied it to the cabin window flange, I was a but worried about getting too much on and then having epoxy drip all |
|
| over the interior, but that didn't happen. I basically troweled on the epoxy around the flange and ran a popsicle stick level with the |
|
| cabin top and the edge of the flange to screed off the excess. I wetted out the interior edge of the window w/ clear epoxy and |
|
| then placed the window into position and with Judy's help began installing the'fingers' they seemed to apply just the right amount |
|
| of pressure and ensured that the window completely adhered to the flox and the flange without any voids. On the interior there |
|
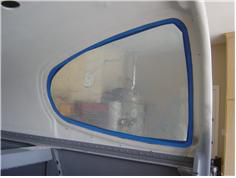
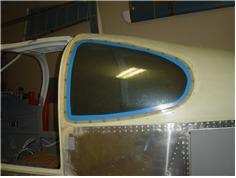
| was a little excess, but using a finger I was able to wipe it off and ensure a uniform fillet around the interior. The fine line tape |
|
| was pulled on the interior before the epoxy set, and it turned out really clean. Thans Dave Mc Neil for the detailed instructions on |
|
| Matronics!! a little cleanup on the exterior and everything is set to ocure overnight. Prepped the right rear window for install |
|
|
|