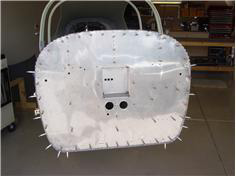
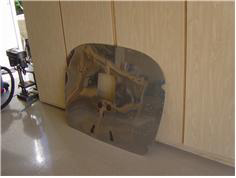
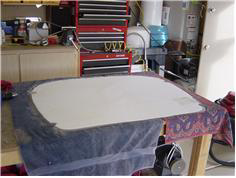
| Prepared the Faux-Firewall for installation. 1st off I needed to cut out 2 additional points where the 6 point motor mount contacts |
|
| the original firewall and the underlying braces/attachment hardware. I did not want to sandwich the faux-firewall and it's insulation |
|
| between the motor mount and the firewall hardpoints. Then figured out where to place the rivets to attach the faux sandwich to |
|
| the original firewall. Match drilled and clecoed all of the rivet attachment holes, Then disassembled and deburred everything I |
|
| could reach (The rivet holes on the bottom are under the floor and are covered) I dimpled the holes across the top of the FF for |
|
| AN4 426 rivets. I couldn't figure a way to dimple the remaining rivets so I'll attach them w/ CS4-4's. All of the rivets are on the |
|
| perimeter except for a few to insure contact between the 2 pieces and the Fiberfrax. I polished the Faux firewall with some |
|
| MetalAL and then glued the FiberFrax to the back of it. I'l let it dry over night. The 'glue' is NOT very sticky and dries to a 'crust' I |
|
| roughed up the stainless steel somewhat but it's not the best surface for adhering this type of high temp glue. I really only need it |
|
| to hold things together while it gets riveted. Tomorrow I'll rivet the 2 pieces together. Oh yeah, I should mention the reason I'm |
|
| doing this is to create a heat barrier between the engine compartment and the cockpit, to mimimize the potentioal for Hot Tunnel |
|
|
|