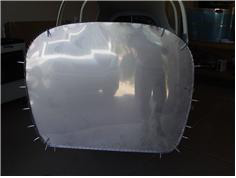
| Continued with the Faux Firewall. the initial fitting was good, but a little tight in 3 spots, so, had to take some more material off. |
|
| This Stainless steel is a buger to work with compared to aluminum, Files take too long, I used a gringing wheel on an air grinder |
|
| and then trued it up with a file, and then used a 2" scotchbrite wheel to smooth the edge. It just takes longer than alum. The |
|
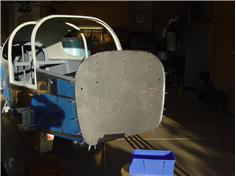
| holes where the ribs meet and the oil cooler bracket I match drilled from inside th cockpit. went pretty smooth, The biggest |
|
| challenge has ben several nutplates that are attached to both sides of the existing firewall. I took a small drill and drilled (match?) |
|
| from the inside, and then used the step drill to openup the hole from the forward side. The match is not always exact, but the |
|
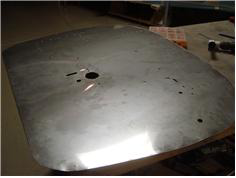
| Faux firewall is mostly cosmetic regarding these holes. There are also several holes that are already opened up for fittings or |
|
| snap bushings etc. I used a step drill from inside the cockpit to open up corresponding holes in the faux fw. Those went pretty |
|
| well. Tomorrow, I need to finish off the heater duct openings and then open up the large square area where the throtttle cables |
|
| come through. I also need to layout a rivet pattern for attaching the pieces together, I don't want to count on the glue holding |
|
|
|