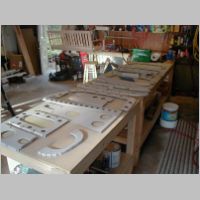
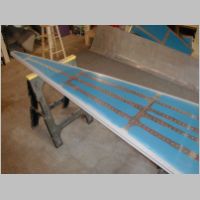
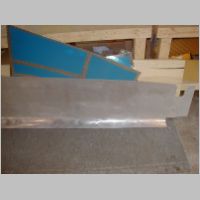
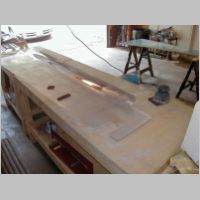
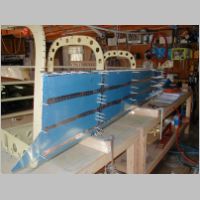
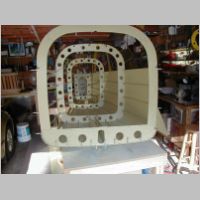
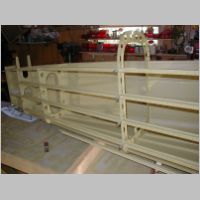
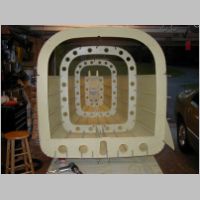
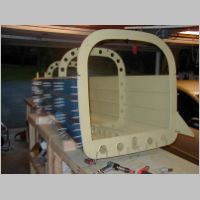
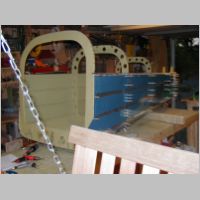
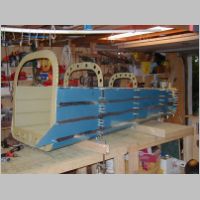
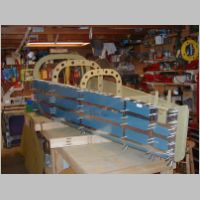
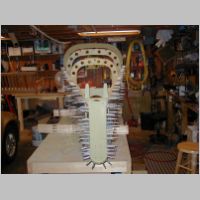
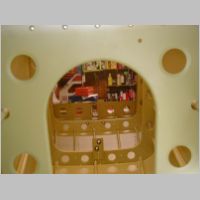
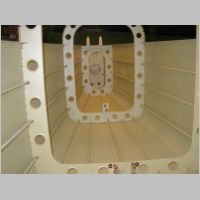
Tailcone Deburring, Dimpling, and Priming, and Assembly
After another gap in time without
working on this, I was able to find a few days
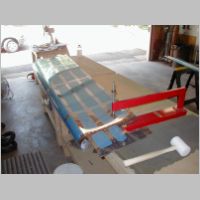
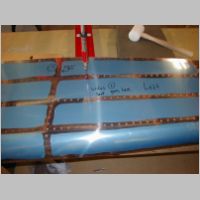
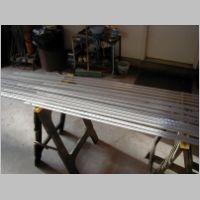
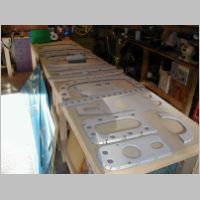
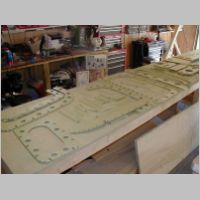
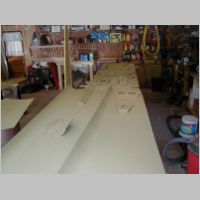
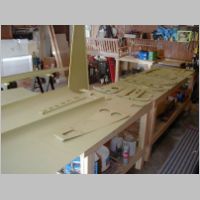
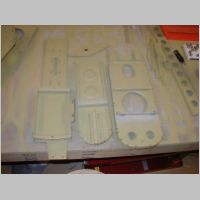
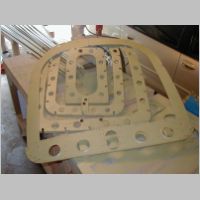
to work again. These pictures are 6/30, and 7/8-12.
What a relief to have the dimpling done (6/30/04).
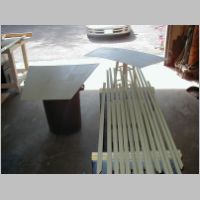
The priming isn't too bad. I used MarHyde Etching primer on the small parts,
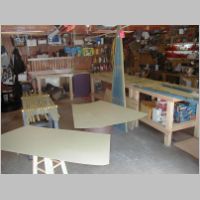
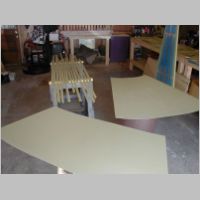
alodined the smallest items, and for the skins I just scuffed them and sprayed with Akzo.
All of the parts were Akzo'd before assembly. Akzo is great primer, but I'm not
that happy with how it sprays over MarHyde. It seems the MarHyde doesn't stick as well,
and can be scratched off. Then if you spray Akzo over it, it's still more delecate.
If you just scuff and spray with Akzo, I think it sticks better.
It's hard to do a good scuff job on small parts though.
I did come up with a great method for scuffing the skins that I plan to use
from here on out....saves a ton of time, and pain in the fingers. I used
a palm orbital sander, with 2 sheets of cutout scotchbrite pad underneath.
This did a spectacular job scuffing the skin with small swirls, way better
than I can do by hand.
(All Photos Clickable)
