Tailcone Assembly
Here's what the tailcone looks like after about 10 hours of time into it. Someone once saidthat this tailcone goes together really quickly, and I'd have to agree. Of course, knowing that
soon I'll have to deburr all of the parts and holes sure makes it a long section again, but
it doesn't take long to feel like you're doing something substantial.
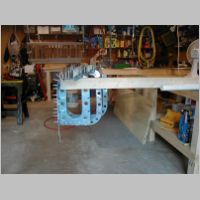
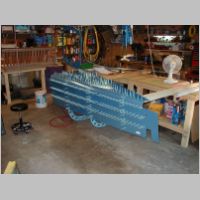
A couple of notes: The sawhorses required are 38" tall. Plan ahead and buy tall ones.
- OR -
Use these tricks. Initially I tried hanging 2 PVC pipes from the ceiling as sawhorses. That
works for the start, but soon you need to get the skin on one side. So, I just used
clamps and clamped down 2 2x4's on my workbench, standing on edge, and used
those for my sawhorses. That worked GREAT, since my workbench is 35" or 36" high.
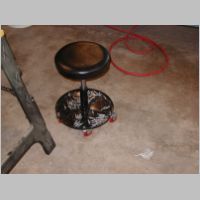
Also, just picked up this rolling chair (see below) for under $13 on sale. Very awesome
for when you're clecoing stuff like this. Just sit down, toss a pile of clecos in the tray,
and start going to town!
 |
 |
 |
 |
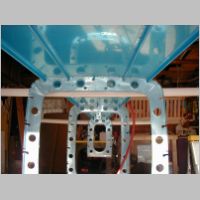
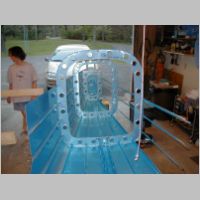
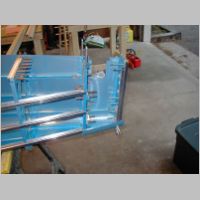
| Rear
bulkhead and Tie-down |
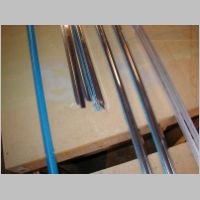
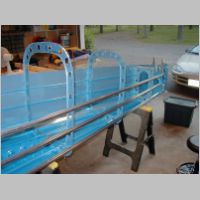
Cut
and angled stiffners |
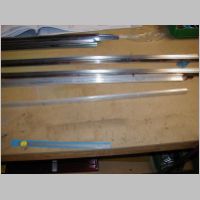
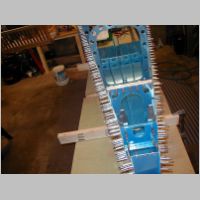
Bending
the Longeron |
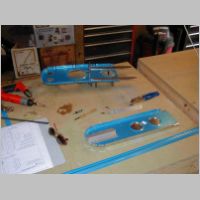
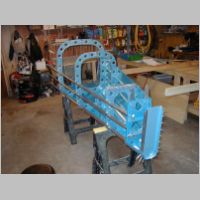
Assembled
bulkheads |
 |
 |
 |
 |
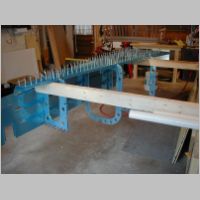
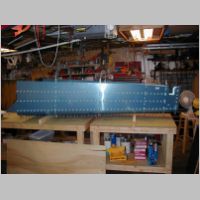
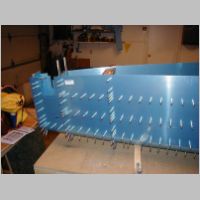
| Hanging
the Bottom Skin |
Makeshift
Sawhorse |
Another
View |
|
 |
 |
 |
 |
| And
Another |
Kick
Butt Cleco Chair! |
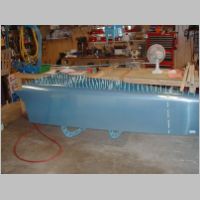
Skinning |
|
 |
 |
 |
 |
| Stiffners
and Skin on Left |
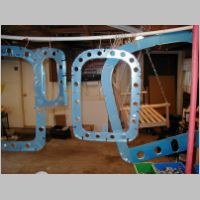
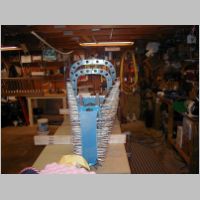
Tail
Internal Parts |
||
 |
 |
 |
 |
| Finished
for the night |