Making the interior cozy - Interior Installed
Added 3/5/2006During the flyoff time I had decided to leave the carpeting out of the main cabin, and the sidewall panels off, to allow for the chance to inspect or change anything that I needed to along the way. After 30+ hours, I have no fluid leaks, my pitot test is done, and everything is checking out beautifully with no rewiring required, so it was time to make the interior more comfortable and complete.
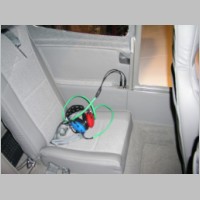
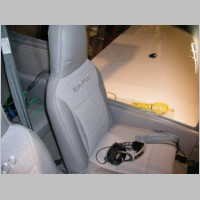
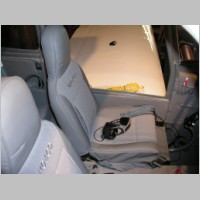
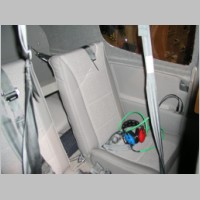
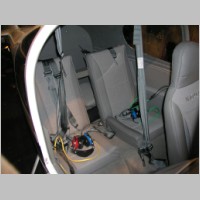
Abby has really done a fantastic job on the interior panel fitting. There have been a couple of revisions along the way, one of
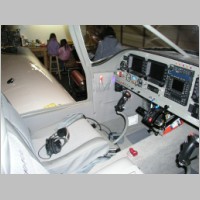
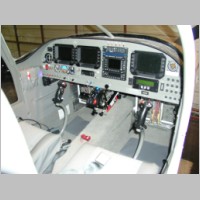
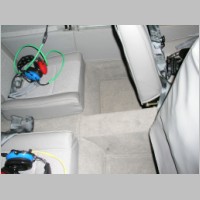
which you can see was the shortening of the armrest pad in the rear seat for headset jack space. Note: This is the one prototype panel still left in the plane until I can do a nicer job with the jacks. You can see that the carpeting fit in nice, so it's soft everywhere in the rear. There's a cutout for the air vent and the vent is covered by a mesh screen to prevent turkey buzzards from leaking through. The seats are padded front and rear. I don't have a rear seat back bar cover installed yet, but Abby has one with her interior kit so that metal bar isn't a hard metal bar anymore. She really goes out of her way to soften things, which will help with warmth, comfort, and acoustics. The seats look fantastic, and are very comfortable. The Oregon Aero foam in the fronts is very stiff when cold until the heat and your butt heat it up, then it gets nice and form fitting. You can see how the fuel valve came out too. The lower part of the valve is under the tunnel cover, with clip on nutplates. Then I can just pull the top of the fuel valve off and the trim ring, and screw it down right over the carpet and install the handle. That will make for ease of removal and install in the future. In one of the last few photos, you can see a trim plate I made for the center tunnel that holds 2 DC sockets for entertainment items, and one pair of headset jacks, and an audio input for the rear seat audio. It's convenient for both the front and rear. Some people will opt for a nice armrest center console. I think that's a great idea if you're into those, and it'll give you some storage space. For myself though, I prefer an open space. I'm one of those who wishes we didn't even have a tunnel. Often when we fly, the kids change seats, or I have to turn around to help with something, and having it more open suits me better. One thing that's missing is the seat belt hanging brackets for the front belts. Van's doesn't sell them. You can see photos of them on this site in various places. They work well, and are an item that basically should be something every RV-10 person would have. I'll need to take the time to make them soon.
I'll be taking more photos of the interior later, on a nice day, when I have time to take some care, but these will give you a general idea of how the inside will come out.
|
|
|
|
|
|
|
|