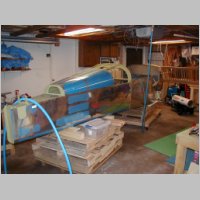
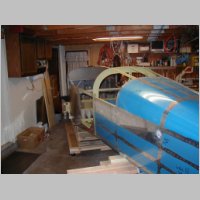
Attaching the Tailcone to the Fuselage - 5/12/2005
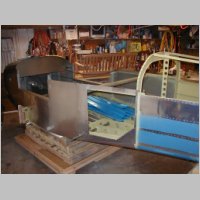
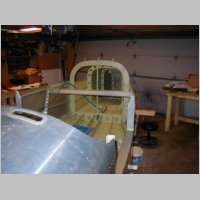
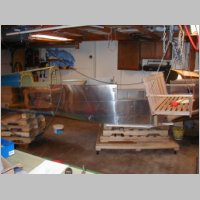
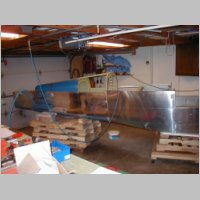
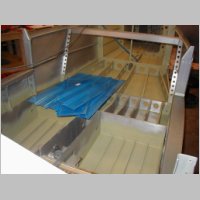
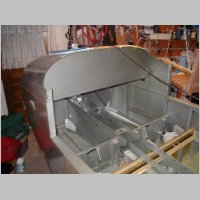
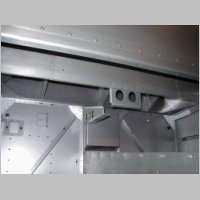
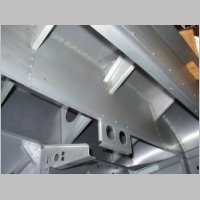
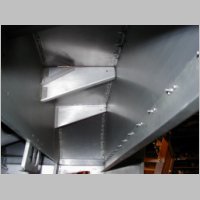
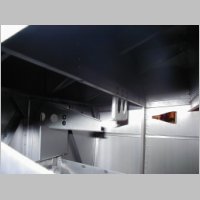
The Tailcone attach step, while not very complicated, is definitely a 2 person job. First of all, the tailcone slips to the inside of the fuselage skins. The small tabs on the bottom forward corners of the tailcone like to get caught on the fuse skins as you slide them together. Also, the tailcone bottom bulkhead doesn't like to go under the baggage floor ribs without a little playing. Start by lining up the longerons, and work your way from there. With 2 people, it took a little work, but wasn't a bad job. Riveting will also be a 2 person job. Very straightforward...just follow the directions, as usual.Also pictured below are some under-panel shots of the panel bracing. I measured back from the panel, to about where the center brace up the windshield will hit. It's about 5" or so back from the panel. You may be able to get a little more than 5" if you modify the bracket that attaches the center brace to the rib slightly. If you use the Lancair panel, you'll also get another extra 2" to work with. I had to measure to make sure I could put my PMA8000 audio panel on the top of the stack. Looks like I probably can.
The floors are mostly primed at this point, and I'm going to wait until my soundproofing foam sheets show up on Monday before I close any of the floor panels. I want this plane to be very quiet inside. My Com, Marker Beacon, and transponder antennas are coming with the same order. I'm now planning to put Bob Archer Wingtip Nav antennas, one per tip, so those will be ordered soon.
|
|
|
|
|
|

|
|
|
|
|
|
|

|