Fuselage and Finishing Kit Delivery - 4/25/2005
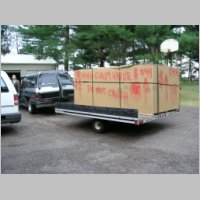
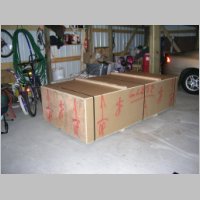
Today was delivery day for my QB Fuselage and Finishing Kit. Man are these crates BIG! For those who are interested, here are the size specs that are listed on van's current website link here:QB Fuse: 128" x 60" x 51" 712 lbs.
QB Fuse 2: 97" x 49" x 42" 245 lbs.
Finishing: 97" x 49" x 27" 431 lbs.
Previously, I had heard that the fuse kits were only 8' long, so I was a bit surprised to find that one was actually over 10' long!!!
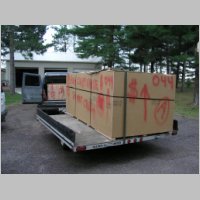
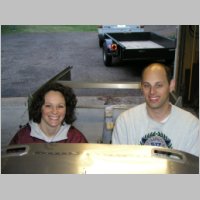
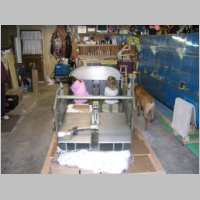
I had them shipped to the ABF Freight dock in town, because the 18 wheeled local delivery trucks would have a heck of a time getting into my driveway area anyway. Better to just save the hassle and the cash and pick it up myself. Had 2 of us plus the dock manager loading, had 2 guys plus a very spectacular wife unloading. No big problem, if you're willing to work a bit. The smaller two were light enough to lift. The finishing kit crate fit into the back of the Suburban, but the doors didn't shut all the way. The aluminum trailer you see is 10' long. The other is a 5' x 10' steel trailer. The one behind the Suburban is the QB Fuselage itself.
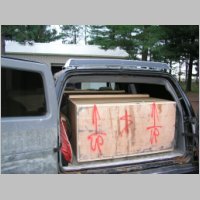
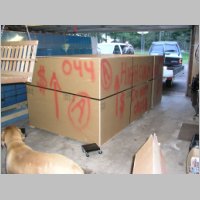
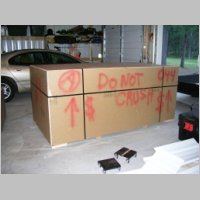
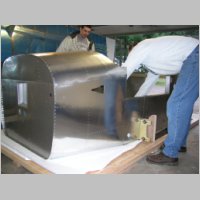
The one MAJOR disappointment so far (not at all Van's fault) is that when I arrived at ABF, they had my finishing kit standing on end. The freight dock people said that's how it came in on the truck (from Chicago), so they took their own photos of it in case there was a claim. I didn't have a camera to take my own photos, but it's nice to know the manager there was at least concerned even before I saw it. I haven't popped it open yet to see what was affected, if anything, but I will surely be doing a good inventory and inspection of that one. Look at the photos of the box in the back of the truck...that's the one. How many freakin' bright red arrows with the word "UP", and "$" does it take for those bozos to understand which side needs to be on the top? Idiots!
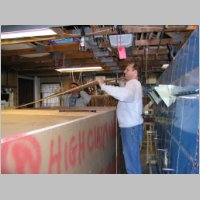
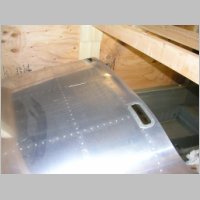
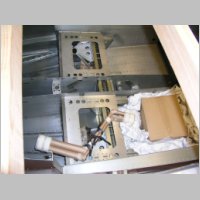
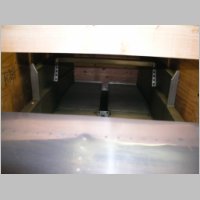
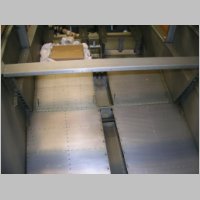
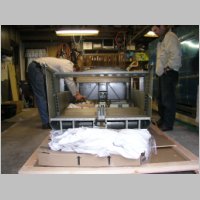
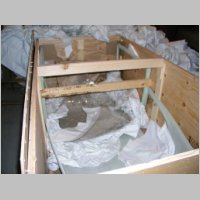
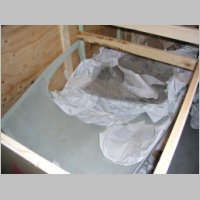
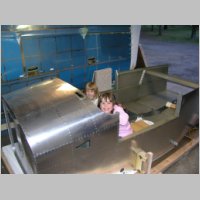
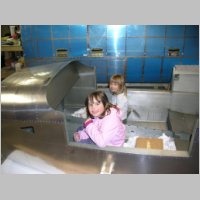
I did pop the top and sides on the fuselage. The only thing wrong there that I saw that was obvious was that the screws that go from the box sides into the wooden spar inserts had pulled free from the spar inserts...allowing the fuselage to slightly rotate and slip forward in the crate. The front of the fuselage was VERY close to the crate then...maybe 1/4", but I didn't see that it got dented anywhere as of yet with a quick inspection. If it had, it could have easily dented the skin on the top front of the fuse, right where it would look really ugly (unless the cowling would cover it). I popped open the 2nd fuselage crate with the fiberglass canopy in it and after taking out about 100,000 sq. ft of packing paper, I saw the shape of my lid, and saw the windshield. Everthing in there looked like it rode the trip out pretty well.
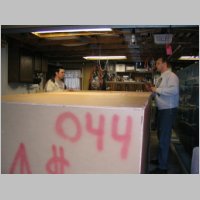
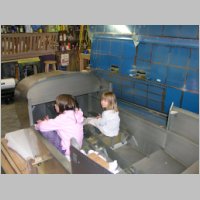
After all of this quick inspection, I hopped in to take it for my first flight. I provided the airplane sounds and stupid faces, while everyone else wondered how they could be related to me. :)
Also included with the stuff was my replacement left Wing tip. So now before I really dive into this fuselage, I have to re-arrange the garages for more parking room, finish the wingtip, install my 2 Duckworks HID light kits that I ordered today, and pack the wings away in the other garage. This fuselage is going to take up all the space I have in my building garage. Did I say this thing was Big?
|

|
|
|

|

|
|

|
|
|
|
|
|
|
|
|
|
|

|
|

|
|
|
|
|
|
|