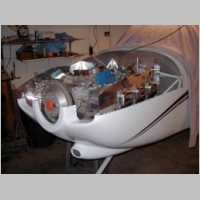
Engine - Baffling? .... You Bet it is!!
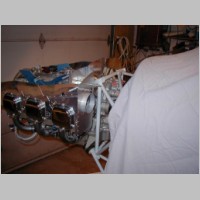
Added 11/8/2005 - 1283.3 approx. Total hours (1090.7 By Me)I had been previously warned that the engine baffling takes a lot of time. Rumors had the timeframe anywhere between 40 and 70 hours to get all the baffling done. Engine Baffling, for those who don't understand it, is the metal and rubber "sealing" surfaces that go around the tops of the cylinders. You want air to enter the cowl through the inlets, flow over and directly down through the cylinder fins, and flow through ducts to misc. areas as required...with no leakage of air. Poor baffling causes hot engine spots, and can cause damage. Day one on the baffling, I thought it looked much easier than I had anticipated, based on the rumors. The initial baffle assmebly goes very quickly and is very much in step with the provided plans. Reality hit shortly after I got into actually installing the baffles....
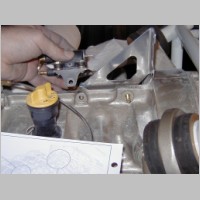
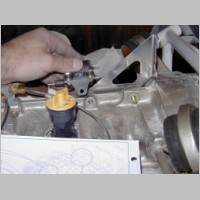
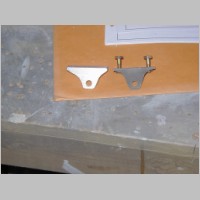
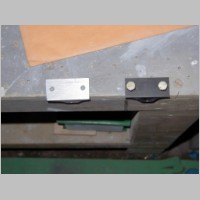
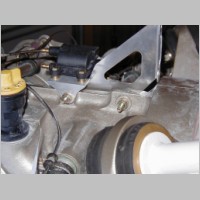
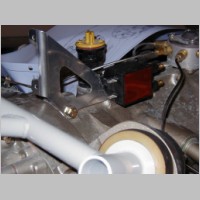
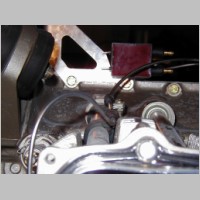
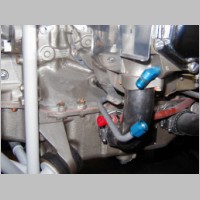
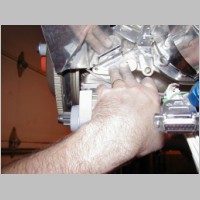
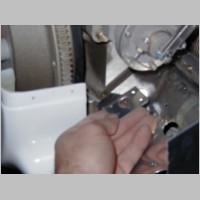
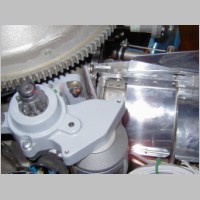
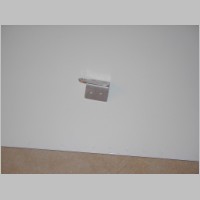
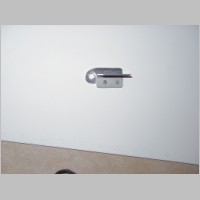
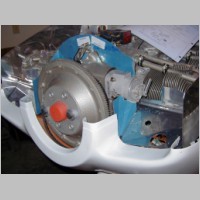
First, there was the complication of my Lightspeed ignition module that is mounted in the same spot as the rear baffle support bracket. The first few photos show how I dealt with this. I removed the bracket, chopped the baffle support down a bit, then re-fabricated my own ignition coil bracket that moves the coil about 3/32" to 1/8' further forward, adds washers to raise it another 1/16", and also mounts it about 3/32" to 1/8" further to the right side of the engine. Sounds like a lot, but it's just a simple piece of aluminum angle, drilled and cut the right way.
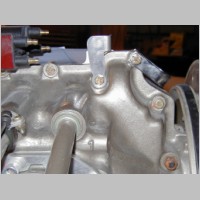
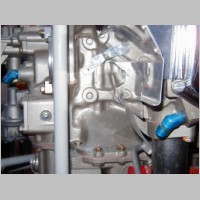
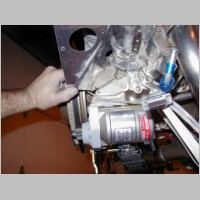
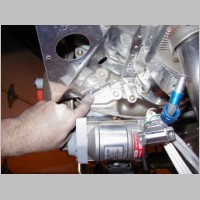
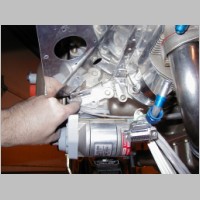
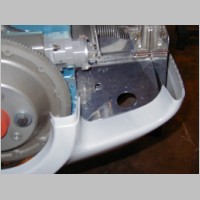
Once that was finished, I quickly ran into issues when installing the rear baffle on the right side. Around the vernatherm (I think that's what it is) the baffle fit too tight. It took a bunch of trial-fitting to trim down a spot on the baffle to fit in the proper place. In addition, to get the baffles on, the oil return tube need to be temporarily disconnected, but that's very minor. It is becoming apparent that there are many variations of blocks for IO-540's now. Mine works great attaching things where some other builders don't have luck, but at the same time, it's obvious that mine is different from the one Van's created the FWF kit from. The angle bracket on the rear of the right rear bafflle didn't work great for me. I had to trim some baffle and bracket away to get it to fit in. Then, when it did fit, the hole that attaches it to the block didn't line up with the hole in the bracket, so I had to drill the bracket for the right spot.
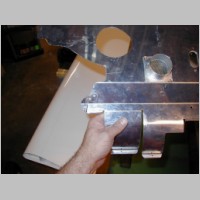
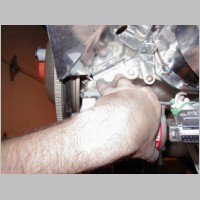
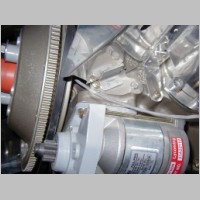
Moving on to the front baffles, bending the ramps was no fun at all, although with time, it got done reasonably well. I'm not clear on one thing with the front right side ramp...there are 2 holes where the alternator boss mount attaches. One hose is used also to fasten the air ramp. But, if you do that, the alternator will not be able to be mounted flush to the block...and you'll need a washer or shim on the other alternator boss mount hole. On the left side, the ramp attachement bracket for the engine boss mount was obviously built for a different engine as well. My engine only has one hole drilled and tapped on the flat surface. The bracket clearly looks to be designed for one that has a hole in a slightly mroe rearward place. So, time to make my own bracket. Photos are shown below. My bracket is mounted slightly more rearward on the ramp, due to constraints. I also worried about the big 3/4" hole in the old bracket....why was it there? Did I need that? But a call to Anh verified that we think it was just a lightening hole, so all should be fine.
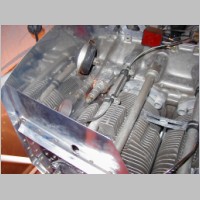
Then, when donig the front facing baffles (on the inner air ramp area), the Right side goes well, but the left side needs some very aggressive trimming to fit around the MT propeller governor (used on the Hartzell also). Once I had that trimmed enough, I could get it in and out OK.
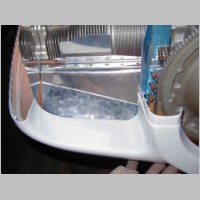
Eventually, you get to a point where you trim back the front edge of the air ramps even with the cowl edge. That's fine, but it won't work that well if done exactly flush. Once the seal is in, you have to remember that you can only move your cowl forward about 1/8" before you hit the spinner backplate, so you need to make sure it's not too tight in that area. That means you might want 1/4" gap between the ramp and the cowling. But, what also isn't mentioned is that you might not want to trim it all off the ramp, but trim the cowling instead. I trimmed my ramp, and ended up trimming the forward most rivet hole right out of that front left baffle ramp where the duct attaches. No big deal, but I wouldn't have had to trim as far if the cowling were trimmed instead. Either way, you'll want enough clearance to make it easier to drop the cowl, without making it a poor fit that will leak badly. So, it didn't take long to get to a point where I realize that this baffling is going to take some time.
Note: Right now would be a good time to make sure if you're this far along that you've completed your FAA registration. I found out recently that I probably should have done it a while back....because you can.
|
|
|
|
|
|
|
|
|
|
|
|
|
|
|
|
|
|
|
|
|
|
|
|
|
|
|
|
|
|