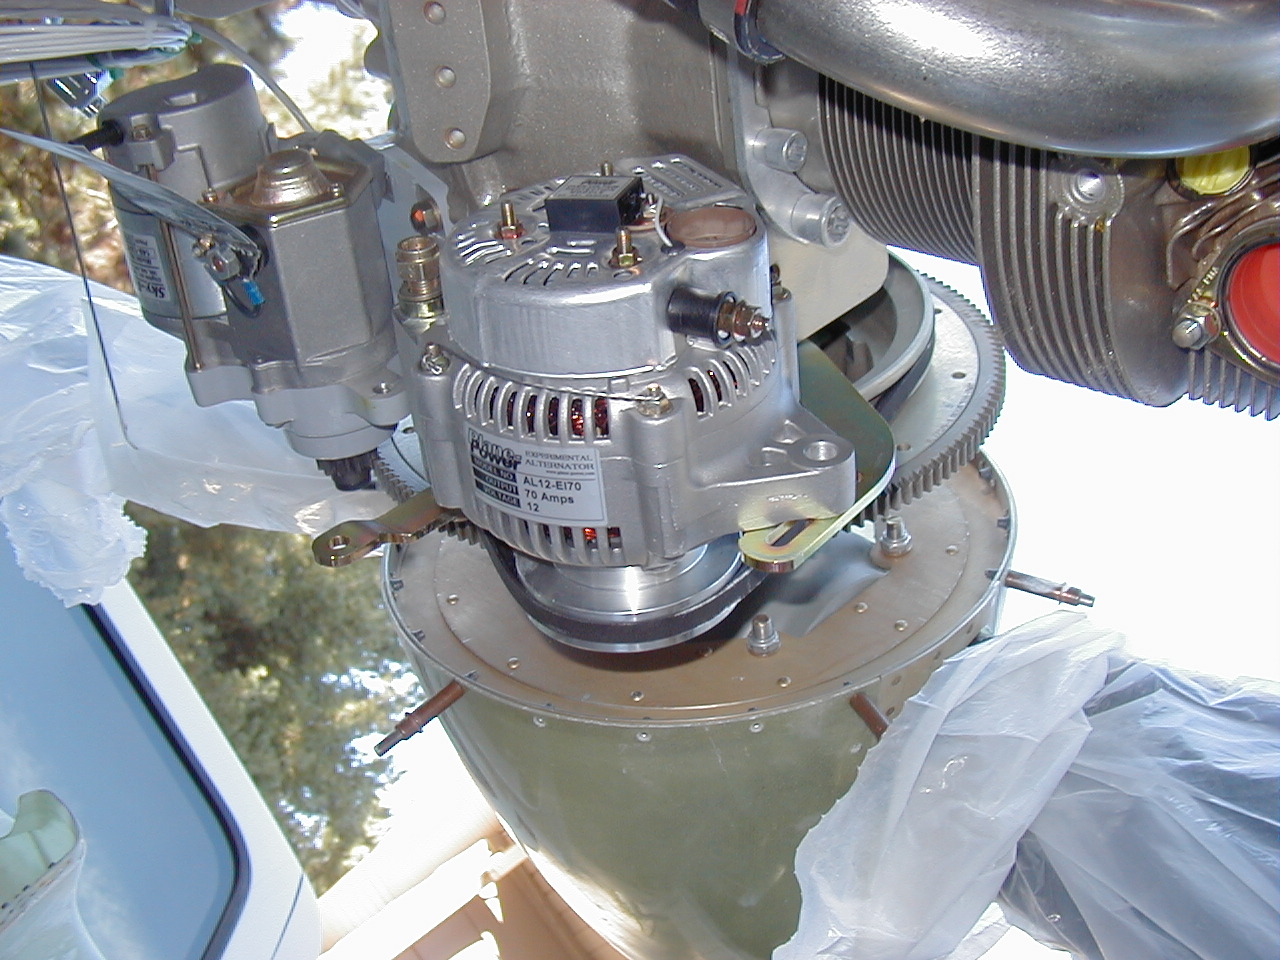
Plane-Power Experimental Alternators
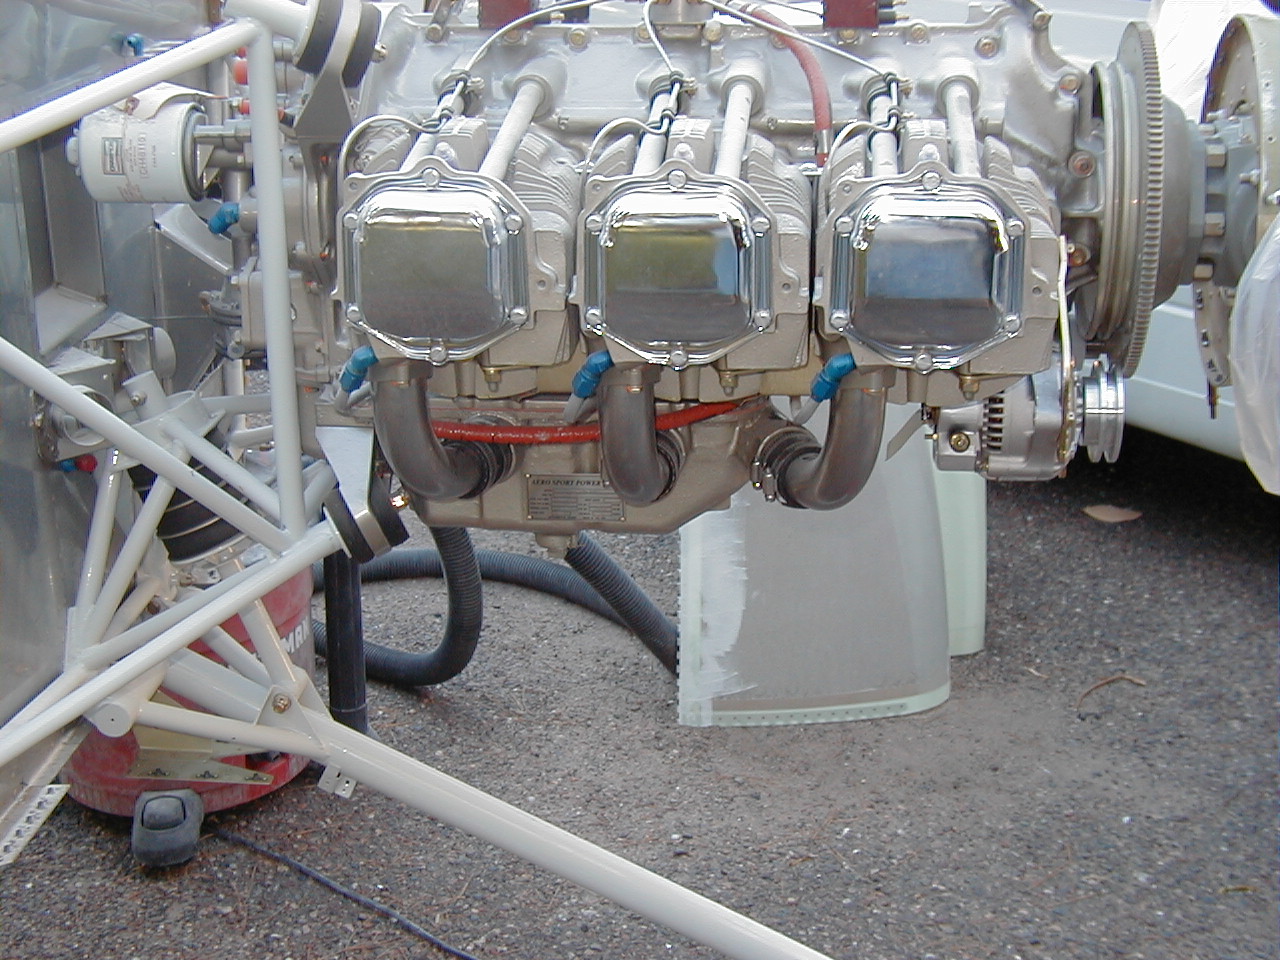
After a long search, I've finally found the Primary alternator I'm going to put on my RV-10. In the future, I'll also be adding a backup alternator, but probably not until after I'm flying. I had never heard of Plane-Power before, as they're a new company. But then I ran into them at OSH 2005, while I was actually on my way to B&C to buy their Alternator, regulator, and backup alternator setups. I stopped by the booth, and saw their alternators. They explained that they were in the process of doing a certified alternator that would be certified before the Experimental alternators would be released. The FAA/PMA process, as it turns out, has just completed on 9/22/05, so they held to that statement, and now their experimental alternators should be available within the next week. The experimental alternators are the same as the certified units, with the exception that they have built-in Overvoltage protection. This also got my attention, because there's a ton of discussion on the Aeroelectric list as to what method is better, and I started thinking about how this alternator plays into that game. To me, it would seem that with all the diligent testing they've done, that I couldn't go too wrong in buying a top quality alternator, and with it being a new design, it could not only incorporate new technologies, but would have undergone recent testing as well. So, I was sold enough to put my name on the list and delay my purchase from B&C. It should be noted that the cost of these alternators is *well* under what B&C gets for their 60A alternator. Also, the Plane-Power alternators come with *everything* you need. They even include the wiring harness, boss mount, brackets, and the alternator belt. (** Note: Don't final-torque your prop until you put your belt on...you need to have the prop off to install a belt.) One other side note: These alternators use dual fans, one front, one rear. The rear one sucks air in the back and vents out the side, and on the 70A you can add a cooling blast tube to assist it in even more cooling. (The back is the side that really needs the cooling) The front side sucks air in and exhausts out the side as well, so it should have plenty of cooling air circulating through it at all times.
As for my backup alternator, I still plan to purchase one, but they threw a wrench into that plan too. I inquired as to the availablility of a standby alt. for the accessory pad, and they said that they hope to have one ready next year. That was enough for me. The company really seems to be true to their word. So for now, I can live without it while doing my first year of flying. It'll take me a while to be comfortable going into any of the extreme IFR situations that would warrant such a system anyway. And besides, I do have a dual-battery system that should allow me to operate for quite a while without an alternator. After I do my final load testing, I may even decide not to buy a standby alternator if things test out well enough.
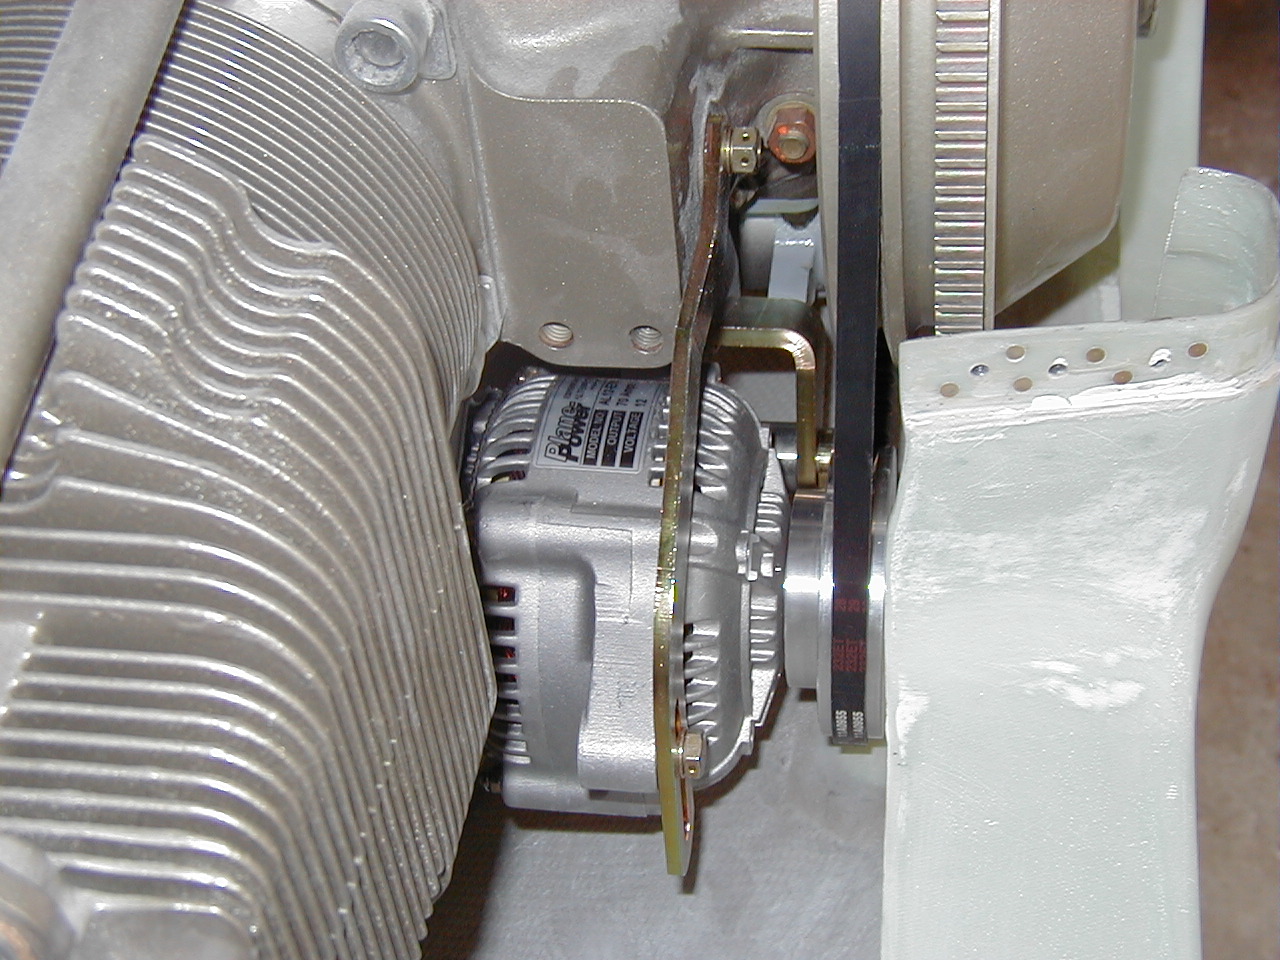
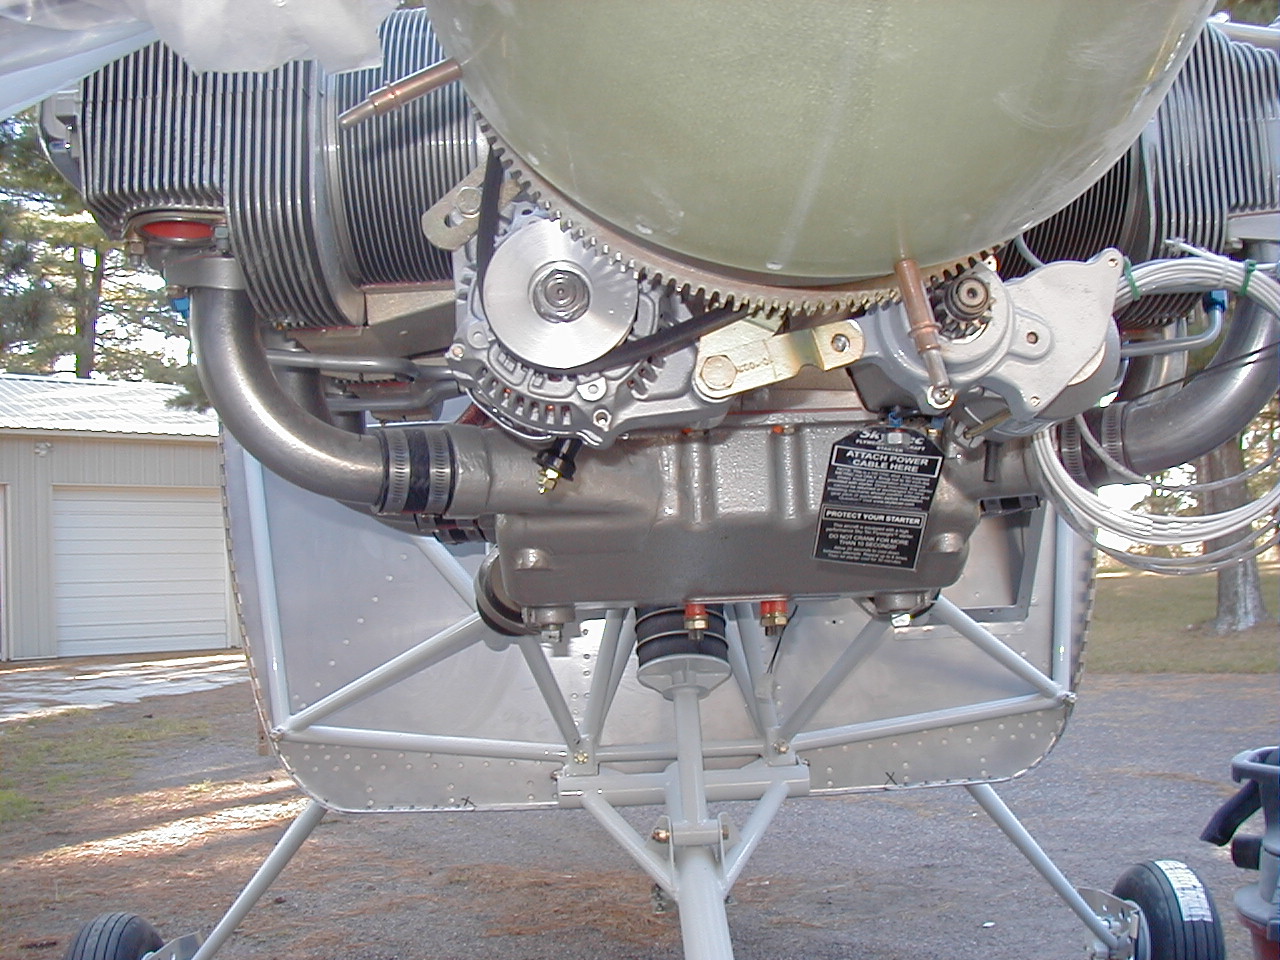
Fitting the 70A "Big" alternator into the RV-10
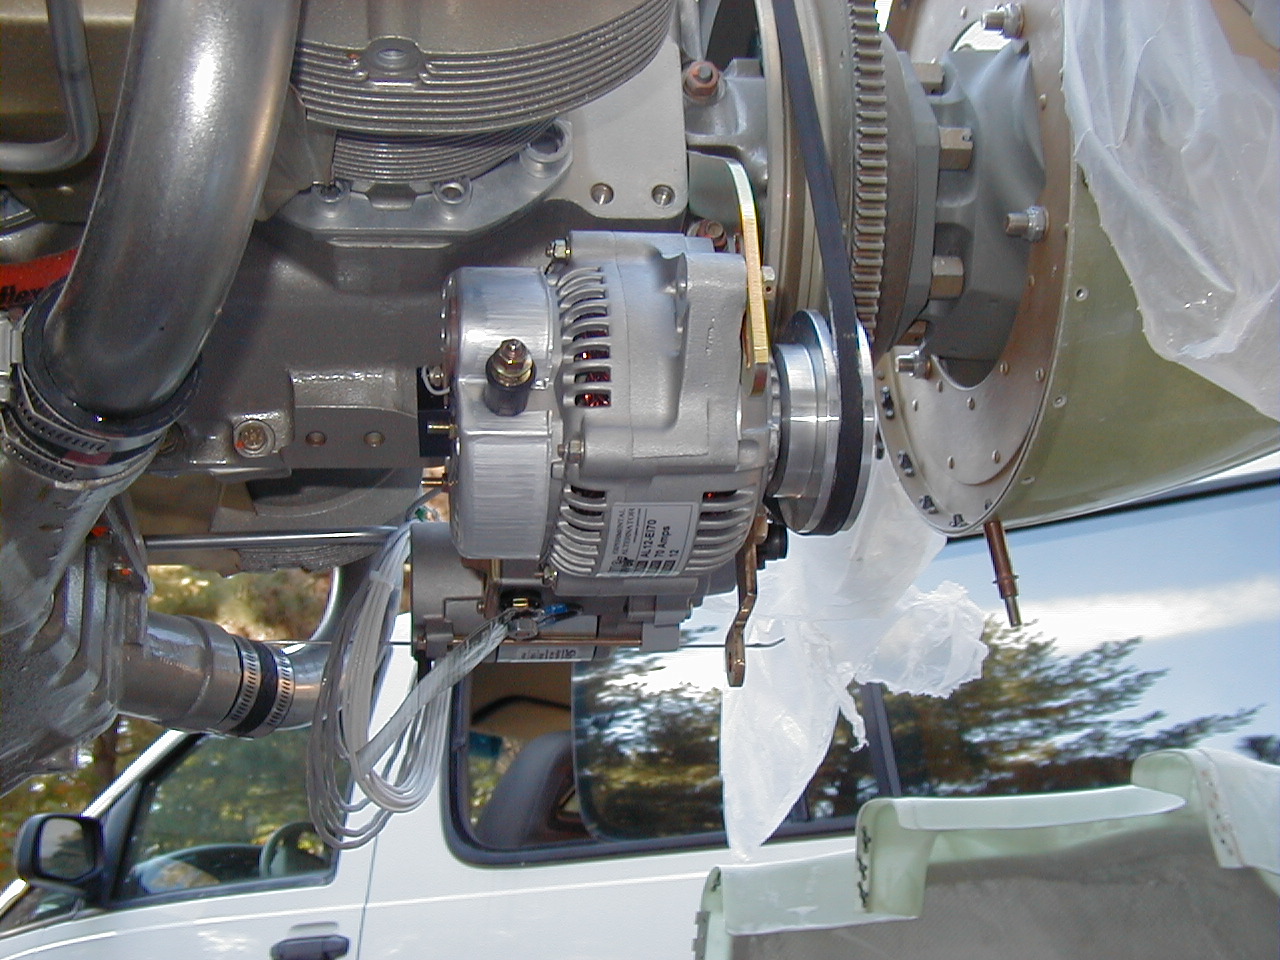
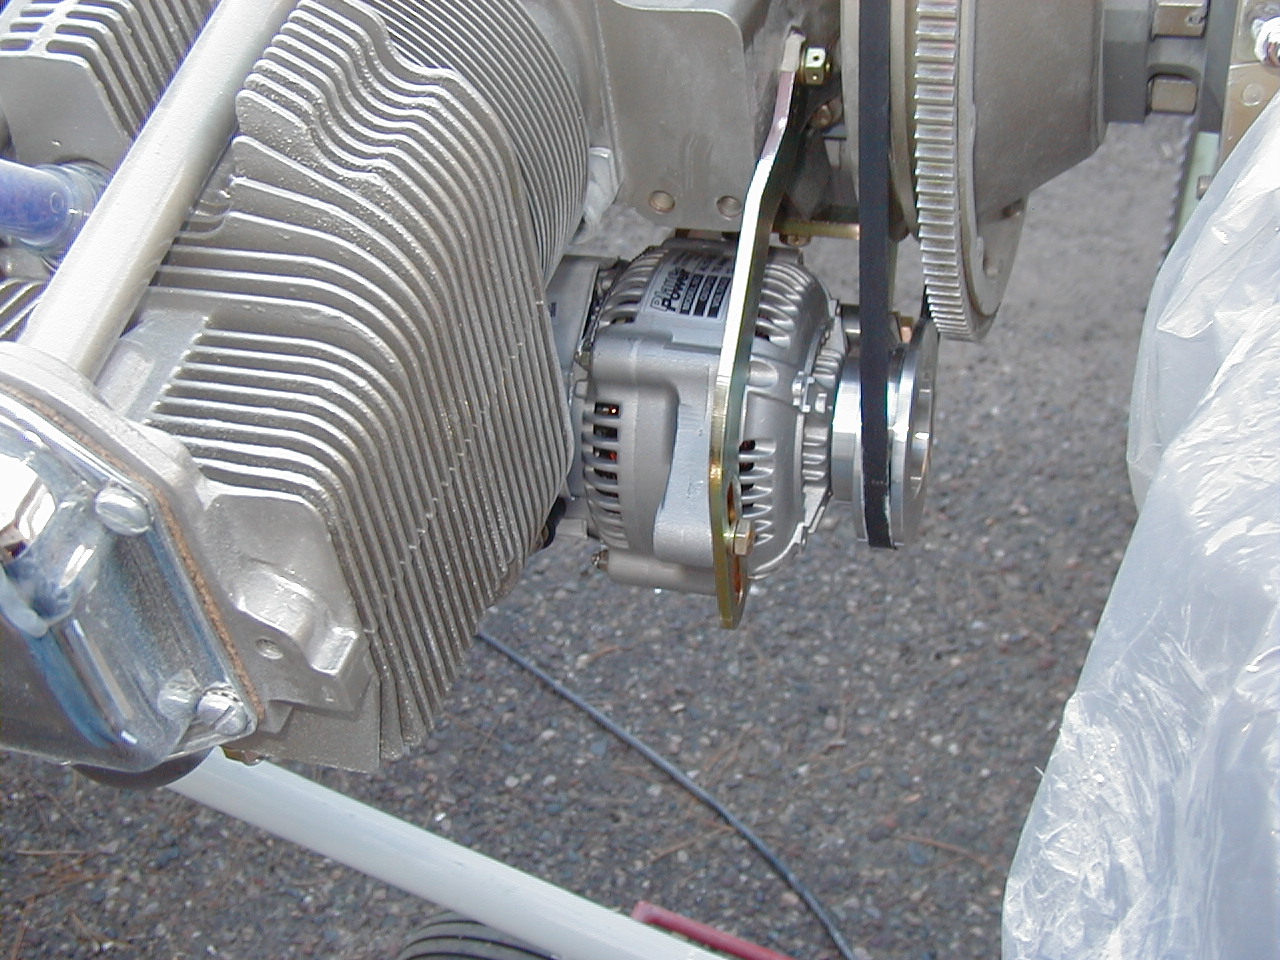
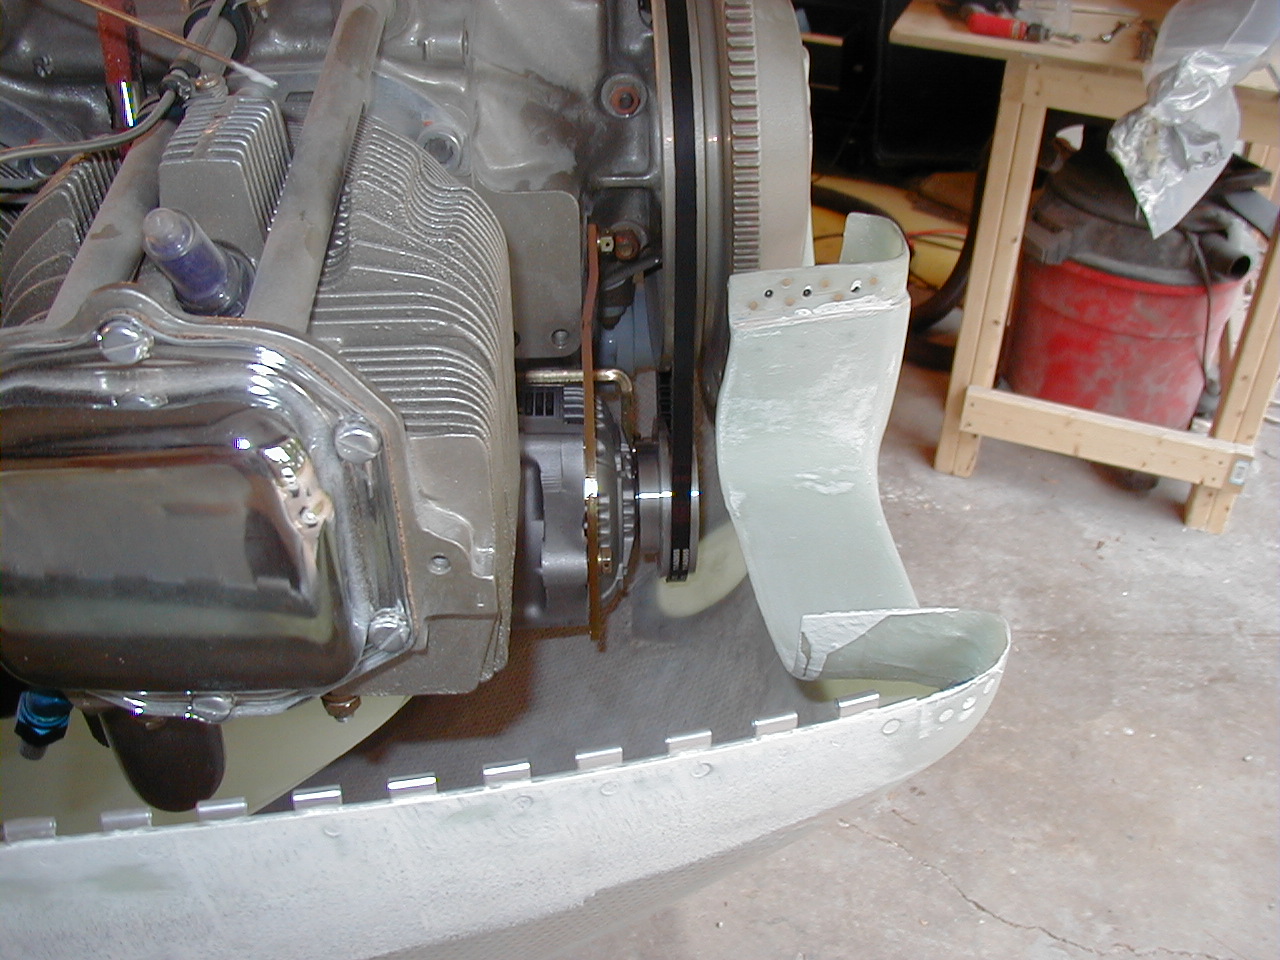
First, I fit the 70A Alternator to check for cowling interference. They had warned me that in some other RV installations, people needed to buy the small 60A because of the cowling interference. Being 3 lbs lighter than the 70A, I think the 60A would be a great option for many builders, but I have reasons why I'm willing to accept the trade-off of heavier weight. I don't really need the extra 10A, but the difference does buy you a couple more benefits.
- The 70A alternator turns slower, and thus runs cooler
- The 70A alternator comes with an air blast-tube adapter for cooling
- The 70A alternator should provide for a little more margin of ultimate power if I need it
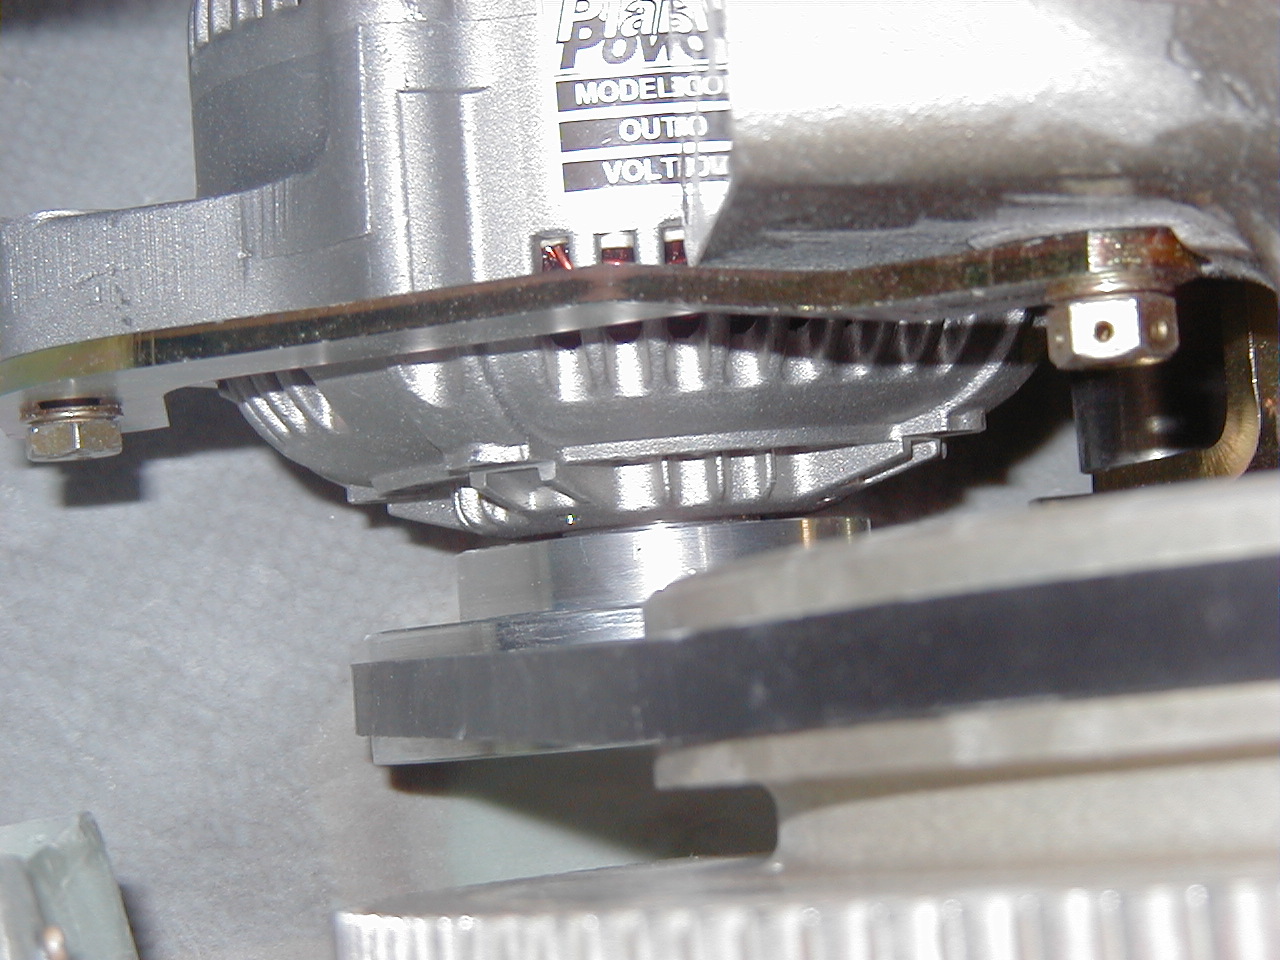
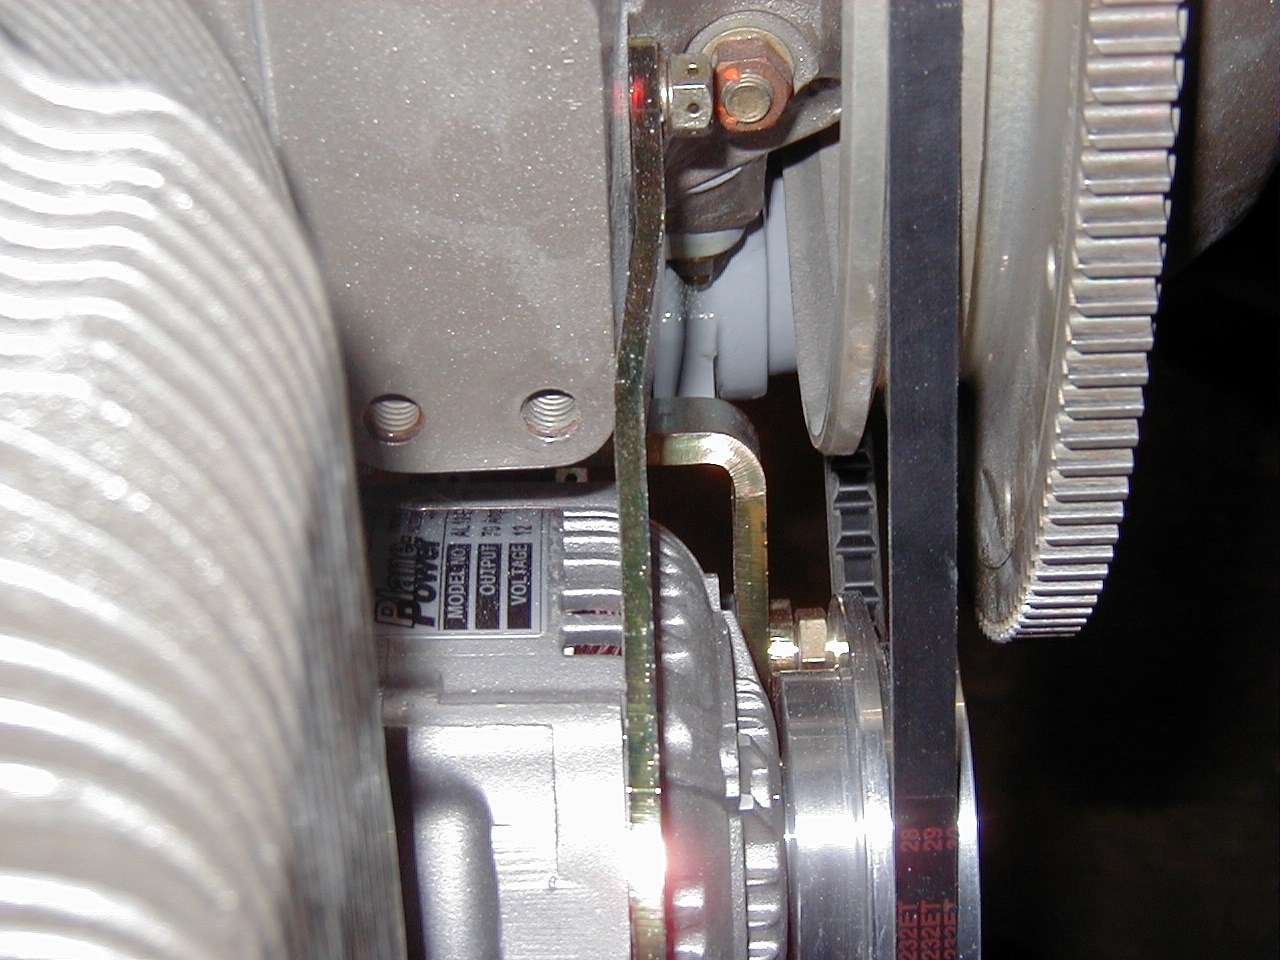
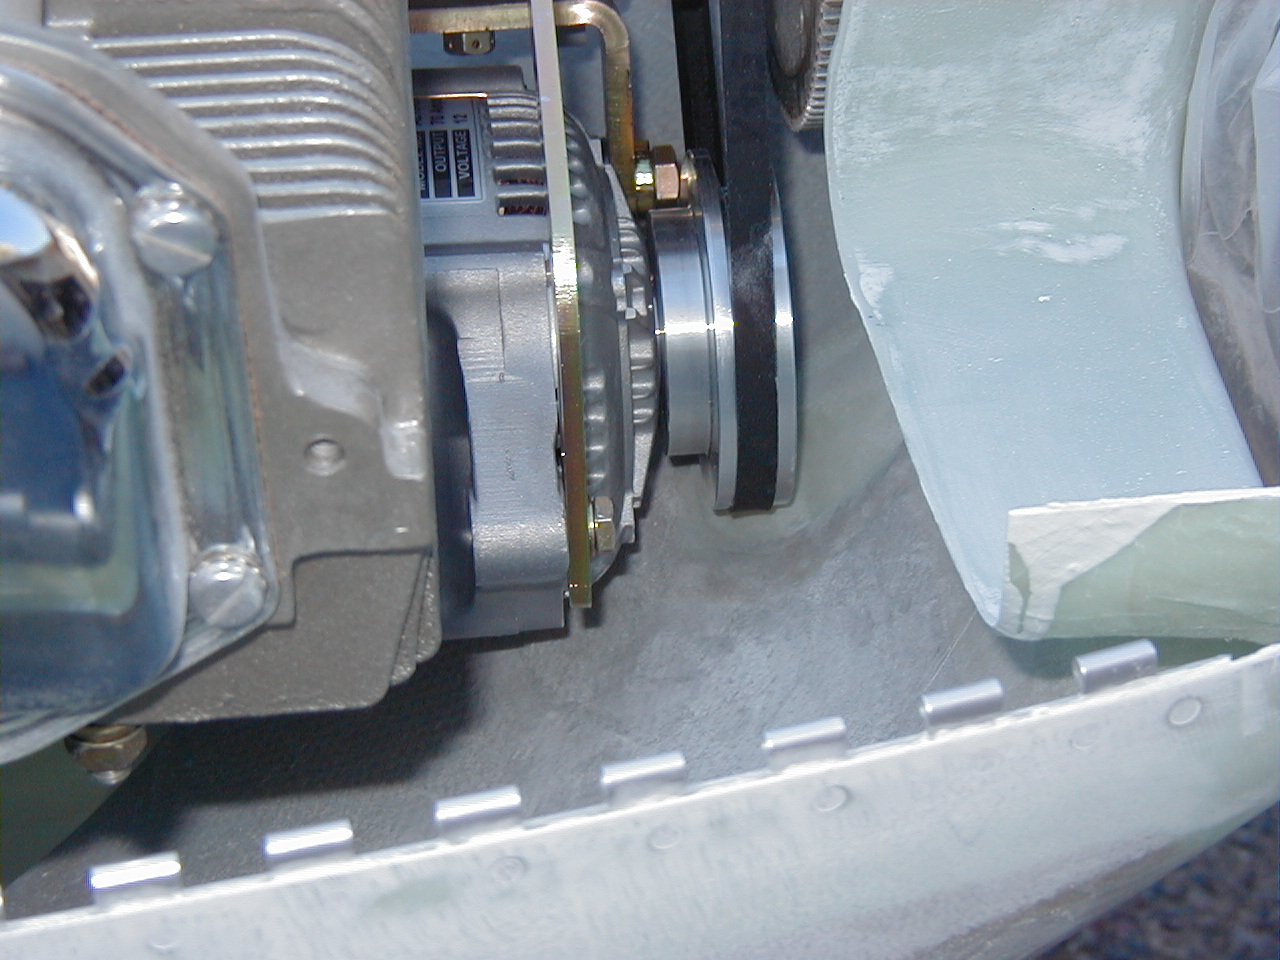
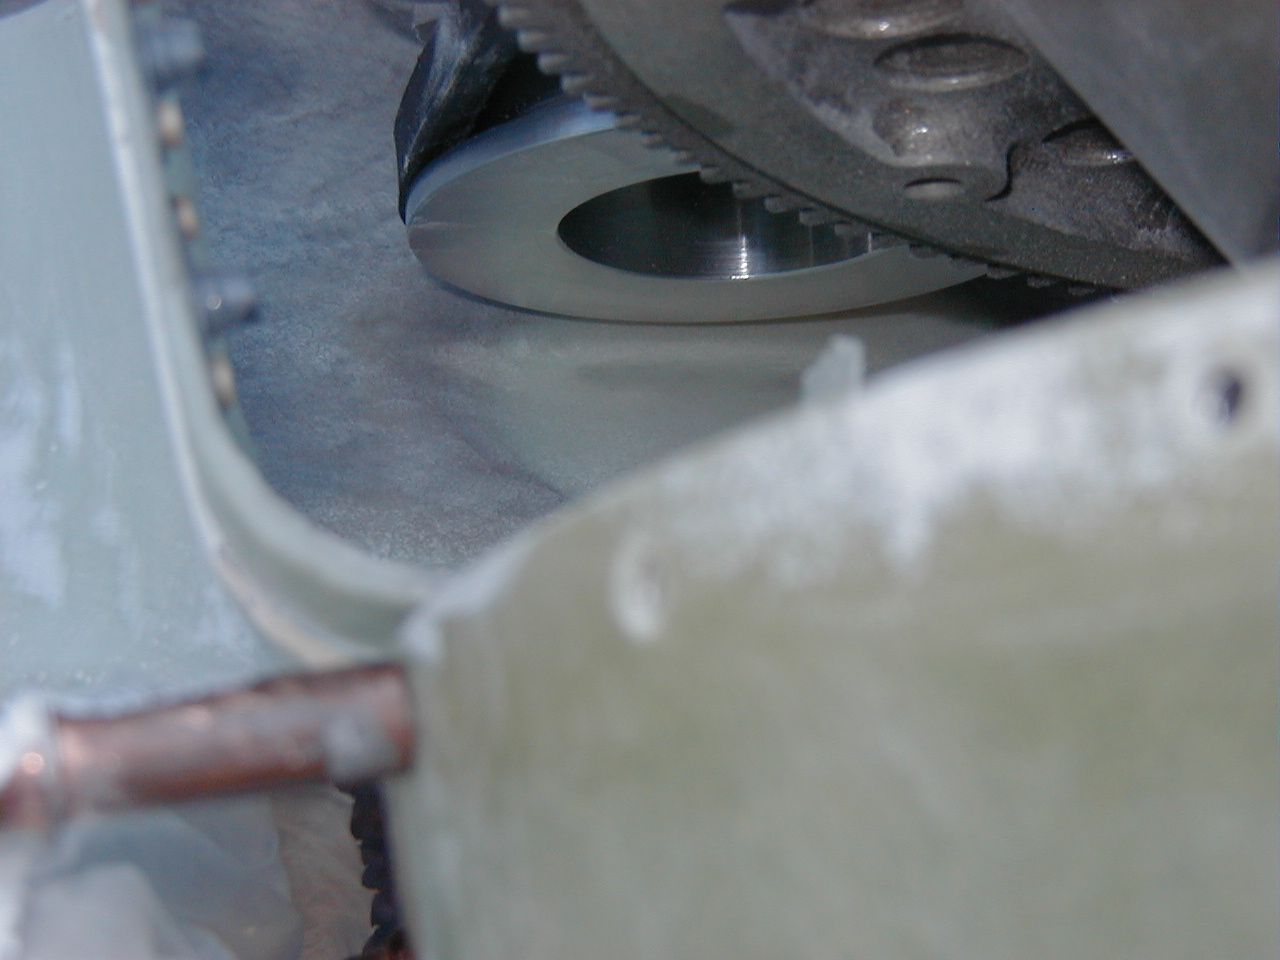
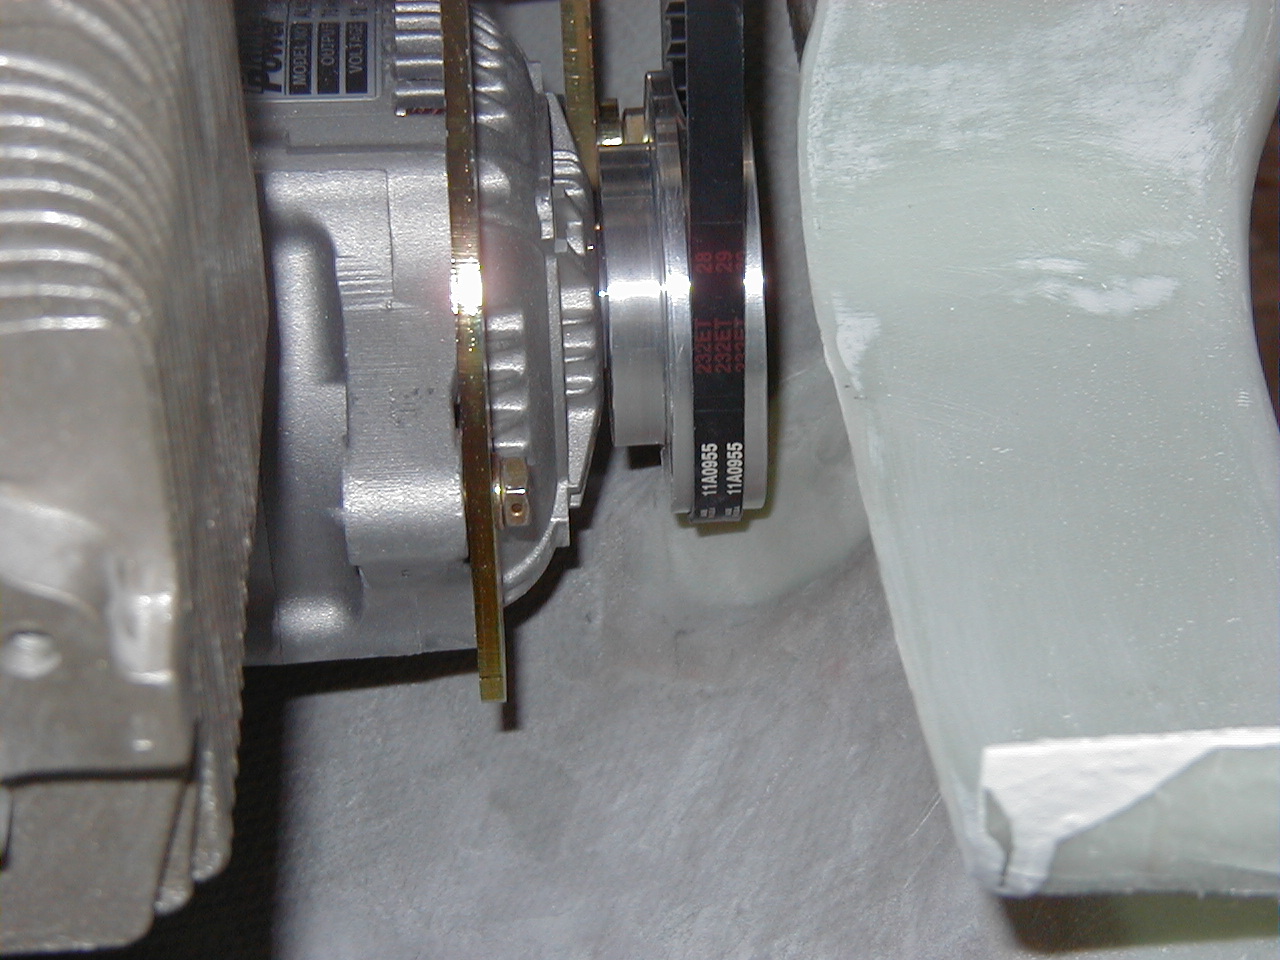
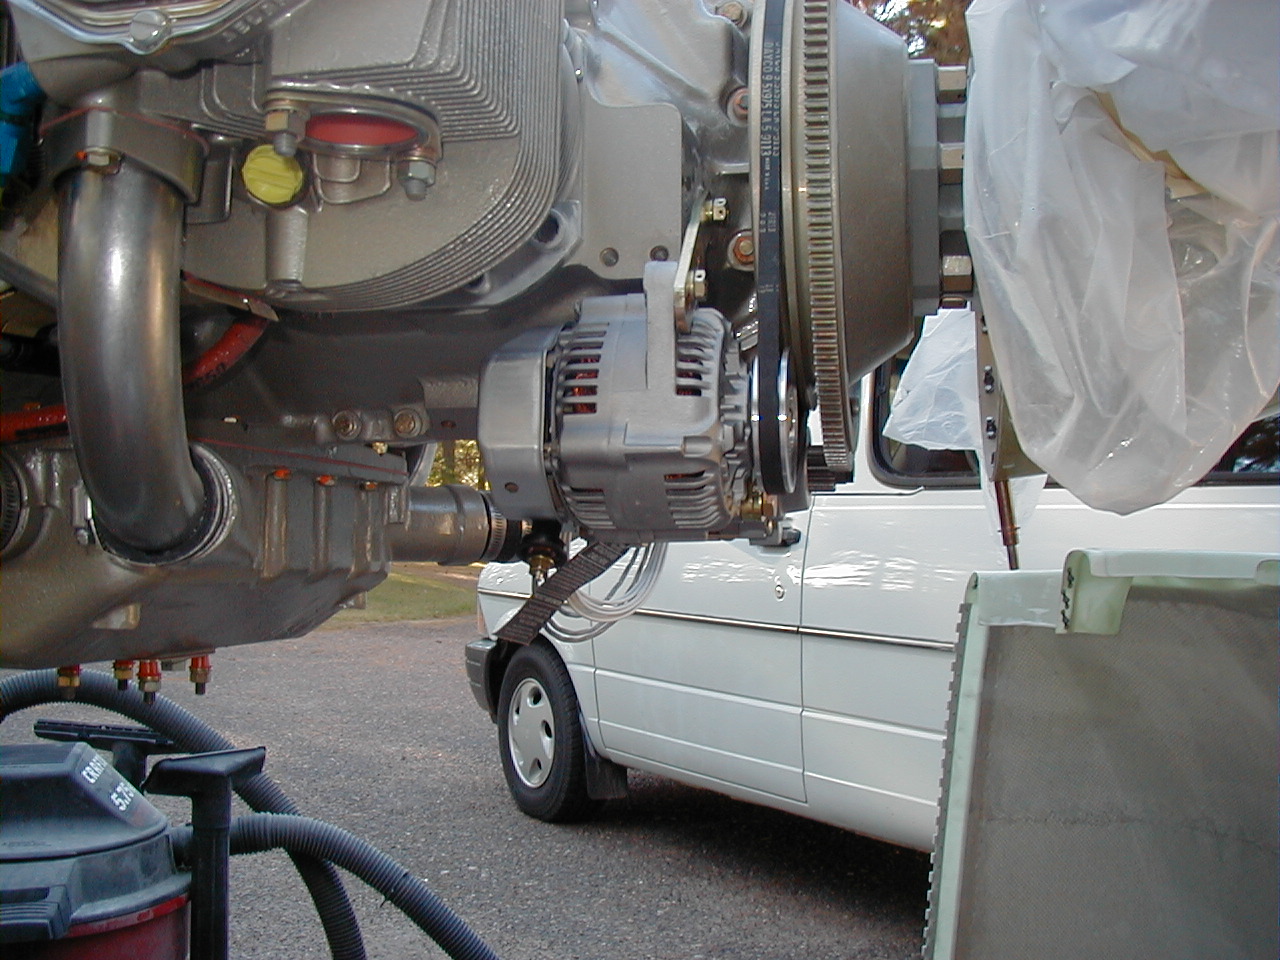
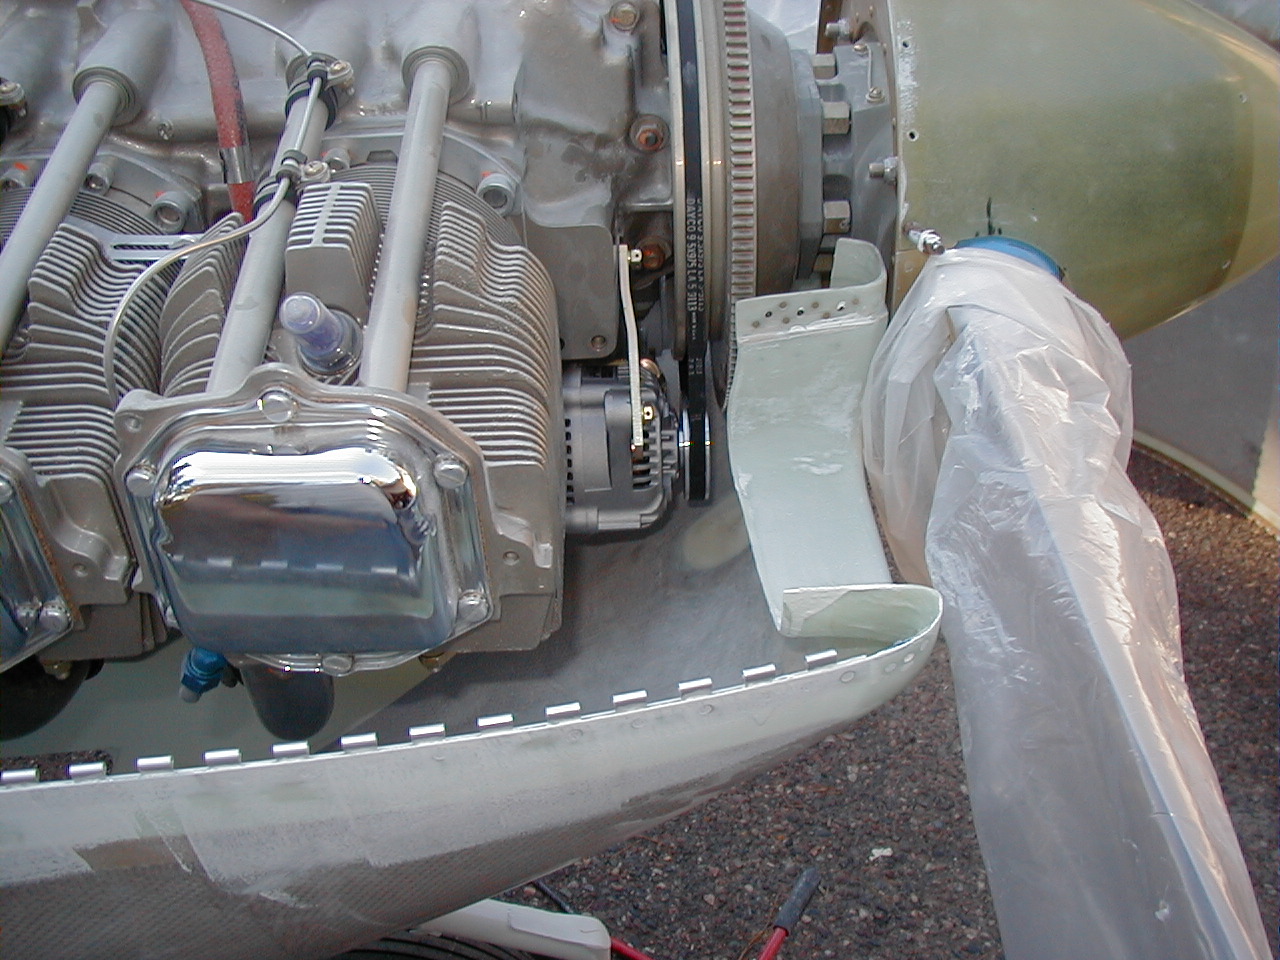
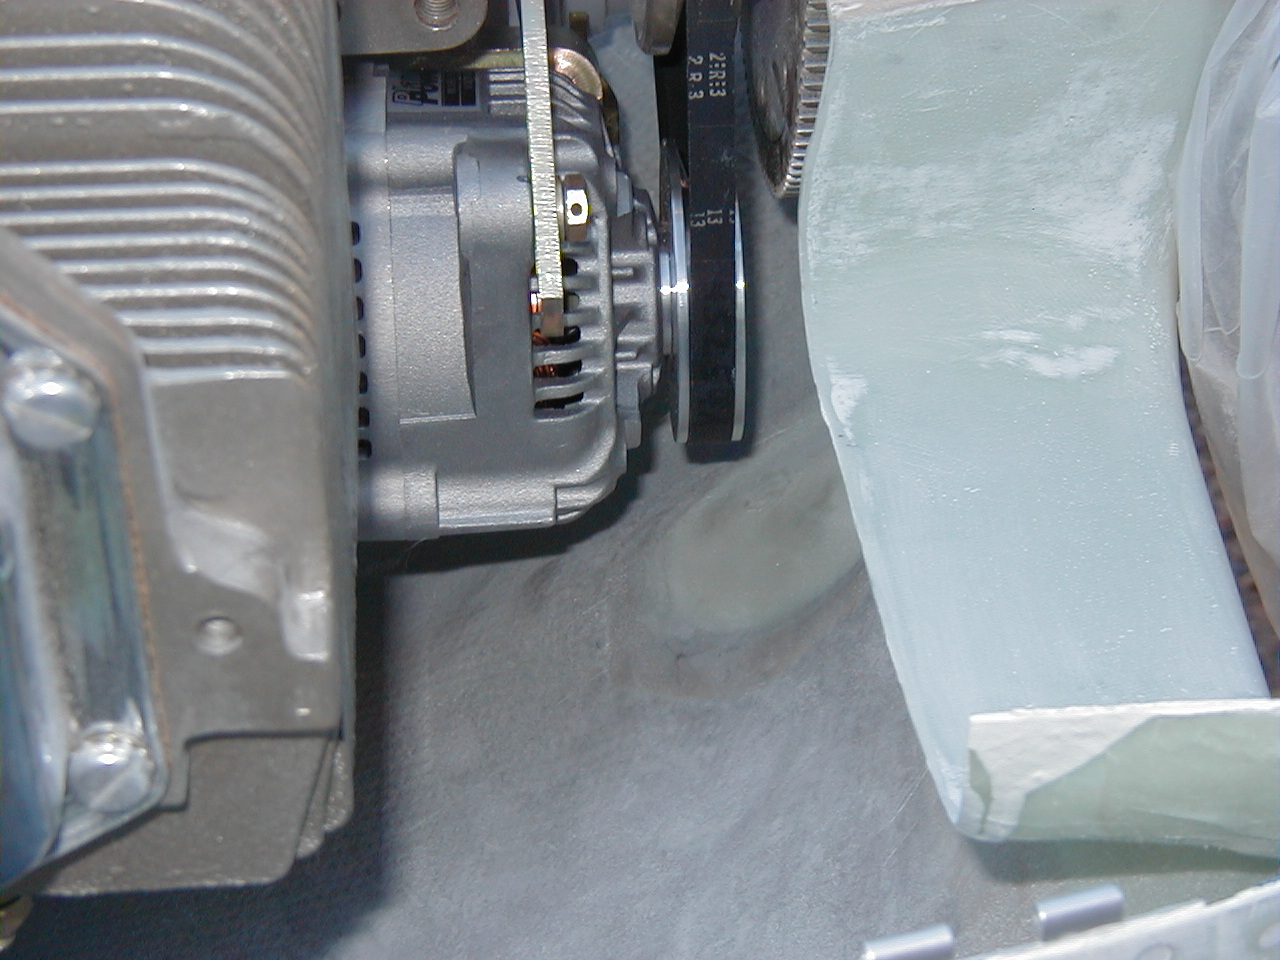
So, my logic is that just from a reliability standpoint, I'd rather have the cooler running alternator, if it fits. On my first fittings, I didn't want to pull the prop, so I used an old worn-out Lycoming belt that I snipped in half. It was roughly similar in length to the belt supplied. The most common place for interference with my cowl would be at the bottom of the alternator pulley. See this diagram for more info.
As it turned out, even if I adjusted the alternator to the absolute bottom of its travel, I have 1/8" clearance, and if adjusted tightly with the supplied belt, I have 1/2" clearance, so there is plenty. Score!

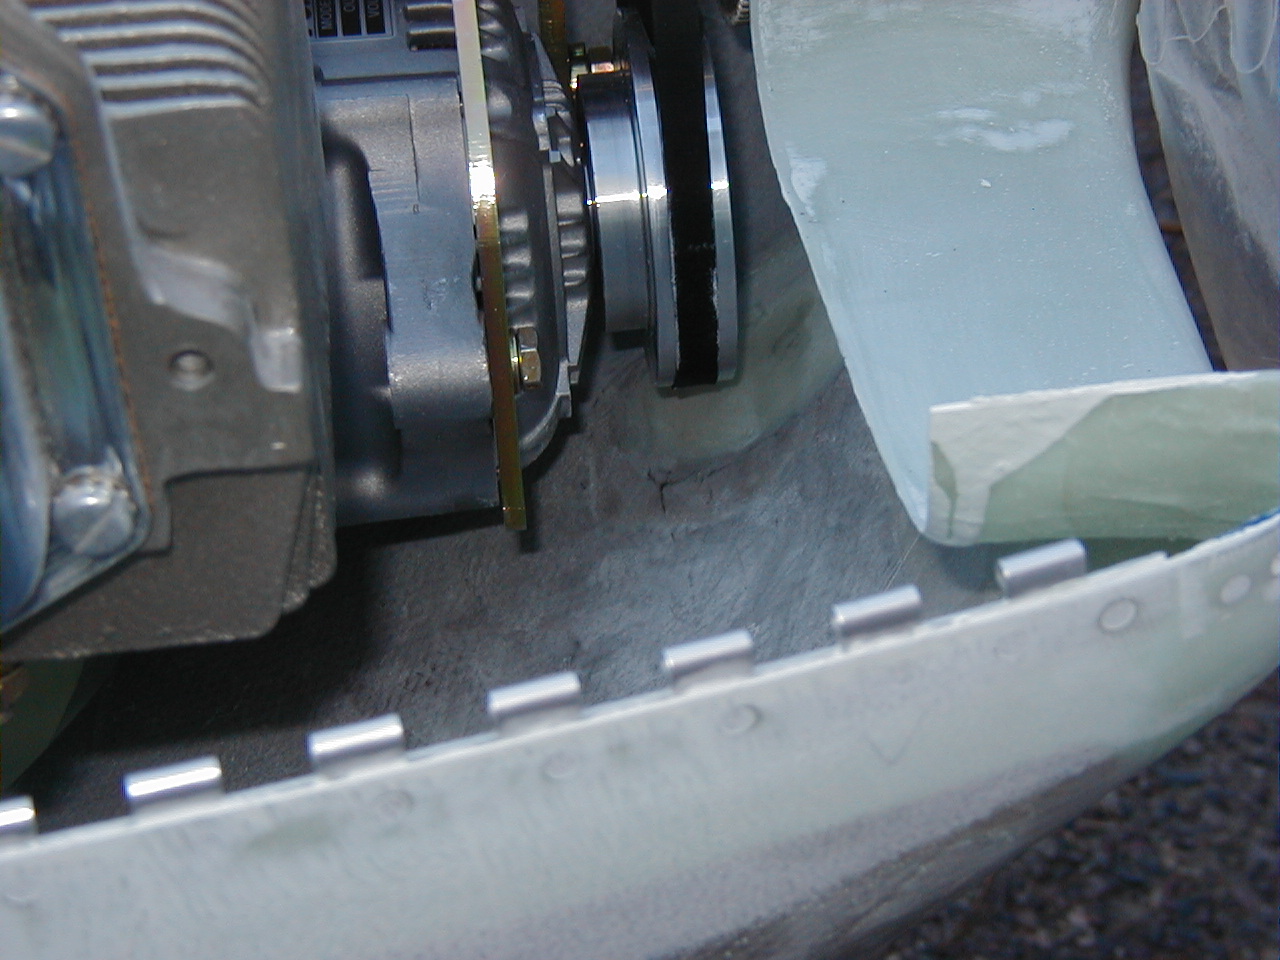


Fitting the 60A "Small" alternator
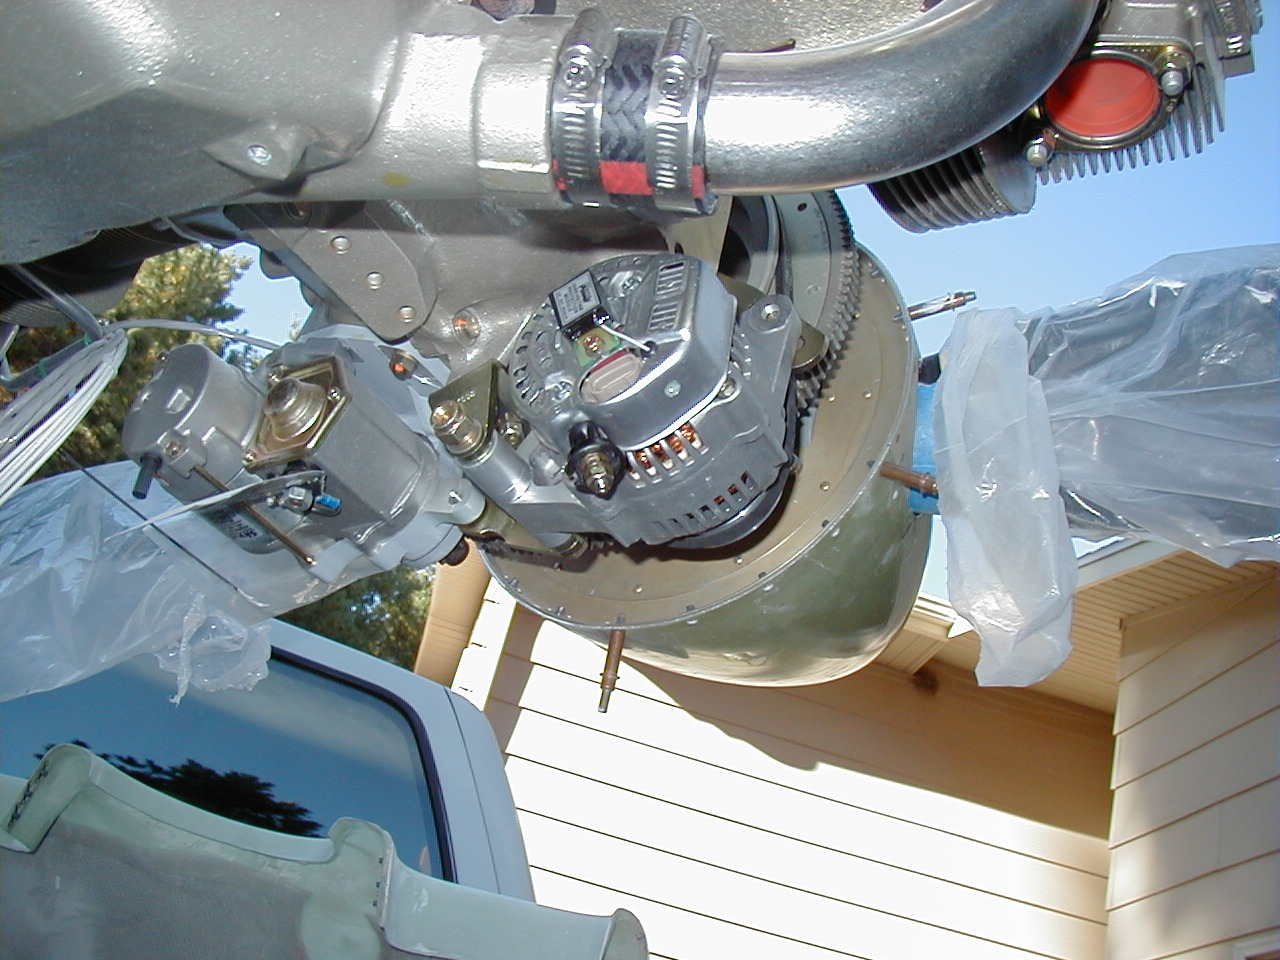
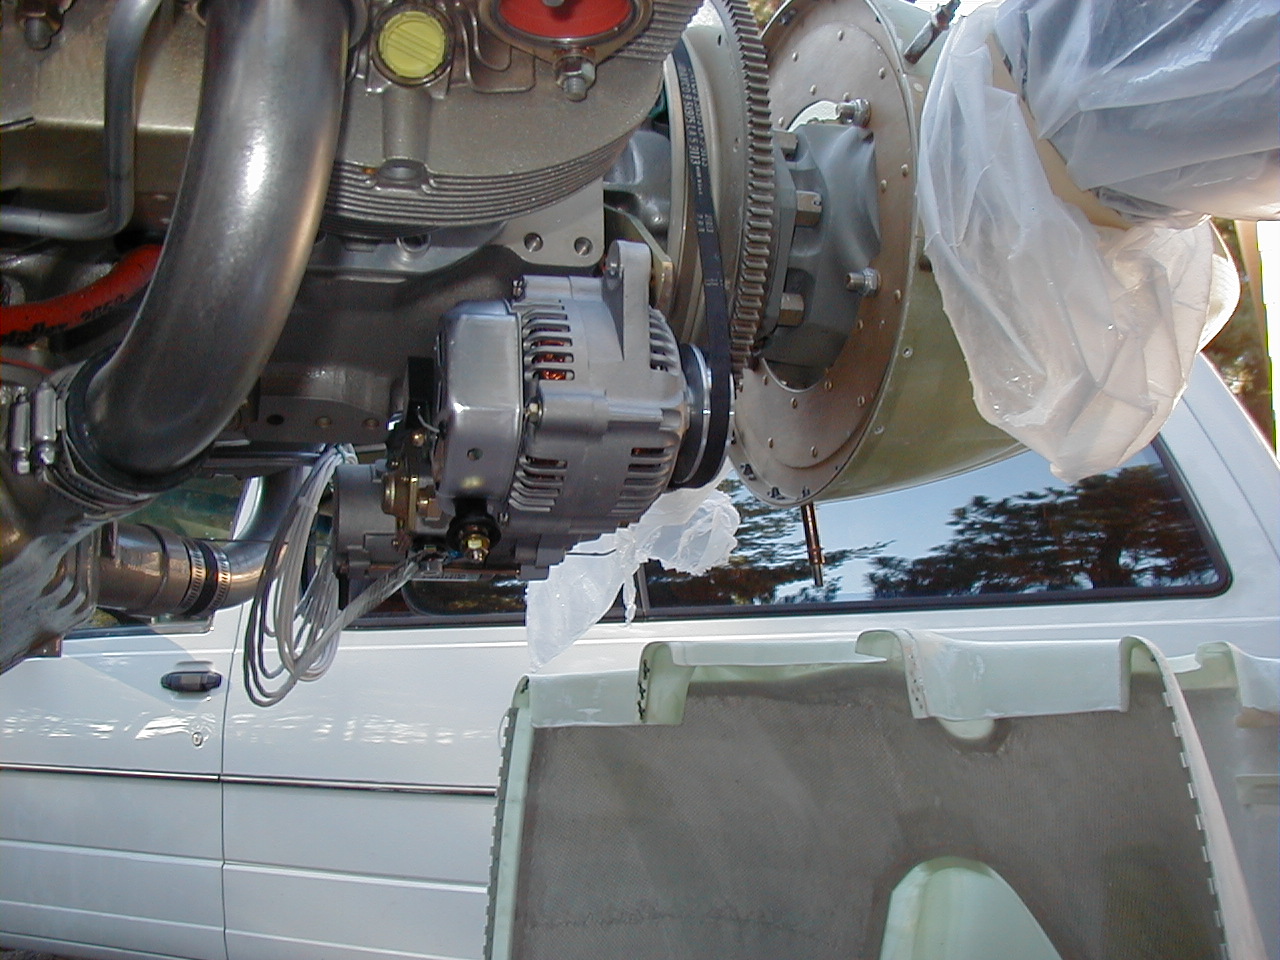
Then I installed the 60A just to take some photos in case other builders wanted to see how it looked. At the point where I knew the 70A would fit, I knew that was the one I wanted. The small one is very nice though. It does give additional clearance and I think would be a great option if you're worried about the extra 3 lbs. The pulley is smaller, so it does turn faster during operation.
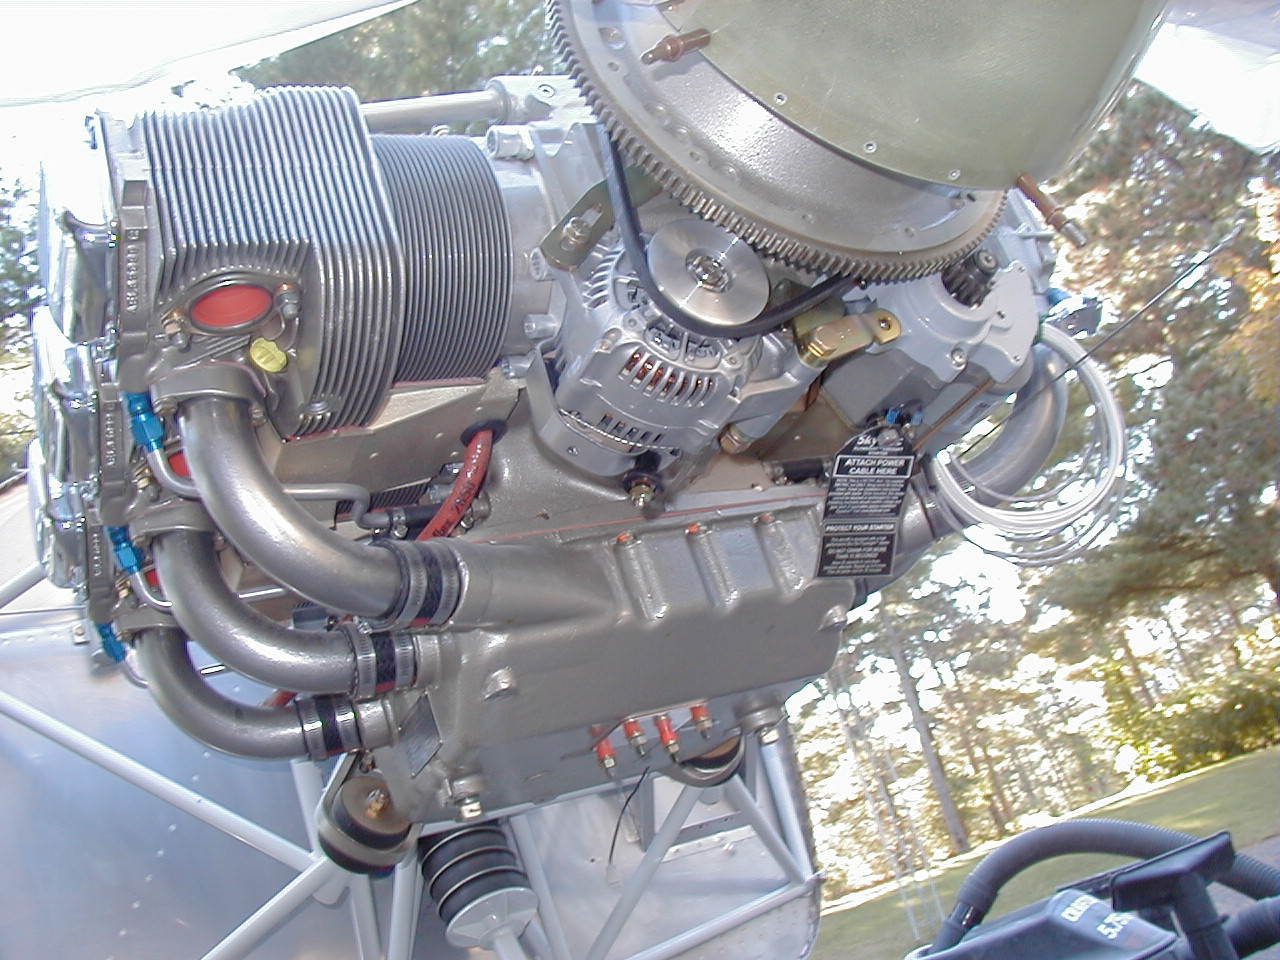
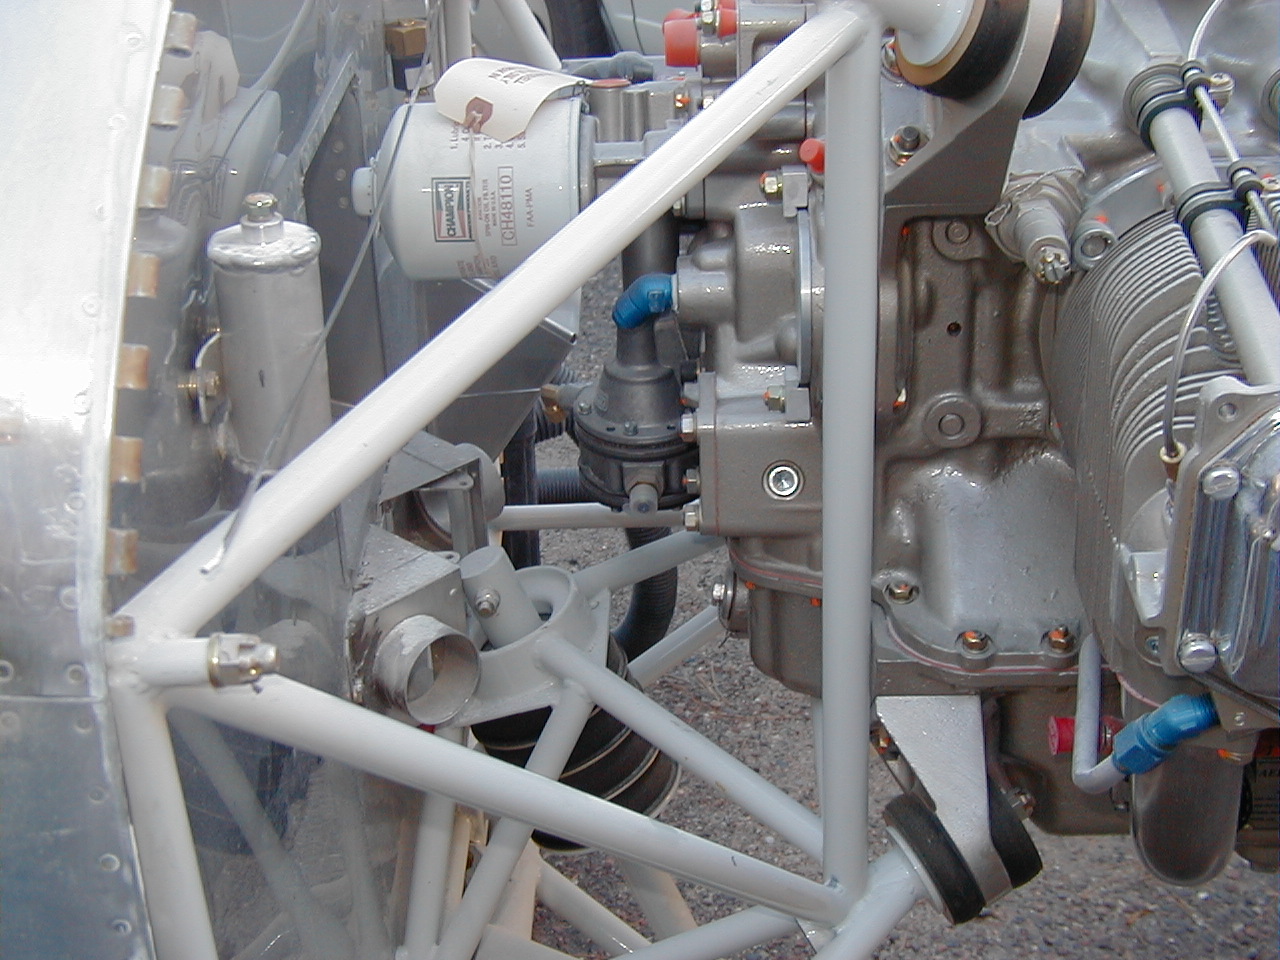
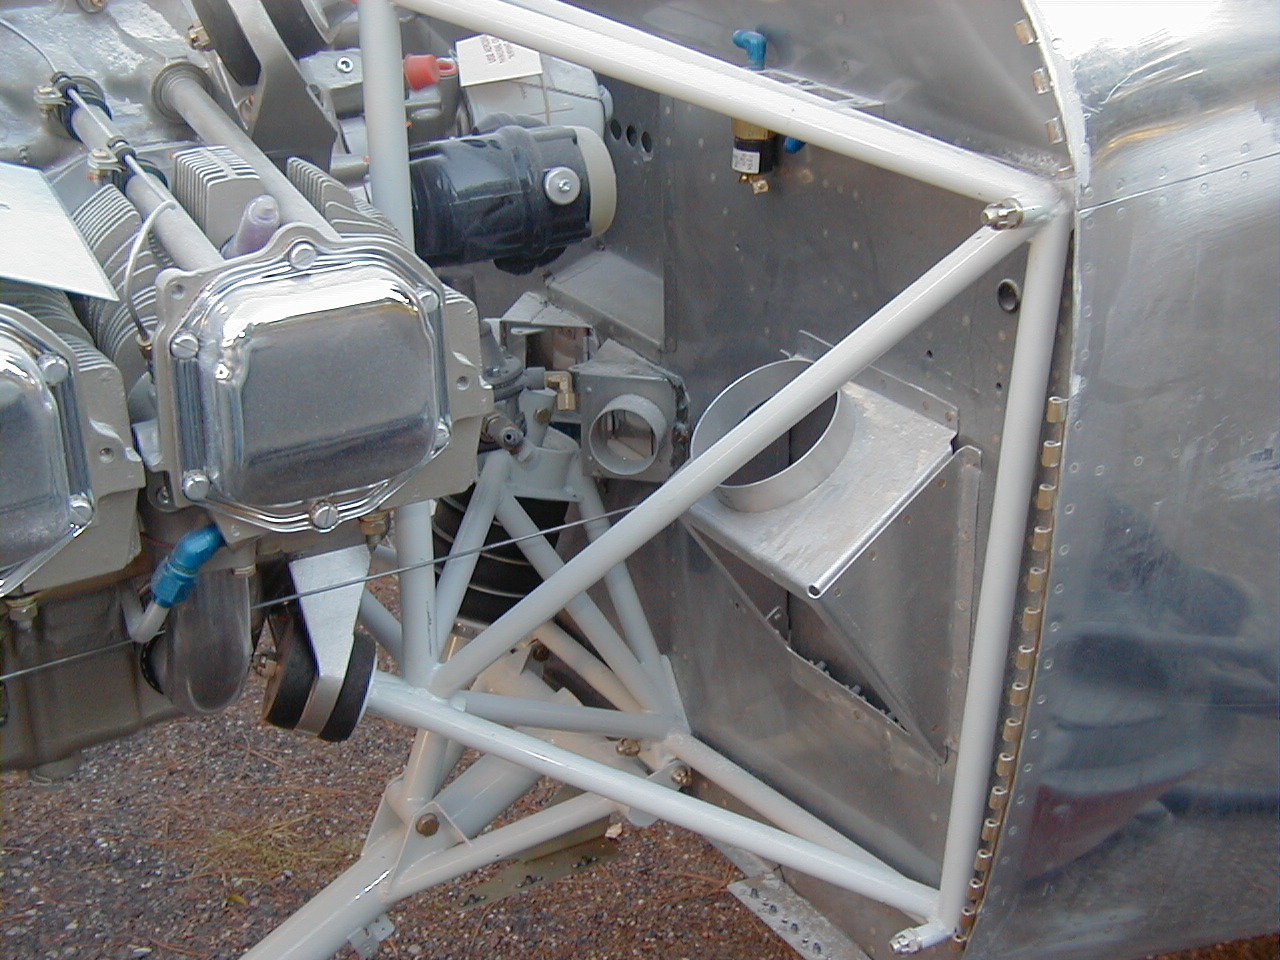
Wire Routing Photos
These photos are just for reference for routing the wires. My estimate is that it will take about 2' of wire from the alternator to the rear of the engine, and another 3' or so to get to the left side of the fuselage. Then about another 2.5' to get to the area where an alternator master switch would be. Maybe throw in another 8" if you want to route the wires all the way back to the firewall, and another 4' or so if you want to run the wires across to the right side of the panel for the circuit breakers. Overall length, probably 12' max.
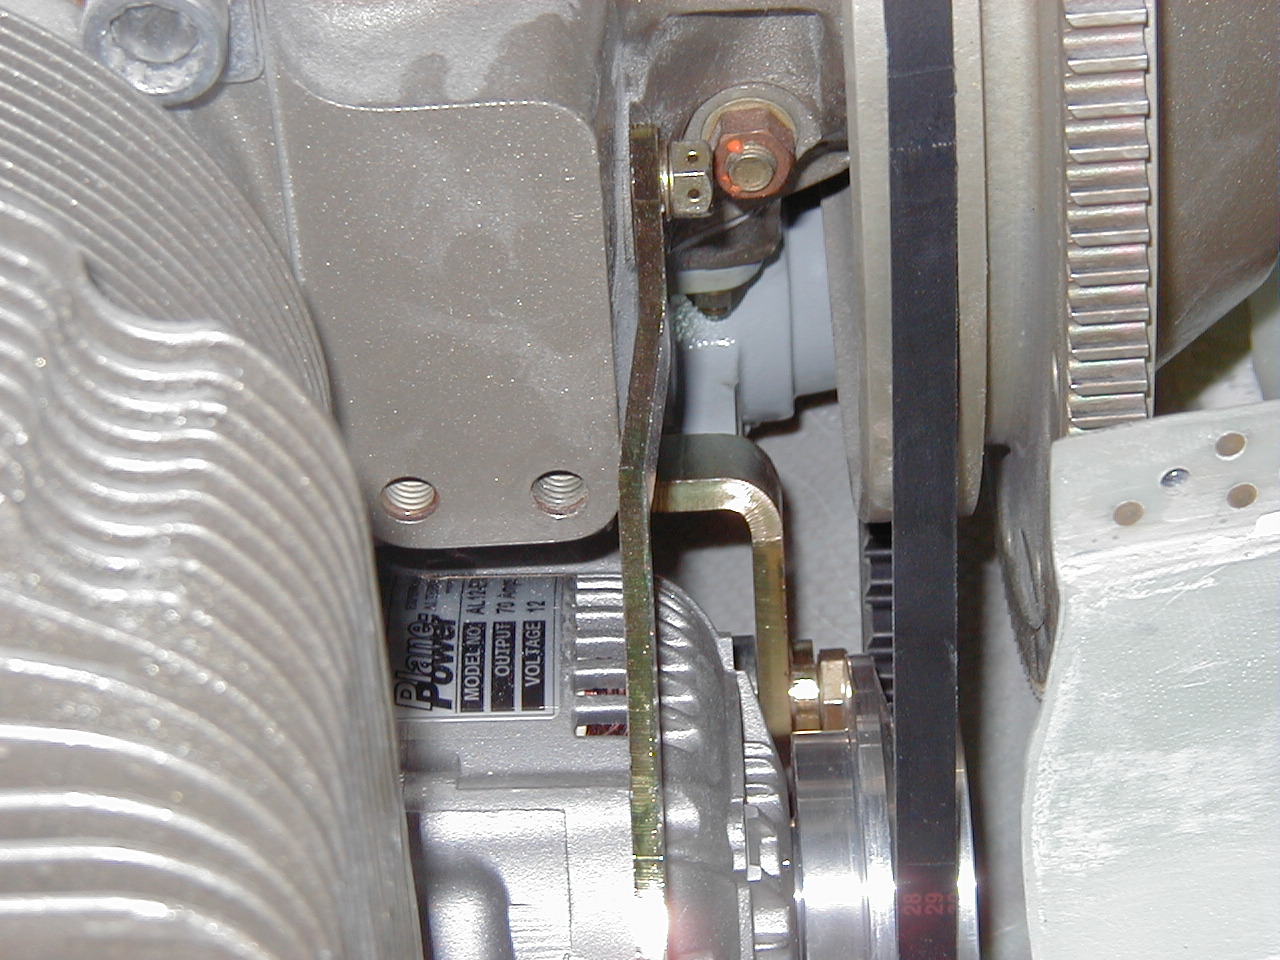
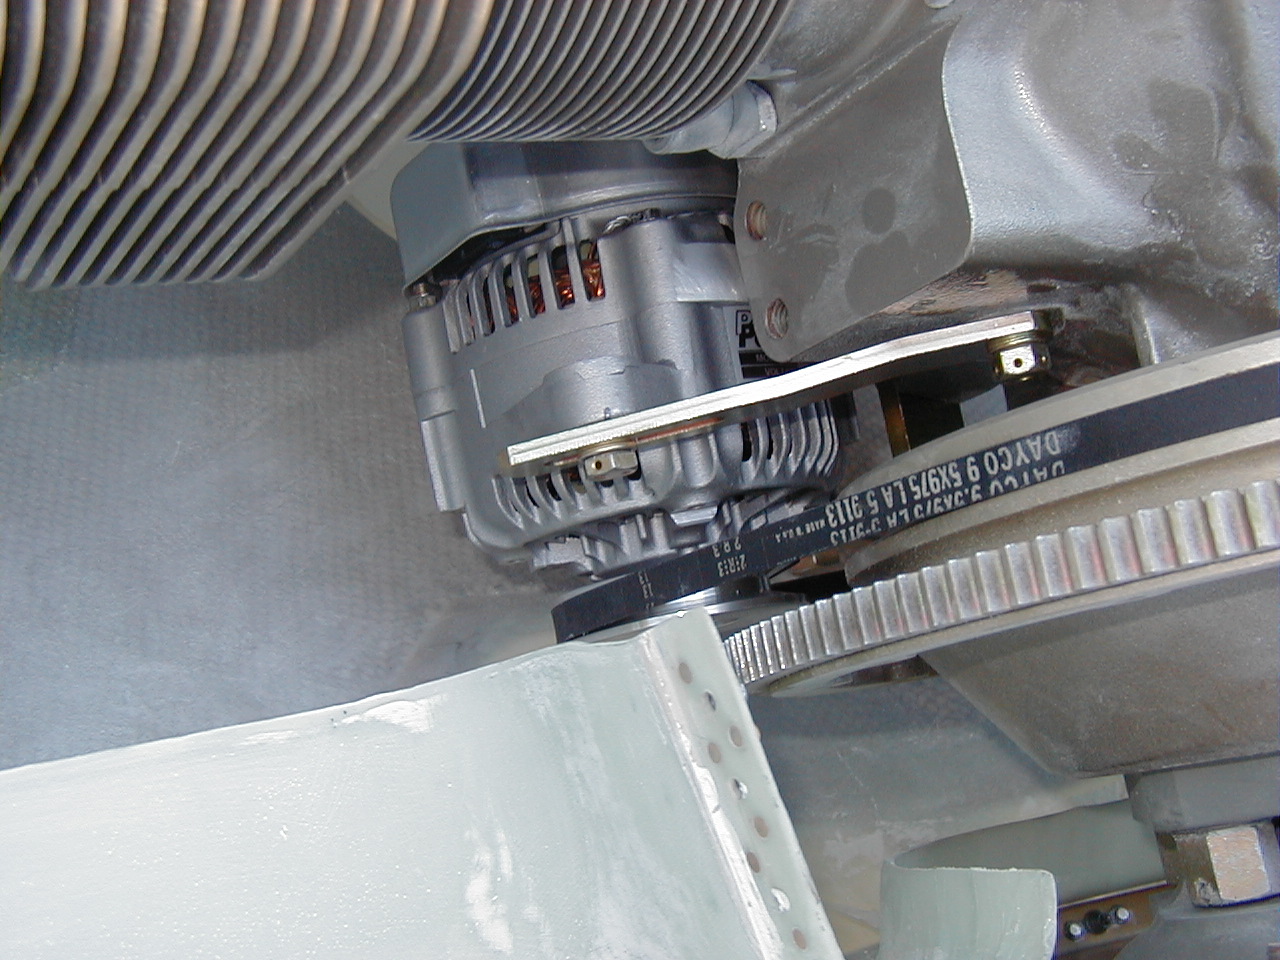
Photos for Reference on bracket
The only place where I found an issue at all, which is very minor, is on the adjuster bracket. You might notice that the bracket has a small "jog" bent into it, that's about an inch long, up towards the upper mounting bolt. The problem is, this jog should be about 1" further out from the mounting bolt, or it won't lay flat against the engine block. I think a thin shim washer behind it would be OK. I'm currently going to check into the arm angle required to match the front/rear mount of the alternator, to see if the best fix is the shim, or if it needs to be a re-made part. They are very interested, as there is some variability among Lycoming blocks with various number designations. Mines an I0-540-D4A5. It sounds like if it needs to lay flat, they would want to do what's best and remake the arms. Great people to work with. I'll post more here later as I find out.