Misc. Activities Covered Here:
Wing Bottom SkinPitot Mount Installation (Gretz Mount)
Access-Reinforcement for Stall Warning Access
Pull Stall-Warning Wires
Deburr/Dimple Left Wing Bottom Skin
Replace Autopilot Mounting Bolts
Added 2/6/2005 - 479.8 Me Hours, 519.9 Total Hours
During this section I did mainly small and old jobs that I'd ignored previously. First, I replaced the 3 mounting bolts holding the Autopilot Servo as listed on the last page with NAS1801-3-20, which are fully threaded. This allows the bolts to go all the way through the servo and bracket and have locknuts put on the other side. Probably not a big deal, but likely more secure.
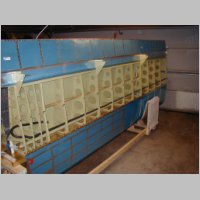
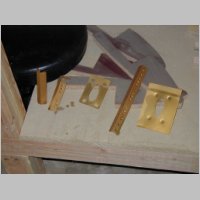
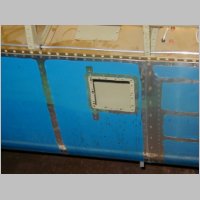
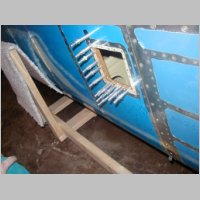
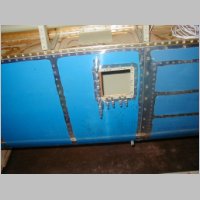
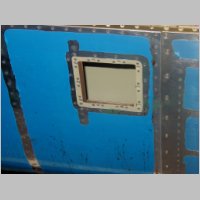
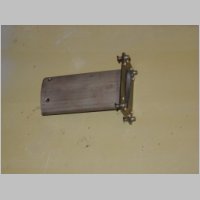
I then set about fixing an "oil canning" problem around my stall warning access door. If you don't know what "oil canning" is, it's when the sheet metal is stressed as such that moving it in will make it "pop" in, and flexing it out makes it "pop" out. It's not stable that way, and from bumps and airmovement the skin could pop in and out rapidly in that area, which might not be a major problem, but at minimum it's an annoyance. I don't know why my access hatch got this way. I'm sure just small hole alignment problems or many things could be a cause. For me the fix was to fashion a sort of "T" shaped bracket that I would rivet behind a couple of the edges...reinstalling the nutplates on top of the new angle aluminum reinforcement. I see no issues with this. The leading edge has a curve to it the closer you get to the tip, so I didn't extend the reinforcement too far. I did use Proseal to secure the angle, in addition to rivets. It was clear that even during clecoing that this was going to be much stronger. After putting in the fore-aft reinforcement for a test fit, I determined that it would still need reinforcement side-to-side. I also decided after fashioning a separate bracket that if I didn't connect the 2 brackets, there would still be a lot of flexing which would now be confined to a tiny area between the brackets. So the safest thing would be to join the brackets to prevent movement between parts. You can see the shapes of the parts here, and see how they go together here. This really fixed the problem.
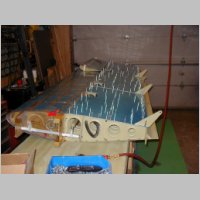
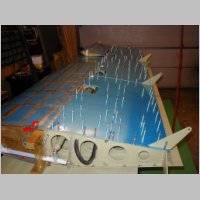
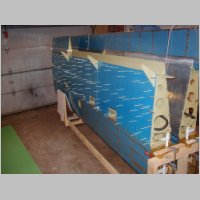
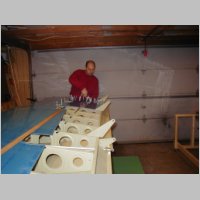
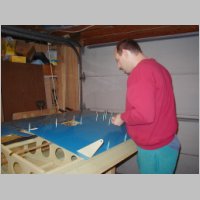
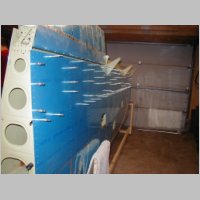
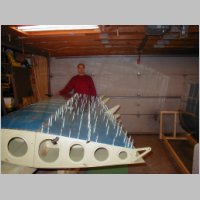
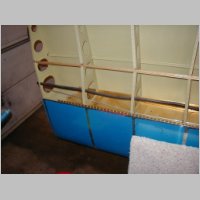
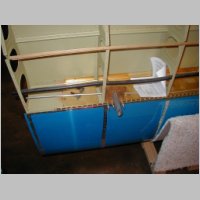
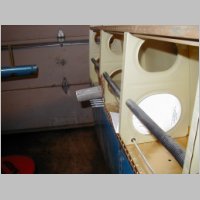
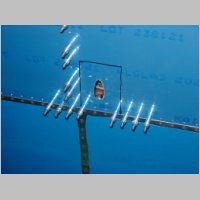
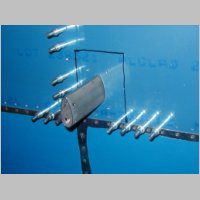
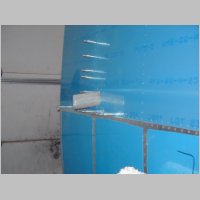
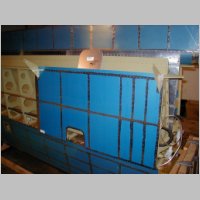
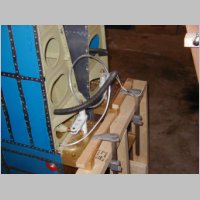
I then started out trying to place the Gretz Pitot Mount. You can see from these pictures here and here (also below) that during the placing of the wing bottom skins, I had set the bracket in a couple areas to test the looks of it. I wanted to move it outboard of the outer access bay, but going only 1 bay outboard still interefered with the tiedown bracket area...with a possible conflict of a rope being close to my pitot tube. I decided to move it to the inside of the 2nd rib from the tip. Almost to the outer bay. Here is my location. The mounting works and looks great there. Note: I did have to buy a longer roll of pitot tubing from Van's. I could have spliced in a piece but decided to just buy 14' (lots of extra) and make it all continuous. As for the instructions, you can see I put an angle attachment on the rib, and then put the backing plate in place, and drilled it to match the 4 spar holes. I then drew outlines around the backing plate from the inside with the skin on and the plate clecoed in place. Now I knew where to cut the skin and drill the 4 large holes. After drilling and cutting these, I reinstalled the plate and the skin and then match drilled the backing plate to skin rivets. The Gretz directions are not organized very well and are very hard to read, but if you look at the pictures, and think it through, it's not too bad. You can see the results in my pics below. I won't rivet anything until the skin gets rieted.
I spent a second and cut a small hole in the conduit to allow me to fish out the stall warning wires and pull the through the conduit. No brains required.
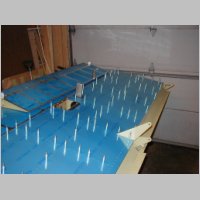
I then set out to deburr and dimple the bottom skins. No brains required here either.
Just browse the pictures for an overview.
|
|

|
|
| Bottom Skin Drilling |
Pitot
Location 1 |
Pitot
Location 2 |
|
 |
 |
 |
 |
 |
 |
 |
 |
| Skins Drilled |
Reinforcement
Parts |
||
 |
 |
 |
 |
| New Pitot Line
Passing Safely by Bellcrank |
Reinforce
this area |
My
Reinforcement |
|
 |
 |
 |
 |
| Test Fit |
Looks good |
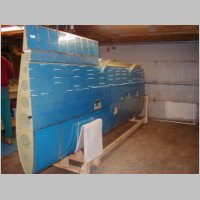
Completed |
Pitot
Location Final |
 |
 |
 |
 |
| Another View |
Cut Pitot
hole |
Bracket fits |
Mounting
Holes Drilled |
 |
 |
 |
 |
| Bracket
installed |
Nutplates
Attached |
Finished
Access Covers |
Dimpled
Bottom Skins |
 |
 |
||
| Pitot Tube /
Stall Wires |
Bottom Skins
in place |
||