March 25, 2004
Tonight gave the real feeling of progress and success. I was able
to complete the rudder trailing edge
and then go on to roll the front edge, and finish the entire
rudder. I used Mike Howe's idea on the
trailing edge, but took into account the other tips from the RV10 List
and it came out perfect. Here's how
I did it: (Sorry I didn't put any how-to photos for everyone...I didn't
take any during the process)
First, I had a 1.5 or 2" x 2" piece of 1/8" angle steel that I got from
the local home store. 6' long
was plenty. Then I ran it over the big handheld belt sander for a
while to smooth it down for
back-riveting. Then I drilled every other hole, matched up to my
rudder AEX (Aluminum Extruded?)
wedge from the trailing edge, and drilled right through the steel and
into the workbench. Didn't end
up being of any benefit by drilling into the bench though. Now my
back-rivet plate was complete.
For doing the riveting, I filled every-other hole with a rivet and
covered them with rivet tape. Then
I clecoed the assembly with the smooth head down on the plate. My
angle iron didn't want to hold
tight to the bench, but wanted to tip up, because of that horn on the
rudder, keeping it off the bench.
Oh well. So, I used my rivet gun, set down to about 60psi
or so maybe, with my back-rivet set.
It only takes a couple hits to get that rivet down there a long ways,
so I squeezed the trigger with the
gun parallel (straight down on) the rivet. As it was going down,
I quickly rotated the gun to be
perpendicular to the surface of the skin. I did like the
manual said, and only set every 10th rivet
or so, and only about 1/2 way. Then I slowly went back and jumped
around the trailing edge,
starting all of the other rivets. I purposely didn't do them
one-by-one to avoid successively
causing a bend...don't know if it would but didn't want to do it at any
rate.
After all of the other rivets were started (still only every-other
rivet), I switched to the flush head
rivet set (mushroom set) and kept that perpendicular to the skin and
pressed pretty nice and hard
and hammered until the rivet was flush with the skin surface, so it
wasn't sticking up anymore.
After I got done, I pulled the clecos and flipped the rudder
over. I loaded the alternate holes
with rivets, so they were facing the opposite way.....every other rivet
in my trailing edge is
in the opposite direction. Looks fine, and I figured it may even
out the stress....it did NOT cause
a wave, which was the worry of one other list member. I then did
the same process of back-rivet
starting these rivets...but ooops, I couldn't cleco it down. So,
I grabbed my little wife and had her
hold the trailing edge down with one hand on each side of the rivet,
holding the edge over the
angle-steel, and onto the edge of the bench. After I went over
the rivets and finished setting them
with the flush set, I then hammered the flush set on the FLUSH heads of
the rivets that I had done on
the first side. This ensured that those rivets were set in their
dimples well, and the backing plate
took care of the shop head side if it were coming out
further.
Then, I flipped it over one more time and hammered the flush heads of
the opposite side rivets.
This step was important, because my rivets were not set nearly as
nicely in the dimples as the
first set was, because I couln't cleco the edge to the steel, since all
the holes were filled. After
using the flush set on the flush heads though, it looked
beautiful.
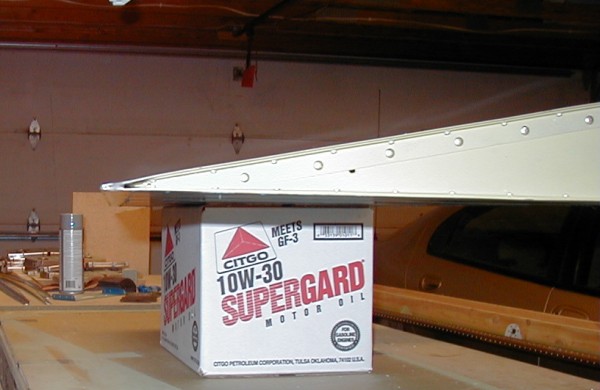
All in all, there is NO detectable hook to the rudder, no wave, and
just a nice straight edge, with
the exception of the little bumps where the dimples.
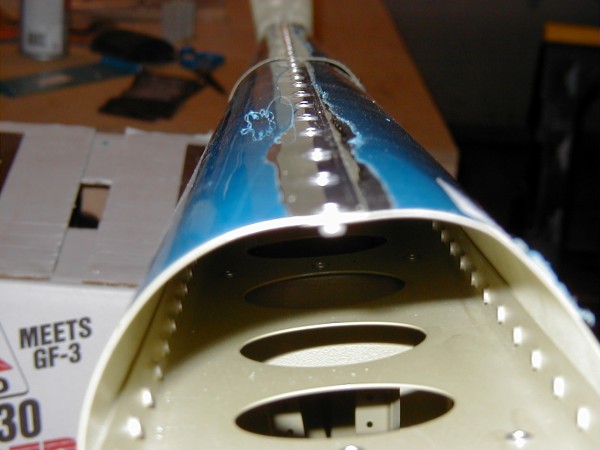
The rolling of the leading edge was pretty easy too. I started by
using a PVC pipe with an OD of
1.25", but then I decided to use one that was closer to 1"....it was
1/2" white PVC. This one
let me wind it a little tighter, but DON"T wrap it too tight, because
the outer edge by the rivet
holes tends to wrap tighter than the side close to the rudder. If
you roll it too tight, your skin
will curl in too far. I kept mine a little loosely rolled, so I
had to pull them together a bit. I
did my slight edge bend with my roller AFTER I did the pipe
rolling. It wasn't too easy to do
at that point, but it let me choose which side looked nicest to put on
the outside. One tip...my rudder
skins had holes that were close to #40 size. When the
instructions said to final drill with #30, I didn't
pay attention and final drilled with a #40, assuming they were close to
final size. Nope, after I
deburred and had it ready to rivet, I realized I needed to drill the
holes bigger, and then re-deburr.
Wasted time.
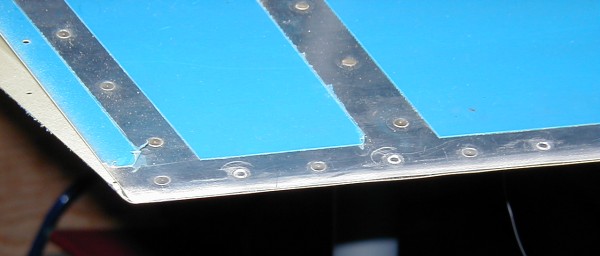
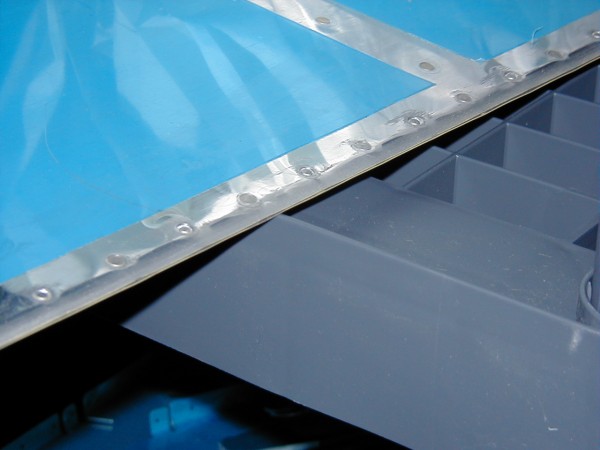
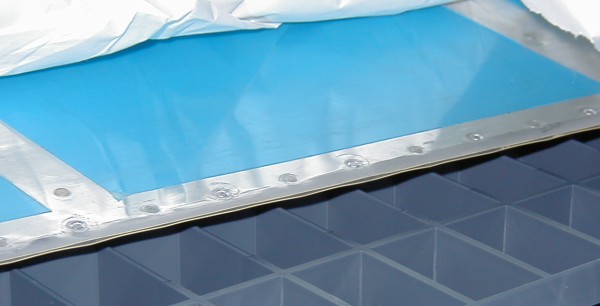
Here's 2 shots of my leading edge.
Here's a copule shots of my trialing edge.
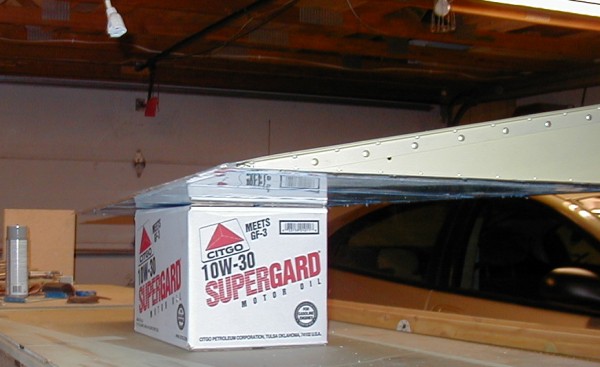
Perfecto!
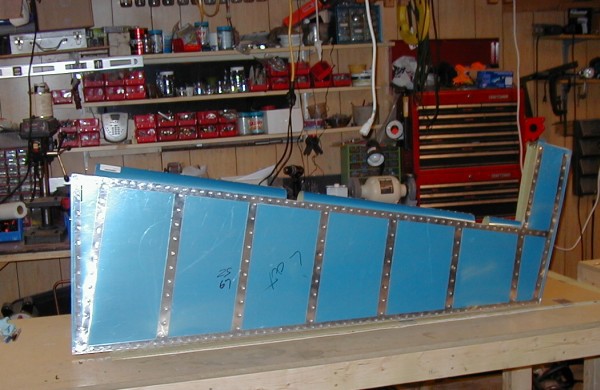
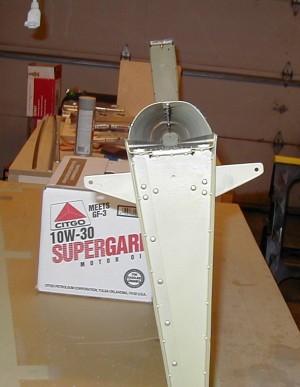
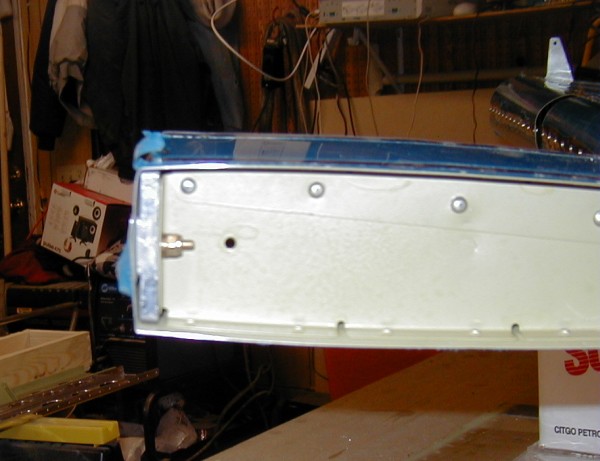
My counterbalance weight attached.
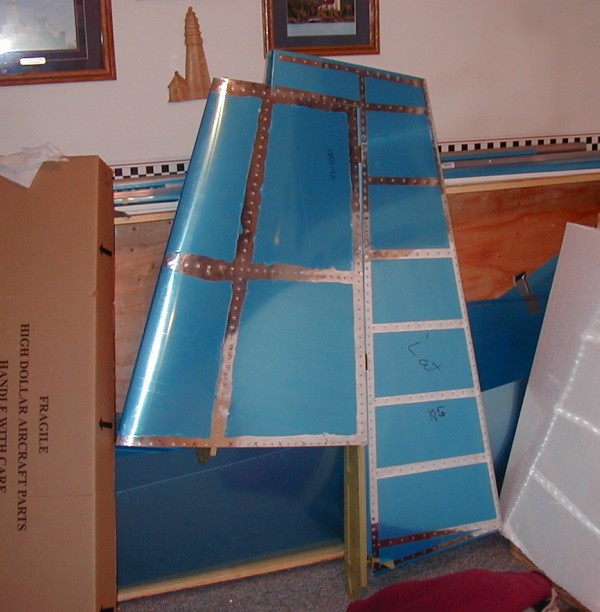
The completed rudder, matched up with my V.Stab for a picture.
Now it's looking more
substantial and feels like I have a good piece of the plane. Can't wait
to ge the whole tail done and
order the rest of my kit. I'm leaning towards the standard,
non-quick kit.
One more thing I did tonight was alodine my H.Stab spar. Click
Next to see it.
Home | Previous | Next