Schweiss Hangar Door Install
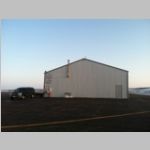
March-April 2013For any of you needing a hangar door, this may give you the comfort in knowing that you CAN do it yourself if you want, and save thousands on installation. My installation quote was over $2500, and I was able to do it all myself. Check out the photos below, and especially the iPhone remote control!
 |
 |
 |
 |
 |
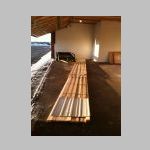
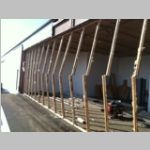
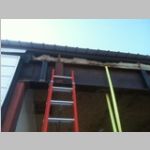
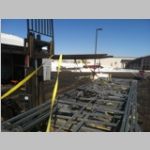
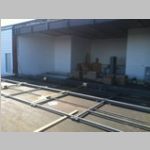
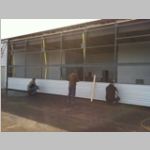
| 476" lengths of Steel weighing over 600lbs |
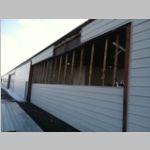
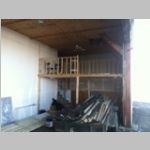
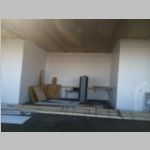
Ripping the old door steel off |
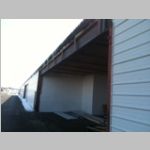
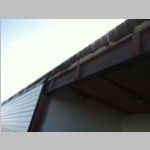
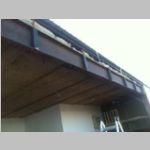
Header I-Beam Exposed | ||
 |
 |
 |
 |
 |
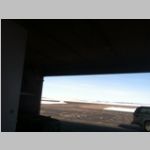
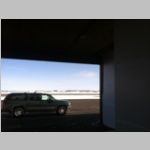
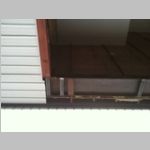
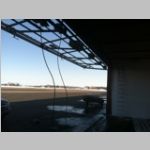
| Door Off | First Door Attach Point | |||
 |
 |
 |
 |
 |
 |
 |
 |
 |
 |
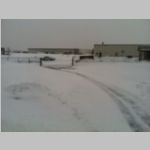
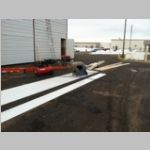
| And it just HAD to snow one more time and turn miserably cold the day before the door was to arrive. Lucky for me the door didn't ship as scheduled. The day after this snow it was sunny and although very cold it cleaned up the asphalt real well. | ||||
 |
 |
 |
 |
 |
 |
 |
 |
 |
 |
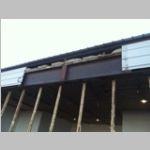
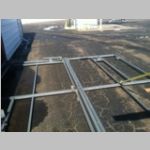
| Door Attach Columns Welded |
First time using gasless welding wire. Splatters more, uglier welds. |
|||
 |
 |
 |
 |
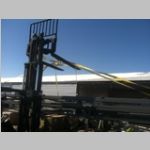 |
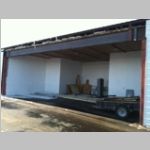
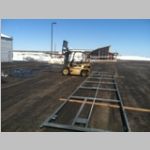
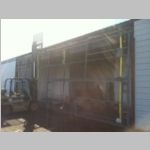
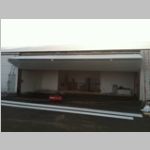
| Finally Thursday late morning the truck arrives with the new door! Getting it unloaded was a piece of cake with the forklift on site. | ||||
 |
 |
 |
 |
 |
| Lay bottom section in place | Position top section next to bottom | Install hinge pins | Install Lift Straps | Lift Door into place |
 |
 |
 |
 |
 |
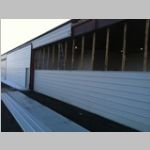
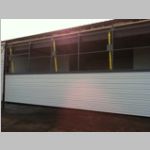
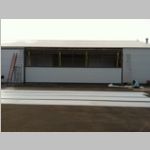
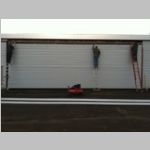
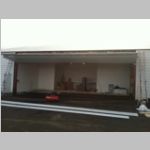
| Use Forklift to Level Door | Door Installed with 2 bolts | Drive Mechanism Works! The remaining bolts are installed | Door exterior installation | |
 |
 |
 |
 |
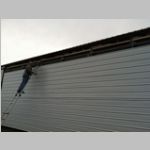 |
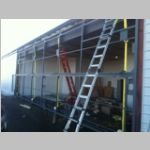
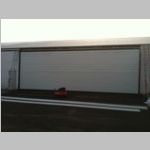
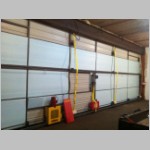
| Needed help with the steel panels. 40' long is heavy and awkward. 95% done and the door works! | ||||
 |
 |
 |
 |
 |
 |
 |
 |
 |
 |
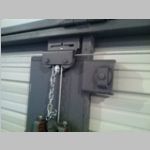
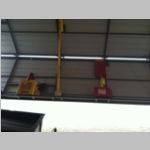
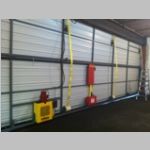
| The door has
Schweiss's "Strap Latch" auto latch system. |
||||
 |
 |
 |
 |
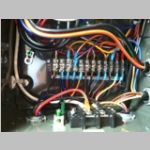 |
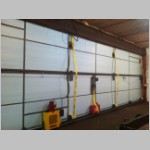
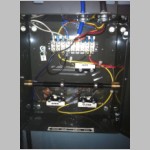
| Schweiss is big on
liability protection....to an almost insane degree.
Notice the huge protectors over the auto latch arms to
protect people. They also deliver the door with the
standard OPEN/CLOSE/STOP door control, but they disable
the latching relay function so you must hold the buttons
while you open and close the door. In order to be
allowed to be told how to make it a push and watch for
door open, you have to sign a liability form, where they
then explain that you move the red wire from terminal
block 2 to 4. They won't let you do that for the
close, unless you purchase the $400+ photo eye system, or
the just as expensive "safety edge" system, so you don't
crush someone. That's fine and dandy, but it's
really up to ME to decide that, and how many people do you
know who have doors that don't simply open and
close? Lucky for me I know relay logic and have
plenty of relay wiring and PLC programming experience...a
quick move of the purple wire from terminal block 3 to 4
bypasses that....so the door now closes with 1 touch
also. NOTE: It's highly recommended that if you
disable the feature for OPEN that you install a top limit
switch so that the door has redundancy in it's upper limit
switches...so it can't open too far if one
fails. I ordered my own wobble switch for
that, and added that to the install. It gives an
additional measure of safety against the door opening too
far. For close it's not as critical. ***
NOTE: Modifying this is at your own risk. I have
spoken with other Schweiss door buyers who have wiring
diagrams with different colors of wires, so do NOT go by
my wire colors. The wires in question are shown on
the Ladder diagram, running between terminal 3 and 4 on
the terminal strip and the 2 terminals labeled 13-NO on
the contactor. On the other schematic, the
contactor is also labeled 13-NO on the terminals in
question. Your wiring diagram will likely have
different wire colors. Also, installing another
open limit switch is a great idea, as would be
installing some form of protection against having the
door close on something. Schweiss does also include a plethora of signage to install on your door, so it will be plastered with warning stickers when you're done. They even put them on aluminum plates that get screwed into the frame. It's freaky how over the top it is, but I guess some household garage doors are getting to be almost as bad. |
||||
 |
 |
 |
 |
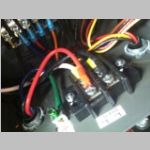 |
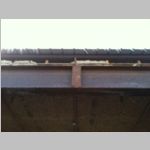
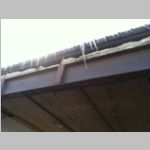
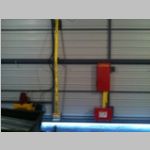
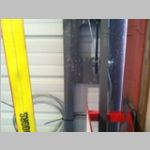
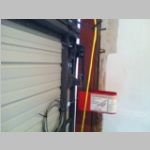
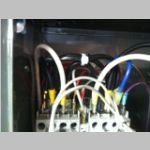
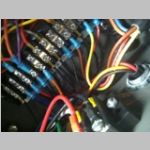
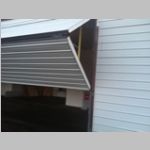
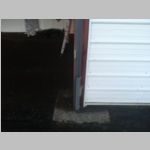
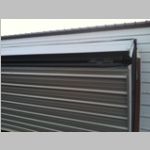
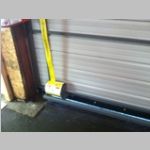
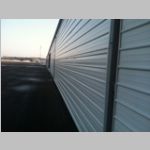
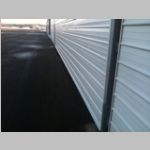
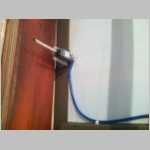
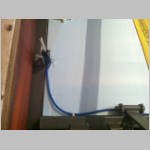
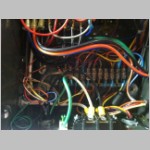
| The photos of the
relays I took to document how the wires were connected in
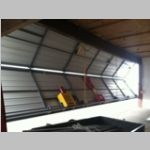
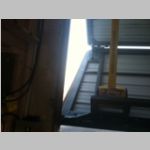
case I screw them up. After finishing the upper rubber seal, we finally have a fairly rain proof door. With the addition of the side trim, and bottom trim, and door bottom seal it's nearly complete. Not only that but they include some standard garage trim seal that does a good job sealing against the wind rails. The wind rails I had to weld in place. They were not countersunk, so I welded the edges on one of them, and the other I had to drill plug weld holes and weld them together, because there wasn't enough room to weld the back side. The wind rails should be nice...no way for that door to blow around in a storm. Very sturdy. The only catch is I'll have to make sure the snow and ice don't jam anything up. The other doors in the area that are from Schweiss seem to be ok in that department. Photos of the wind rails below. |
||||
 |
 |
 |
 |
 |
 |
 |
 |
 |
 |
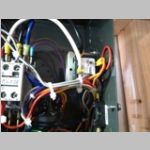
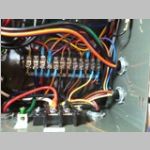
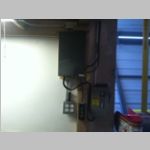
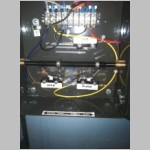
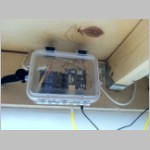
| Another oddity is
the control boxes. For me it was rather
inconvenient, but for some they may find it nice.
Schweiss provides a heavy metal plate with bent mounting
ears, with all of the control boxes mounted to it.
This you can just bolt to the wall and have all of it
ready to operate....in theory. In my case it was not
convenient due to wall space in the area I wanted the
box. They also provide a 3 pin twist-lock plug on
the system, which I had to remove because I had a breaker
box installed....which is also sort of redundant because
they provide a disconnect switch. I had to
remove it all and wire it all back up again to fit it
where I wanted. Also strange, they specify the need
for 30A of power, over and over in the manuals, and say
you need a 30A breaker. When you open their
disconnect switch though, they use a 20A pair of
fuses. I only had a 20A breaker in my load
center...it works fine for me. I did use 10GA wire,
which as long as you're not doing a long run, should work
fine. One thing I still haven't done yet... I wanted to install their remote control. Unfortunately that is also over $400, and I don't want to have to drag a special remote control with me when I fly. I would like to be able to open the hangar door from outside, if I land and fly up in the rain....or even if I am walking from the car in the rain. I plan to make an iphone compatible remote, with an Arduino system, that allows me to open/close/stop the door from anywhere in the world. That should be pretty cool to have. Combine that with an external antenna on the hangar for WiFi and I can taxi right up and open the door. Not only that but I'll have WiFi outside if I want. Very nice. Regarding safety again, they recommend you mount your buttons 8' from the door so you can't get hurt by the door while operating it. Hmmmm, 8' is a long ways! Good thing you can use your own mind to make install decisions. |
||||
 |
 |
 |
 |
 |
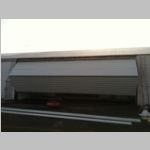
| With all the
weatherstrip in place, the door needs to settle in for a
bit...the weatherstrip between the halves prevents it from
closing all the way. I may have to use thinner
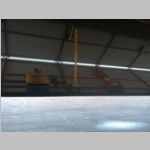
weatherstrip. Now that it's 99% complete, I have two
hangars, back to back, on the North end of my building! To keep the hangar door from rattling so much, and to keep the heat in, I insulated the door with 2" Dow foam. It was sad...the local major chain only carried the pink stuff, and not wanting a pink hangar like my other one, I opted for spending a little more from a smaller building supply place, so I could get blue. What I really wanted was the silver foil faced foam, but that stuf was almost twice the price! All the sheets were just cut to fit the holes, and as long as you don't cut too small, they friction fit in real well. I added globs of silicone seal on the door in lots of places to help secure them. |
||||
 |
 |
 |
 |
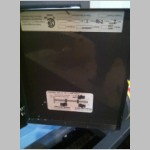 |
With the door buttons set to latching relays for up and down, I added the secondary limit switch to the door so if it travels past the main limit switch (in the control box) it will have a secondary method of shutting off the motor. I only have one for the up travel. |
||||
 |
 |
 |
 |
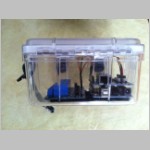 |
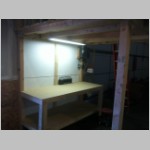
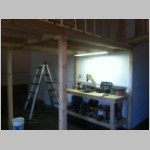
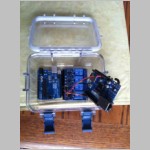
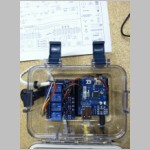
With the door mostly done, I took the time to build a couple of workbenches, and then moved on to the final stage of getting the door where I wanted it. The remote control. The remote supplied by Schweiss was quoted at $420!!!! That's pretty extreme for a remote. Photo eyes for $480! That Top Overrride limit switch $131.25. (On that one I was able to buy my own limit switch for about $50 and 25' of 16 gauge wire (a nice cold weather blue flex extension cord for $10) A few months ago I had been thinking how nice it would be at home to have an iPhone controlled remote for my 3 garage doors. Ever day in the winter I walked out and had to walk around the garage to the icy steps to go in the side door. I do have a regular wireless remote keypad on the house, but the garage is a metal building and the range is very short, so it's not reliable. So I needed something INSIDE the garage that could trigger the buttons. I had looked into iPhone garage door systems and yes, they are out there. Many are D-I-Y so it was right up my alley. In reading on most D-I-Y iPhone remotes, most rely on things like the Arduino microprocessors. Using these, you can build most anything! And, I have a genius buddy Lenny that knows all about them. So with his help, I ordered up all the parts I needed (under $80 plus a case for it all), and started programming. The parts list was: Arduino Uno R3 + Arduino Ethernet Shield R3 (bought as a combo) - $59.95 SainSmart 4-Channel 5V relay module for Arduino - $9.26 Wall Adapter Power Supply 9V 650mA - $6.45 3 feet of Thermostat wire (just need 6 conductor 16 or 18 gauge) - $3 I had a spare 2GB micro SD memory card around, but they are dirt cheap. The way it works is, the HTML files are stored on the SD card. The program boots up, and when your web client connects, it serves up an index.htm button page. When you click a button, it sends a request to the Arduino that is parsed for "action open", "action close", and "action stop". When it sees those, it activates the proper relays. The OPEN and CLOSE relays are wired in parallel with the normal door buttons, in the control box. The STOP relay is wired in series with the other stop button, and a jumper in the control box removed, so that either button will kill the power to the main door contactors. Once you push a button, it activates the proper relay, and serves up a 2nd web page that says the door is opening/closing/stopped, and gives you the STOP button ready and waiting, so if you need a quick stop you have it. Once a few seconds go by, it reloads the 3 button page so you can command the door again. Very simple and sweet! You can go to the web page fresh, and add it to your iPhone home screen as a nice icon too. A side note: You *can* put username/password auth on the web page, but in my case the network is my private wi-fi network, and I have remote access via IPSec VPN. So I secured it on the network side. If you expose yours to the general internet, you would want to password protect it for sure. As a small side project, I wanted not only wi-fi in my metal hangar, but good wi-fi out on the ramp, so an external 6.5dbi patch antenna and an old AP, now serve wi-fi for a few hundred feet surrounding my hangar. Now when I taxi up on a rainy day, I can open the door and taxi right under the door to unload! Very nice, and far cheaper than the $420 for the remote I could have bought! After building the program for the door at the hangar, I did minor modification to the html and bought another set of hardware to do my 3 garage doors at home. Now I can open any of these doors via iPhone or PC from anywhere in the world if need be. I have webcams at home and hangar to verify who or what is around my doors, inside and out, too. |
||||
 |
 |
 |
 |
 |
 |
 |
|||